หลังจากที่เราได้ลองสร้าง Generate Word Document เมื่อทำการ Submit Microsoft Form กันไปแล้ว เราจะทำการ Send Email พร้อมแนบไฟล์ Word Document ที่ทำการ Generate ขึ้นมาแนบไปด้วย กรณีที่ใช้ Digital Form อย่างเดียวไม่ได้ ต้องมีการ Sign Document บนเอกสารแบบเดิมอยู่
Requirement
Get Started
- เข้าไปที่หน้าเว็บ http://portal.office.com
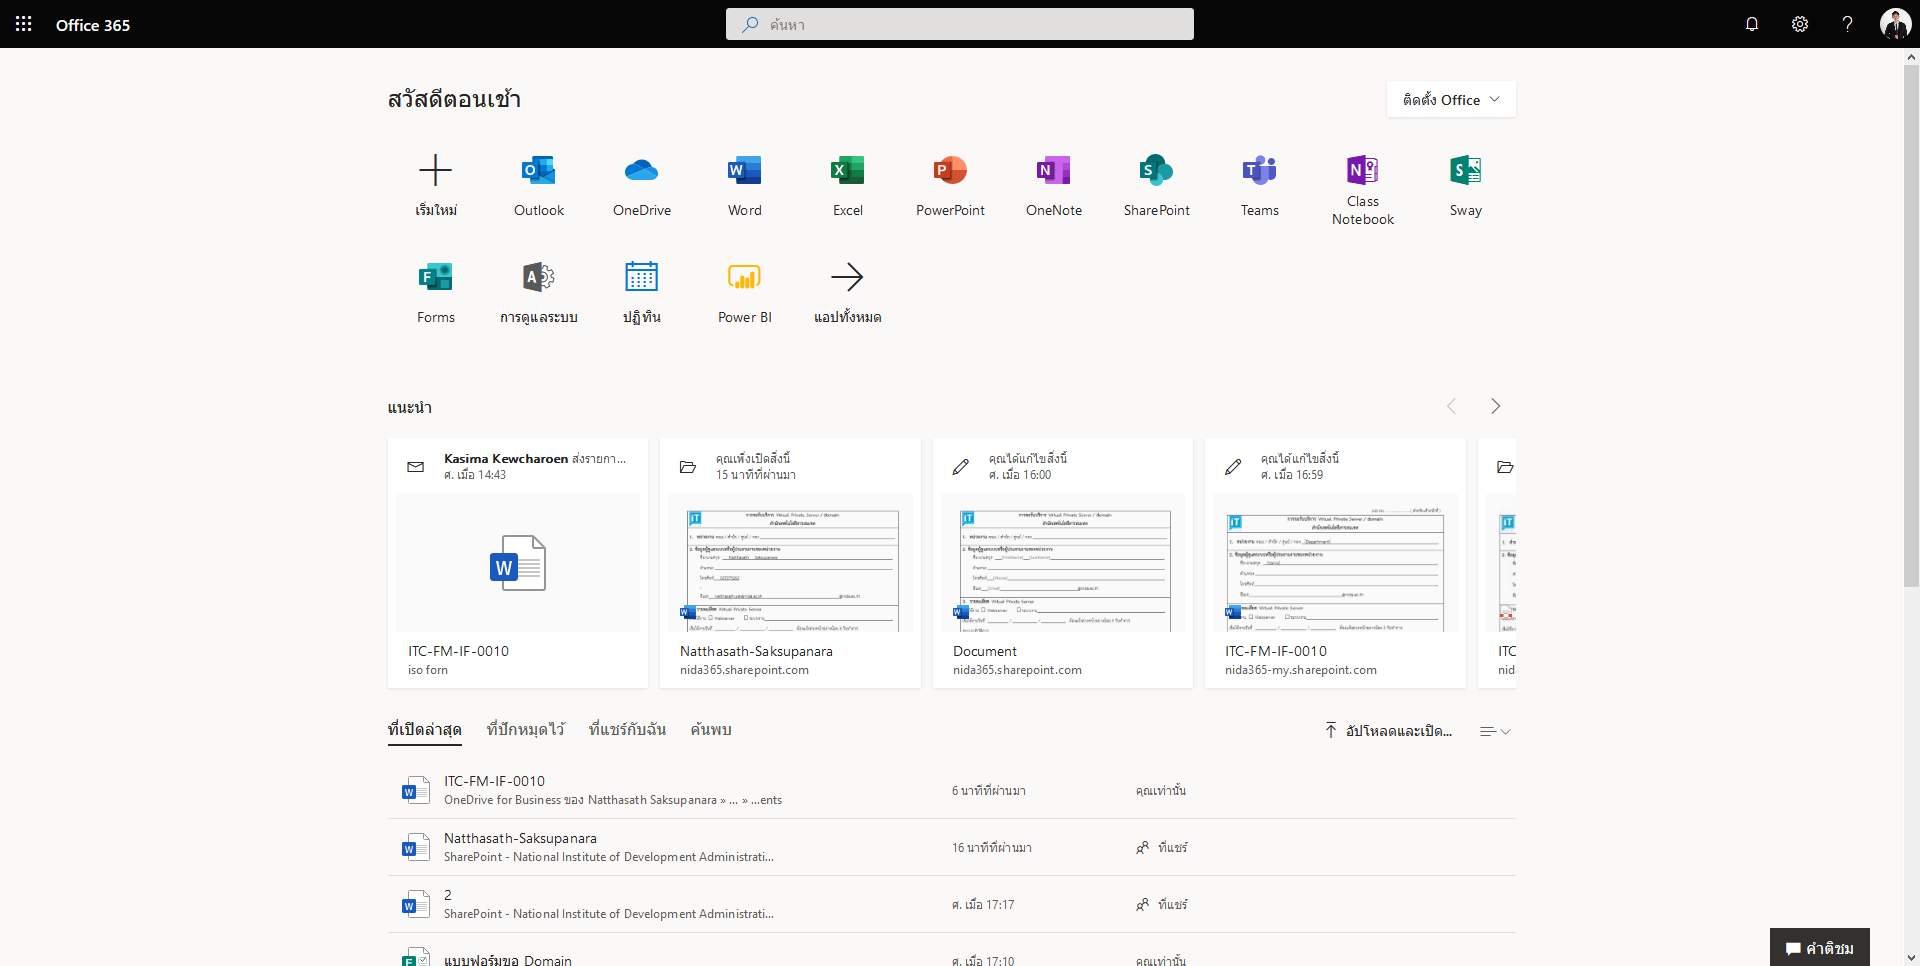
- คลิก Power Automate Application
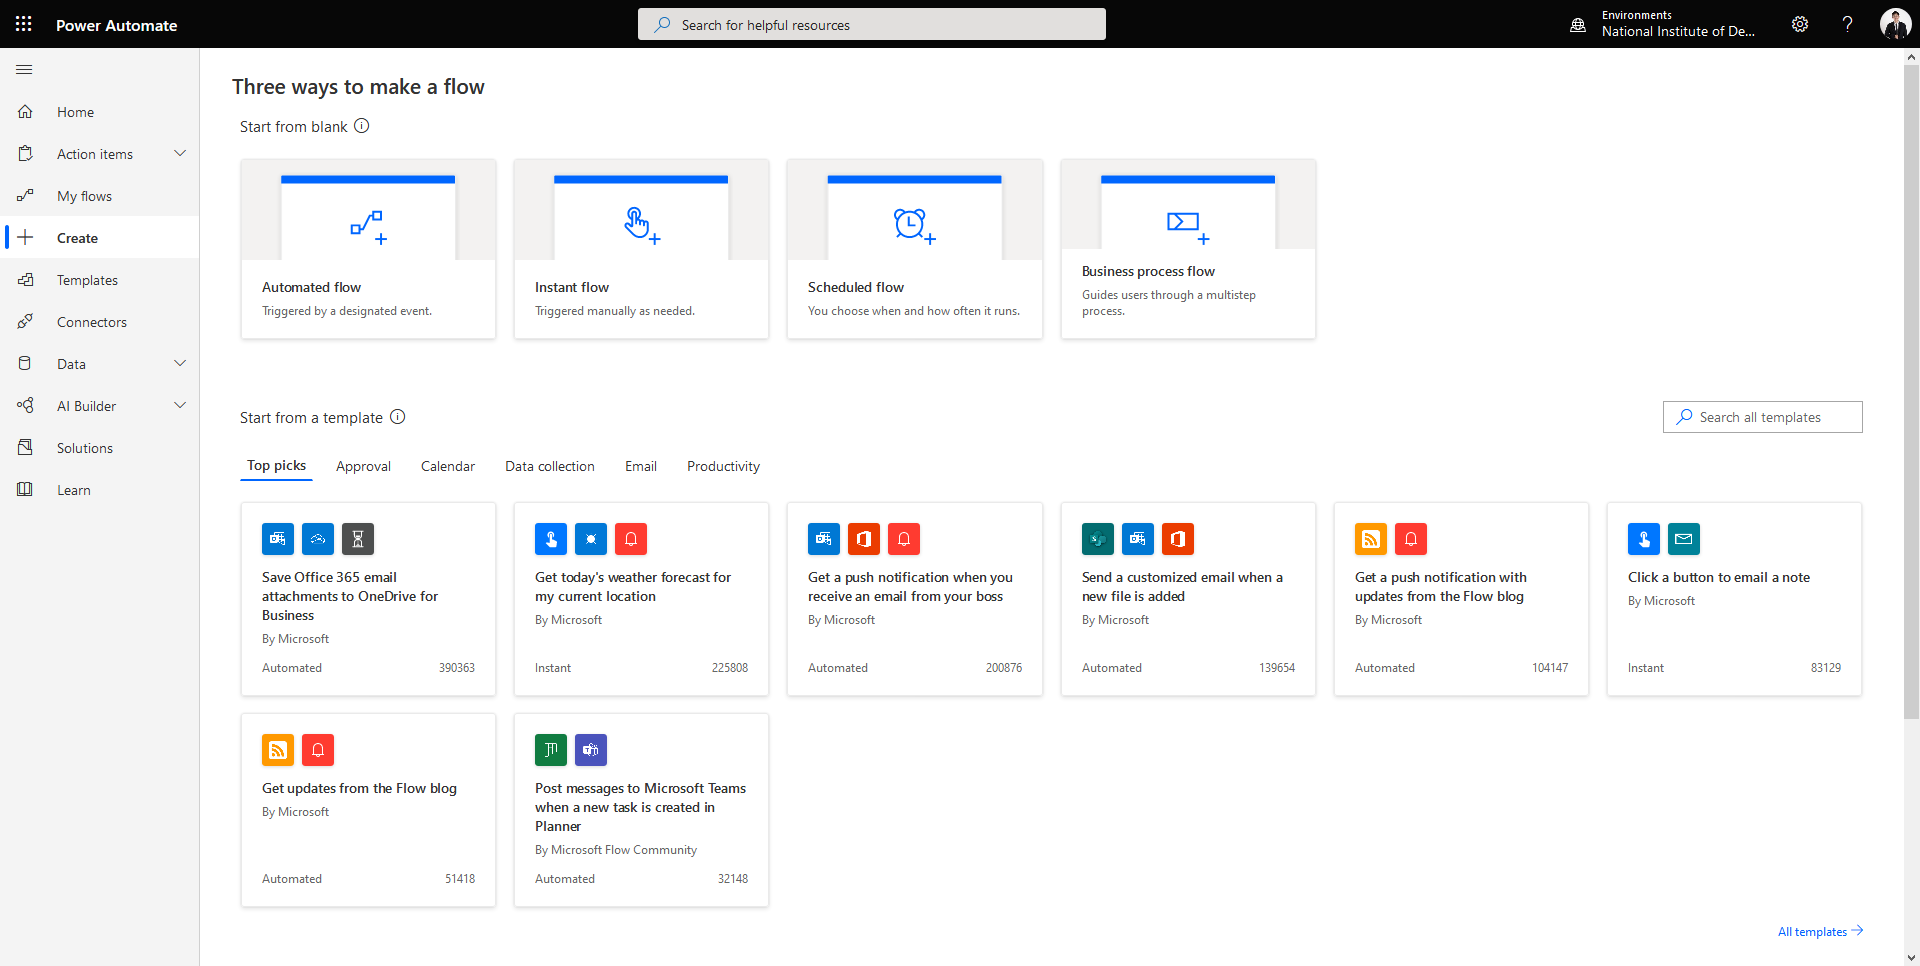
- คลิก Create เลือก Automated Flow
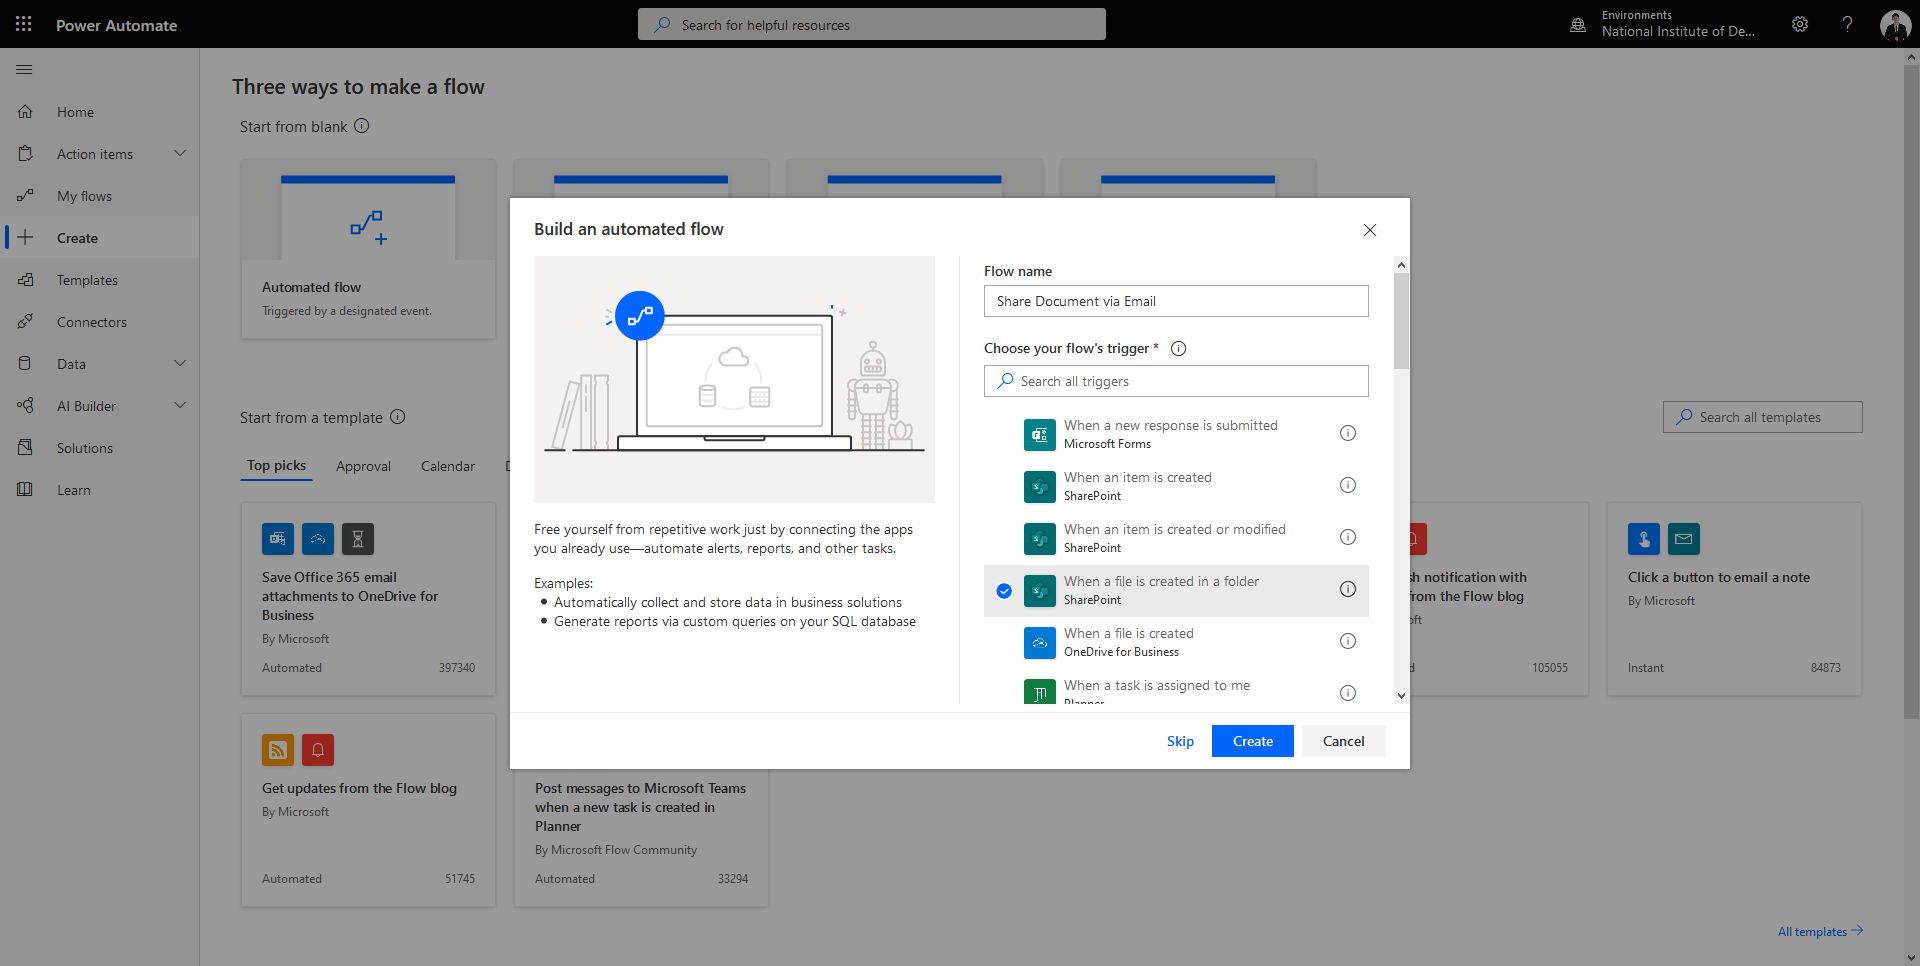
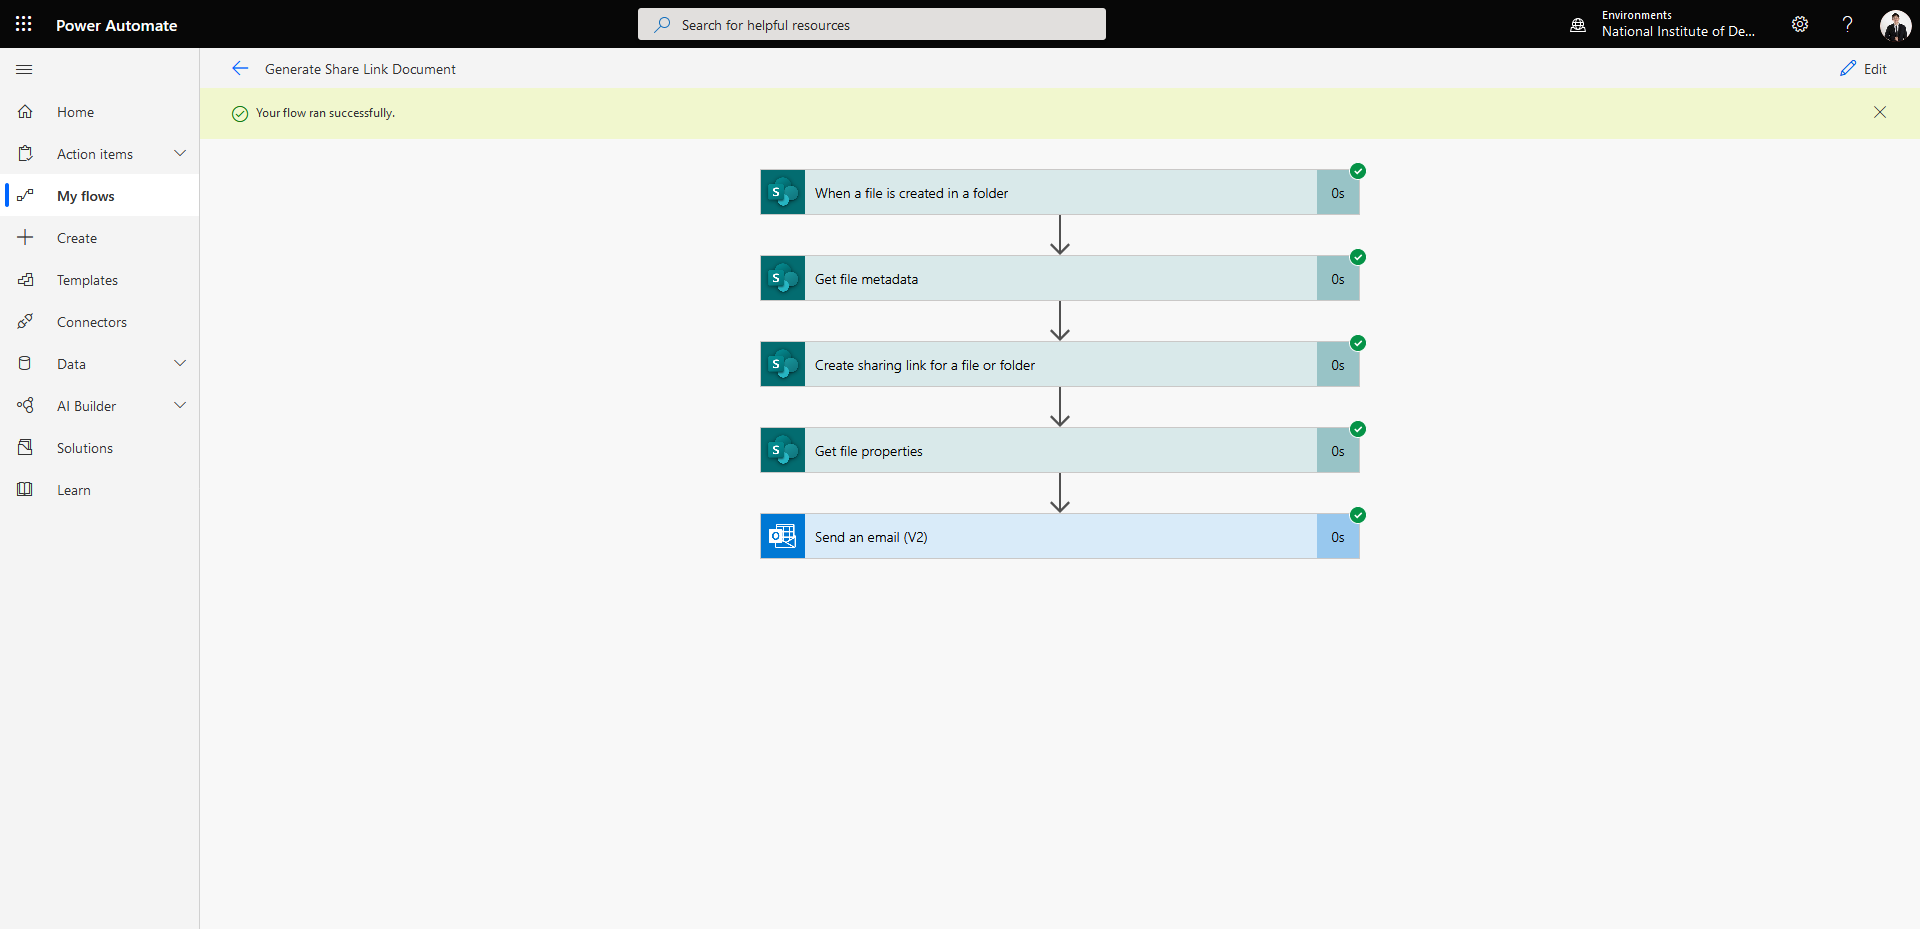
- ทำการกำหนดชื่อ Flow name โดยระบุ Trigger เป็น When a file is created in a folder ( SharePoint ) แล้วคลิก Create คำเตือนชื่อต้องมากกว่า 3 ตัวขึ้นไป
- ทำการกรอก Site Address และ Folder Id แล้วคลิก Next step

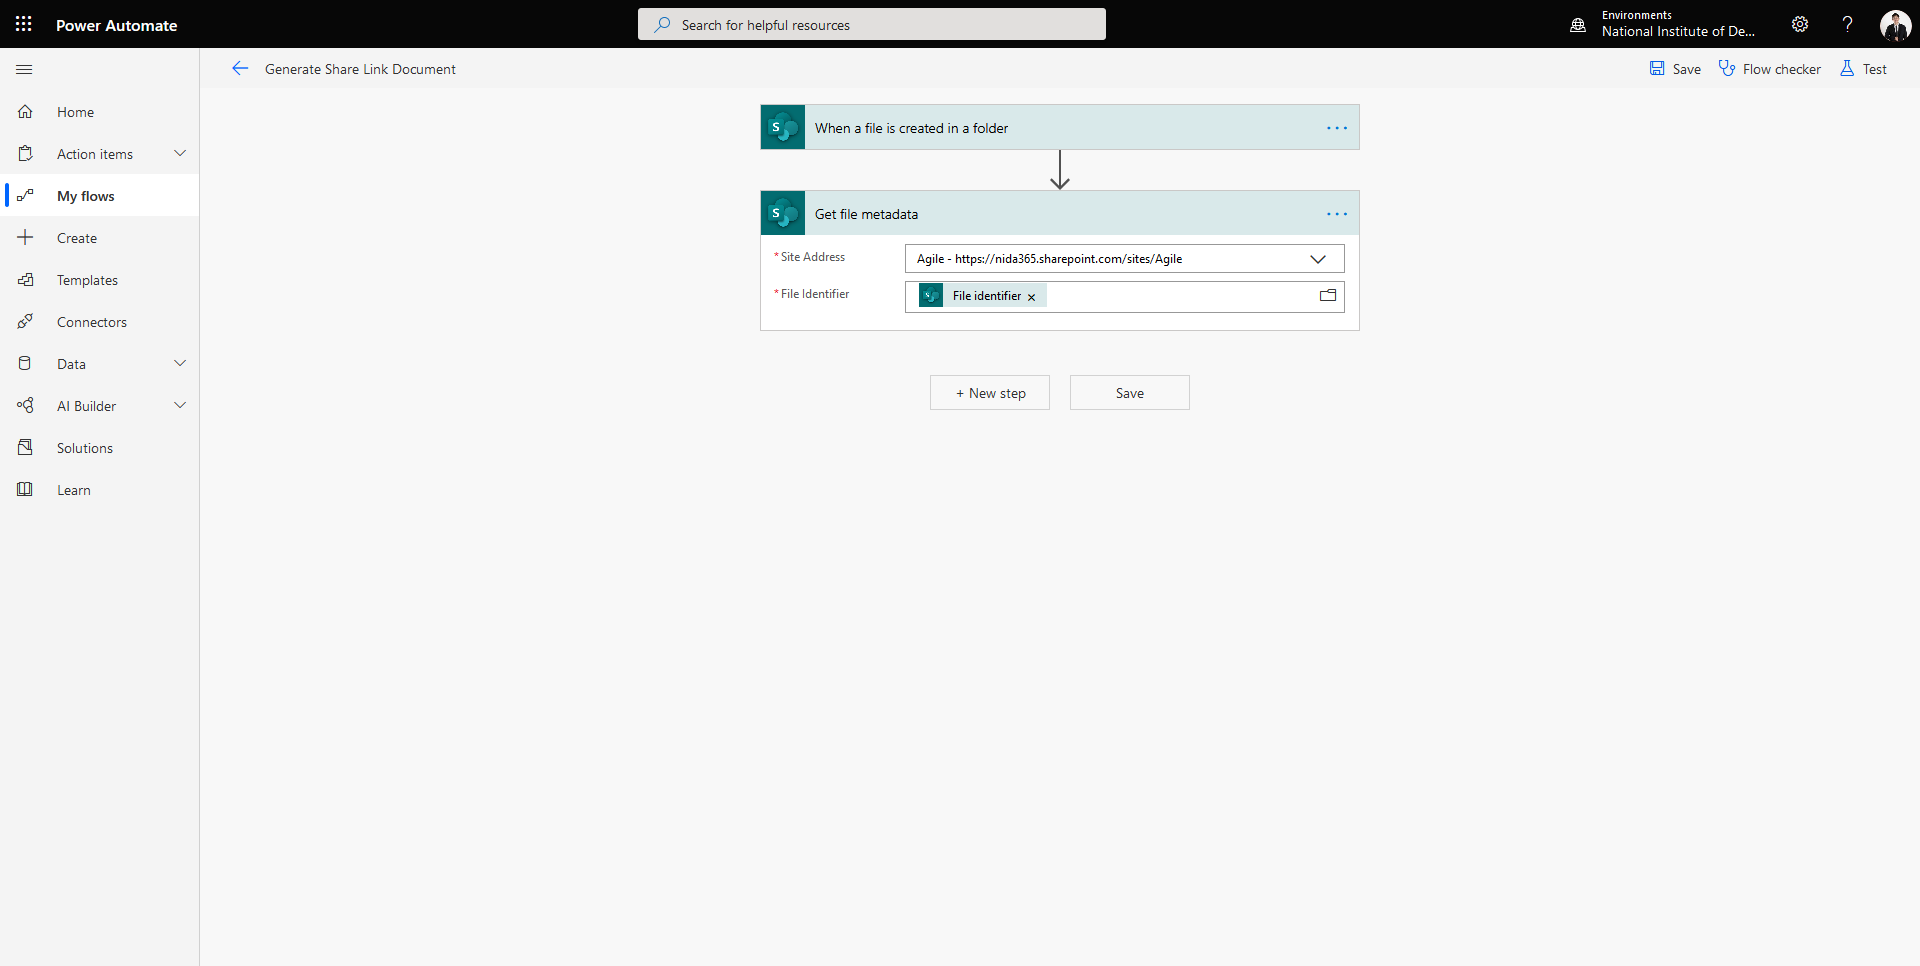
- เลือก Get file metadata ทำการกรอก Site Address และ File Identifier แล้วคลิก Next step
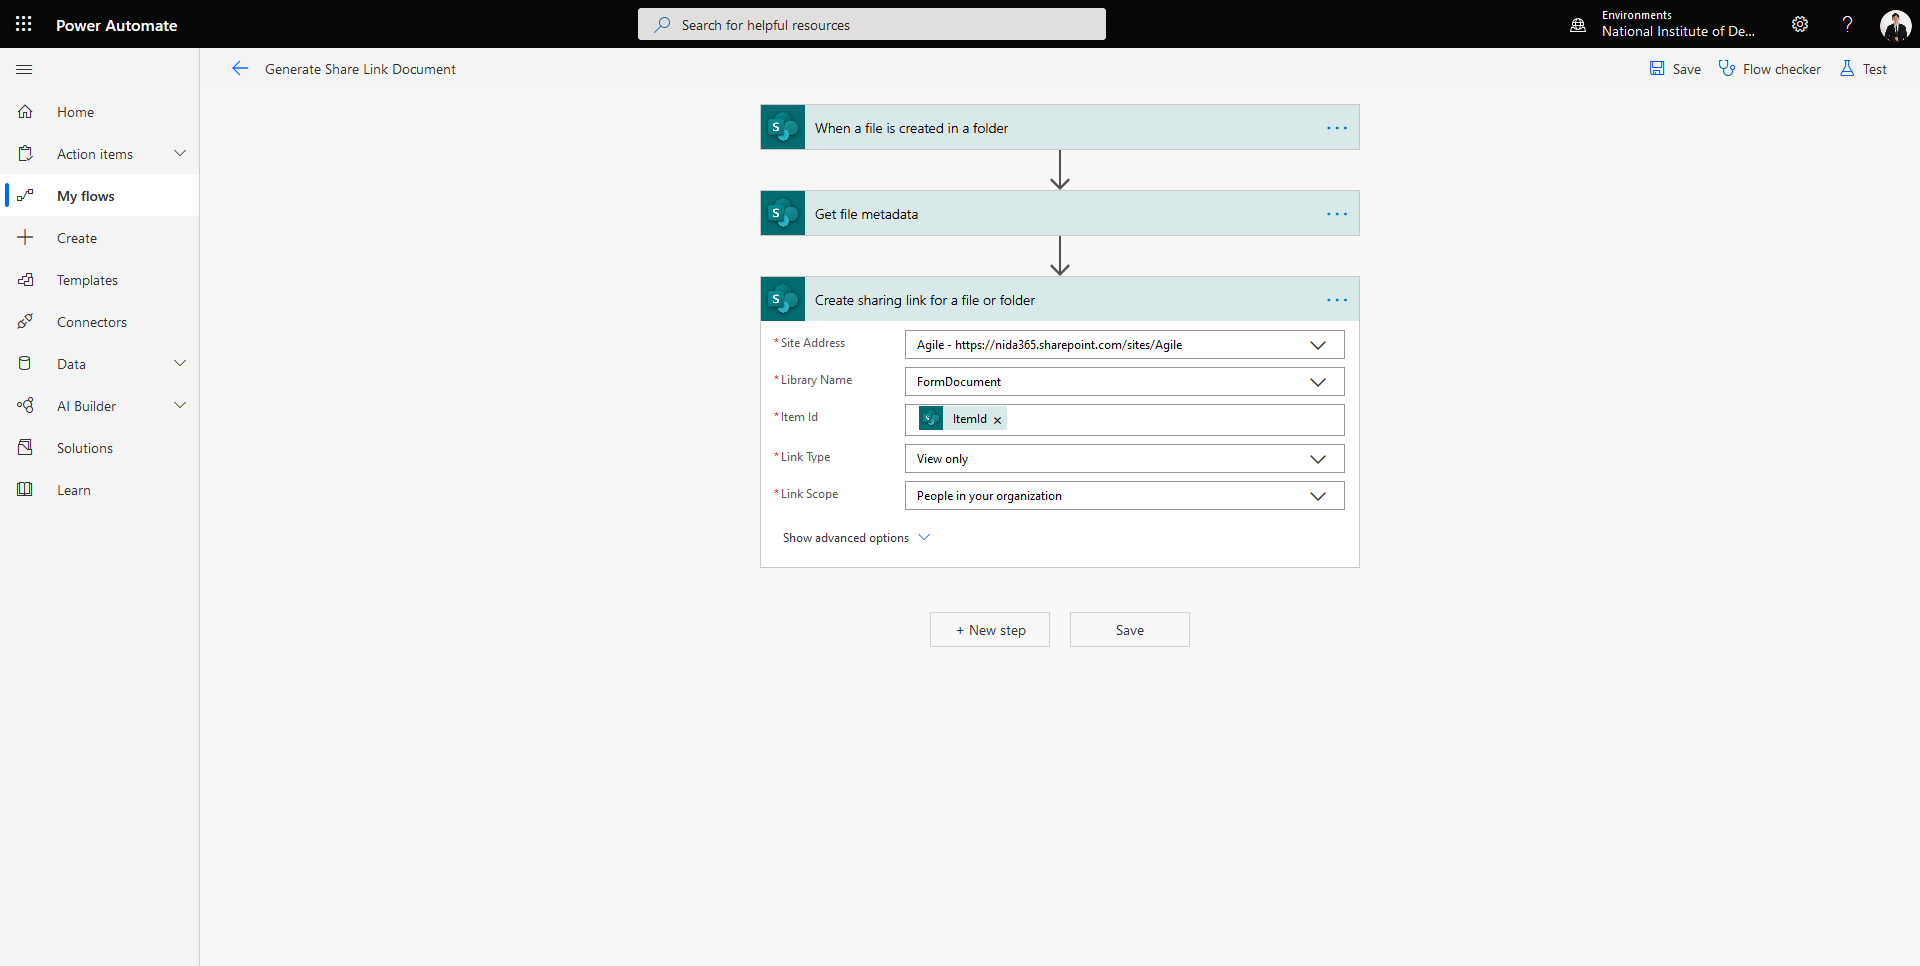
- เลือก Create sharing link for a file or folder ทำการกรอก Site Address, Library Name, Link Type และ Link Scope แล้วคลิก Next step
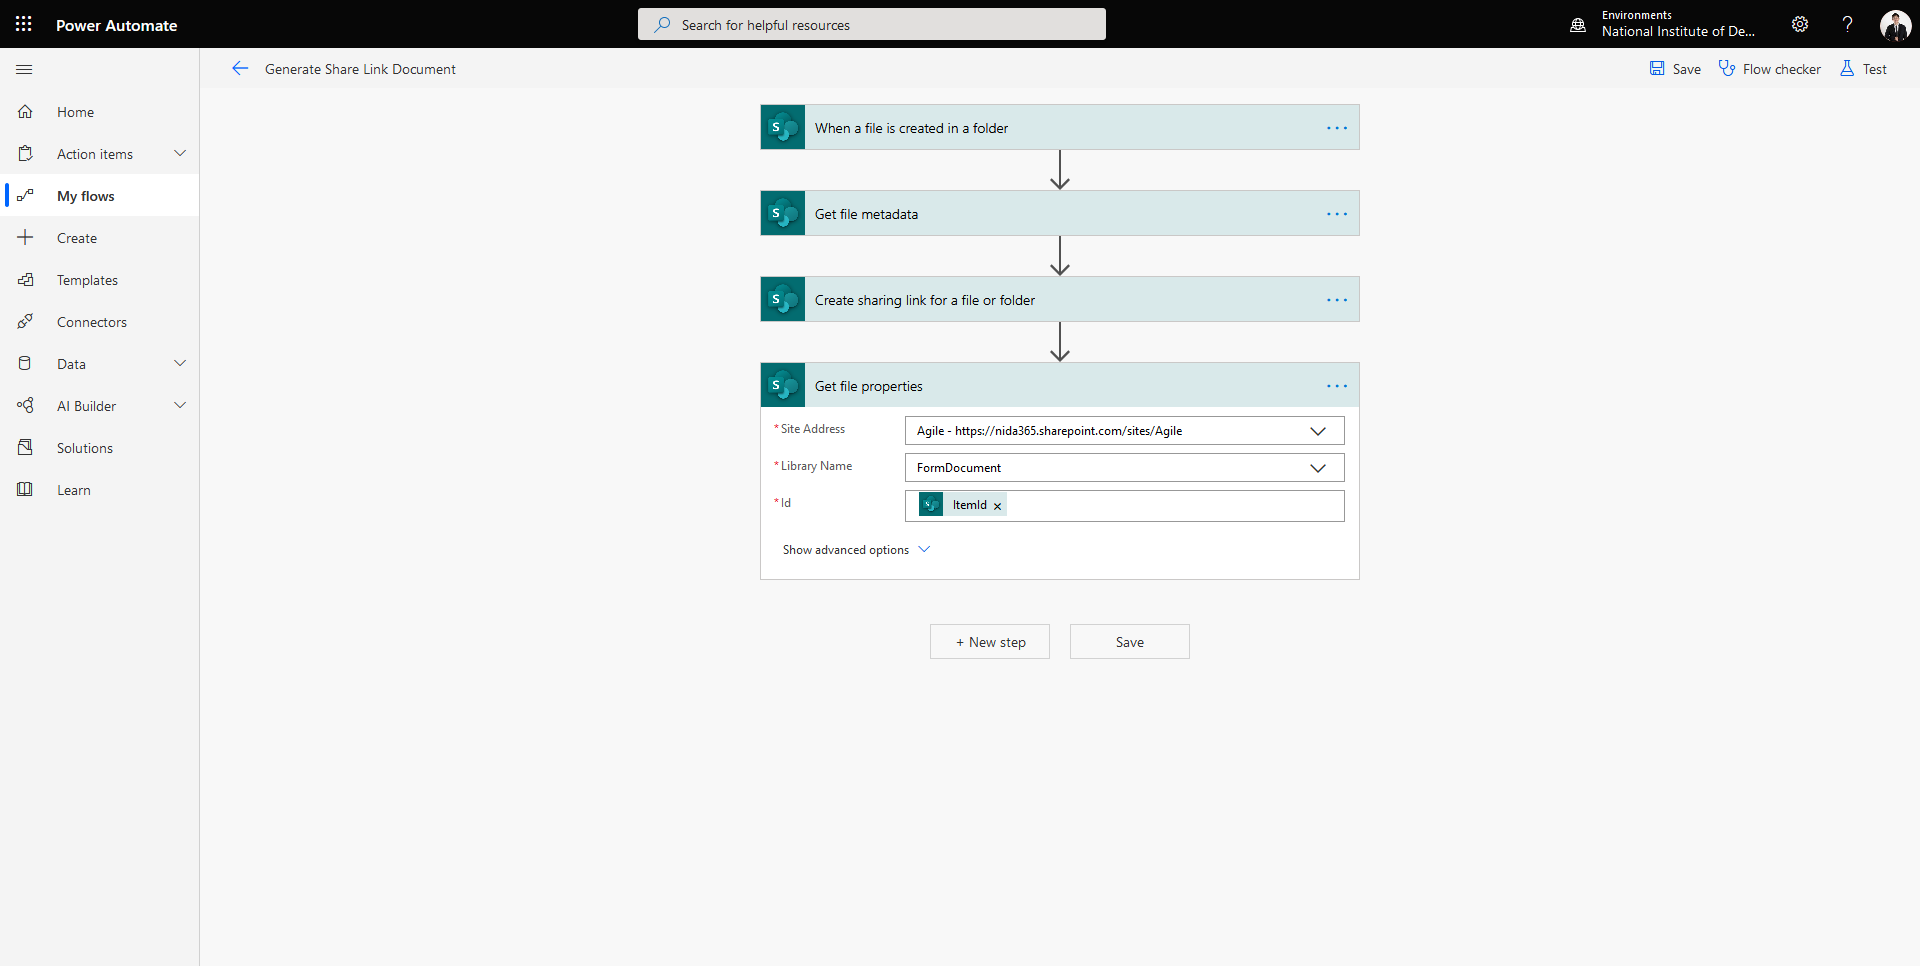
- เลือก Create file properties ทำการกรอก Site Address, Library Name แล้วคลิก Next step
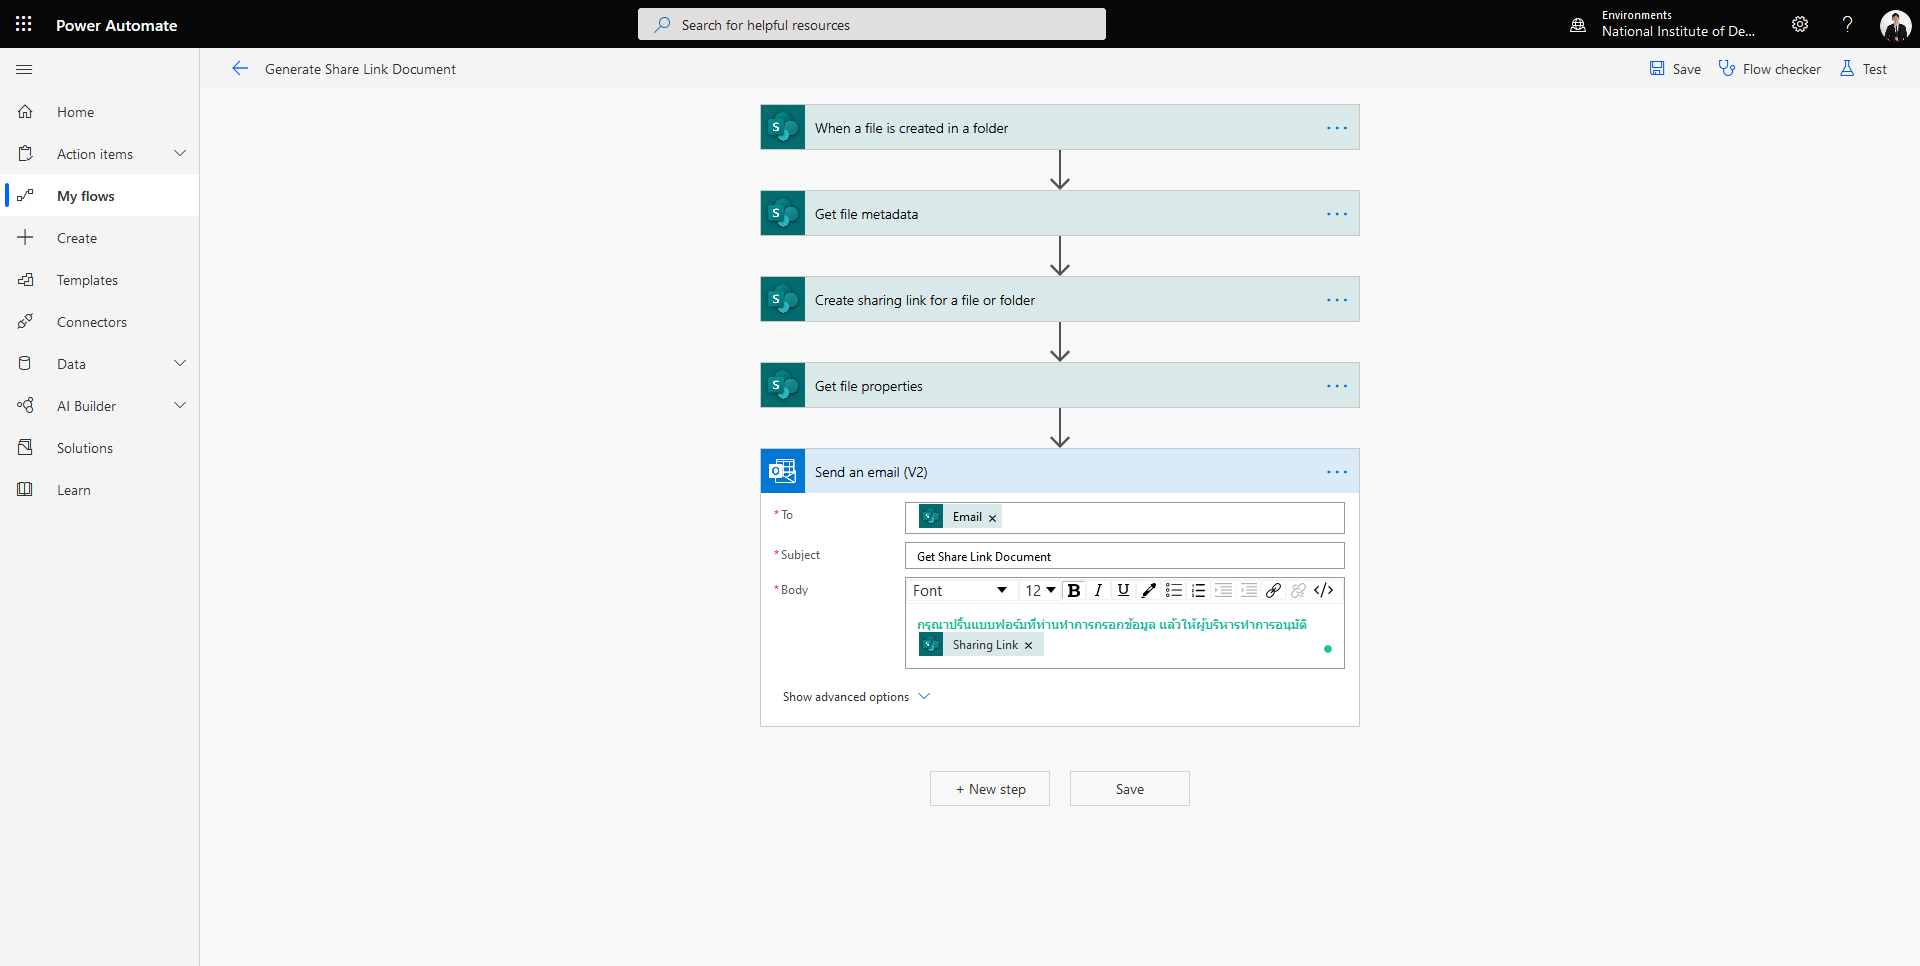
- เลือก Send an email (V2) ทำการกรอก Email Address, Subject และ Body แล้วคลิก Save คำเตือนหากเลือกเป็น V3 จะไม่สามารถแนบ Attachment, Picture และ Link ได้ เพราะจะโดน Block ต้องไปกำหนด Safe Sender List
- คลิก Test เลือก I’ll perform the trigger action คลิก Safe & Test แล้วคลิก Run flow คำเตือนต้องใส่ข้อมูลใน FormList ก่อน Flow ถึงจะทำการ Run ได้
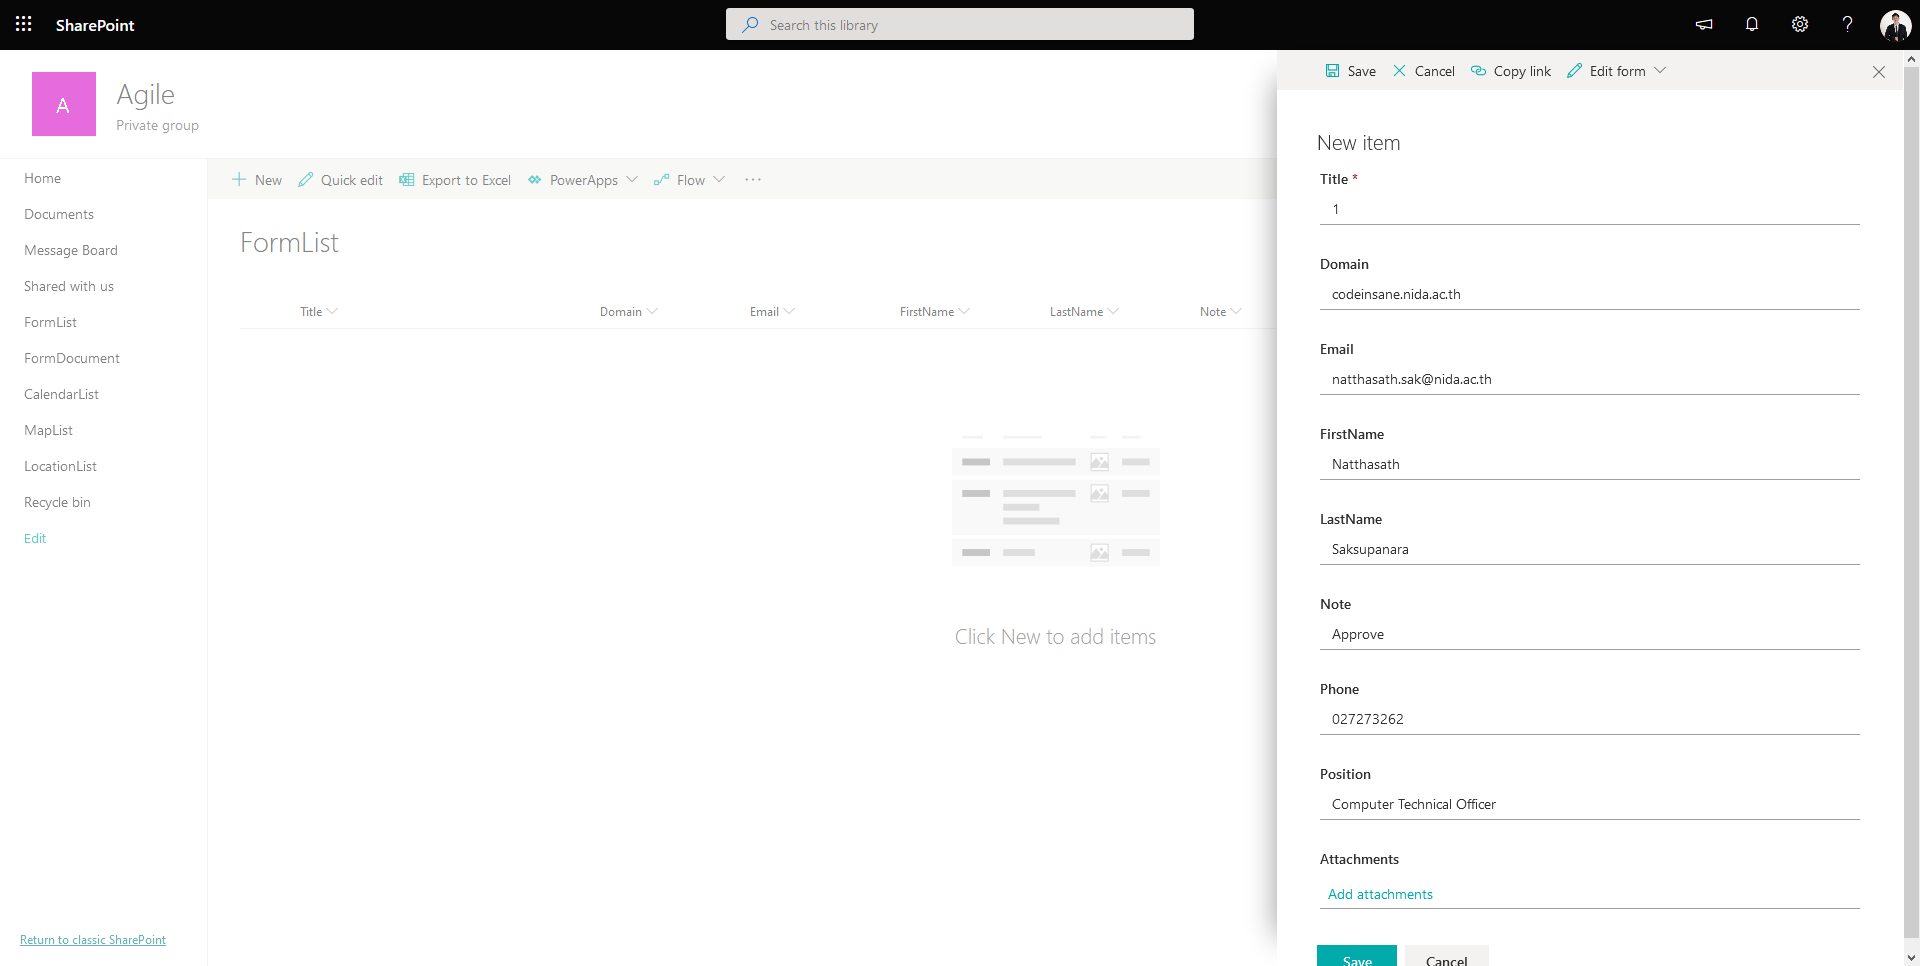
- ทำการใส่ข้อมูลใน FormList คลิก New กรอกรายละเอียดของ User Request แล้วคลิก Save คำเตือนข้อมูลใน FormList จะถูก Submit มาจาก Microsoft Form แต่จะทำการลองใส่ข้อมูลให้ดูก่อน
- ลองทำการเปิด Microsoft Outlook จะเห็น Email เข้ามาใน Inbox

Leave a Reply