การติดตั้ง Solaris โดยติดตั้ง ZFS พร้อมกันด้วยจะไม่ได้ใช้เมนู Default บน Image ของ Solaris ซึ่งเผลอติดตั้งไปรอบหนึ่ง พอจะติดตัง Oracle Database มันจะมี Space ไม่พอนั่นเอง ผมก็เลยจะมาลองลง Solaris แบบถูกวิธีกันตั้งแต่ตอนลง OS
Requirement
- Memory : 256 MB
- Disk : 5 GB and 10 GB for GUI
Install
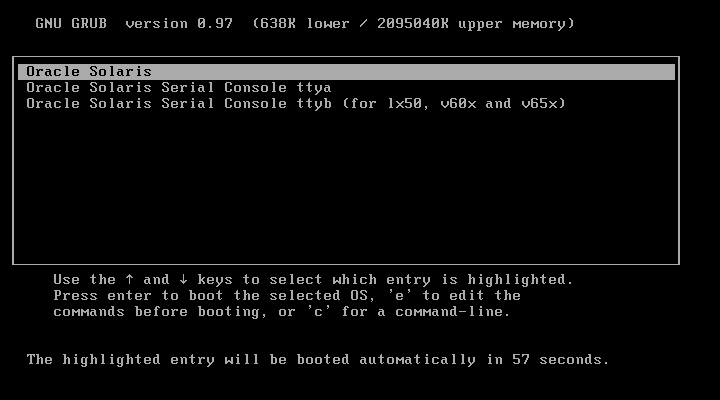
- ให้สร้าง VM ขึ้นมาแล้ว Boot Image
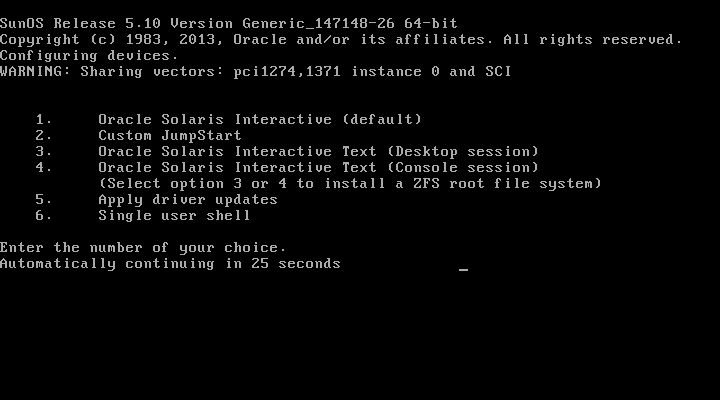
- หากต้องการติดตั้ง ZFS ให้เลือกเมนู 3 ( Desktop ) หรือ 4 ( Console ) ให้เลือก 4
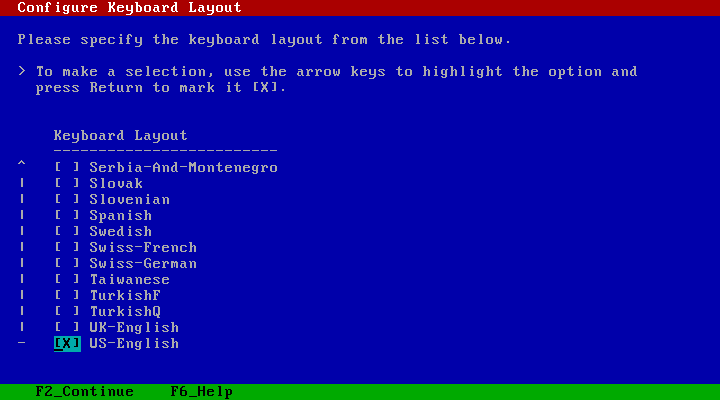
- เลือก Keyboard Layout เป็น US-English
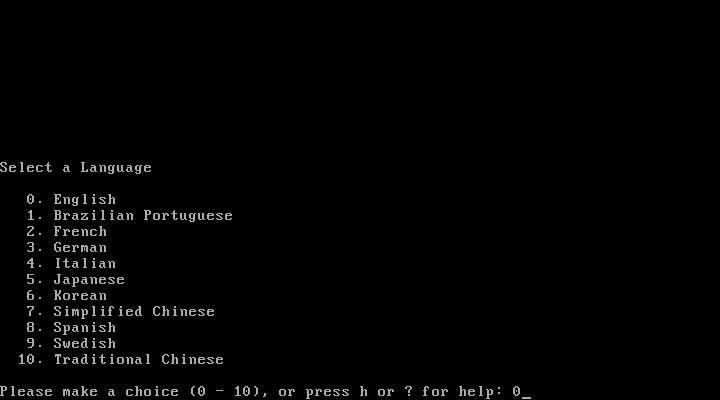
- เลือกภาษาที่ใช้ในการติดตั้ง เลือก 0 ใช้ภาษา English
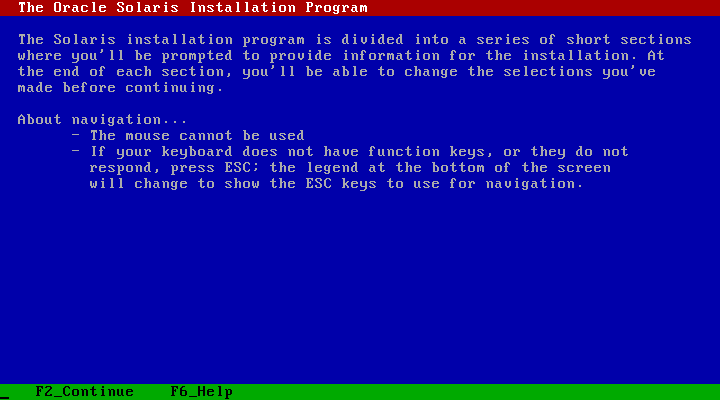
- กด F2 Continue
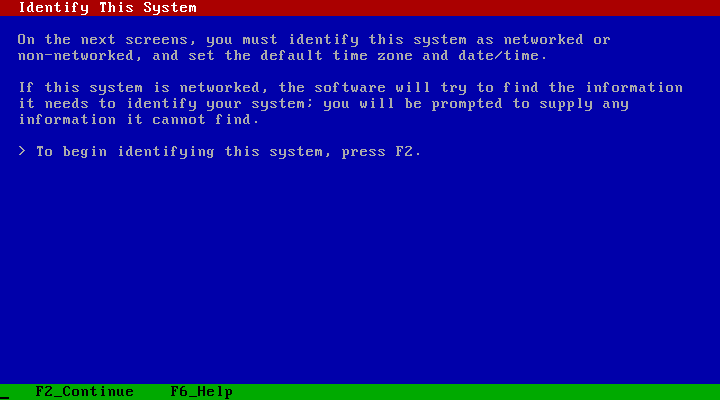
- กด F2 Continue
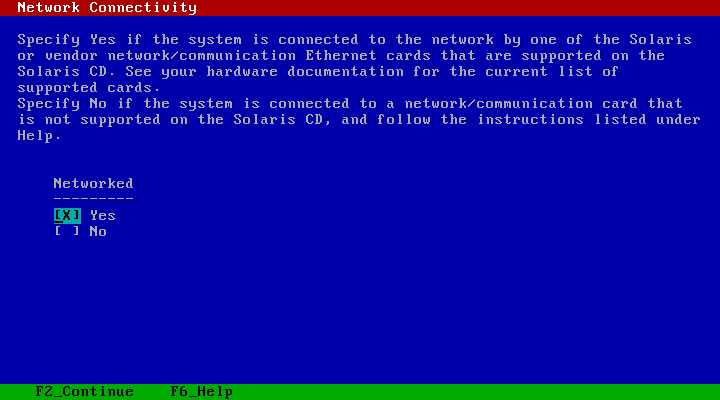
- เลือก Yes เพื่อตั้งค่า Network แล้วกด F2 Continue
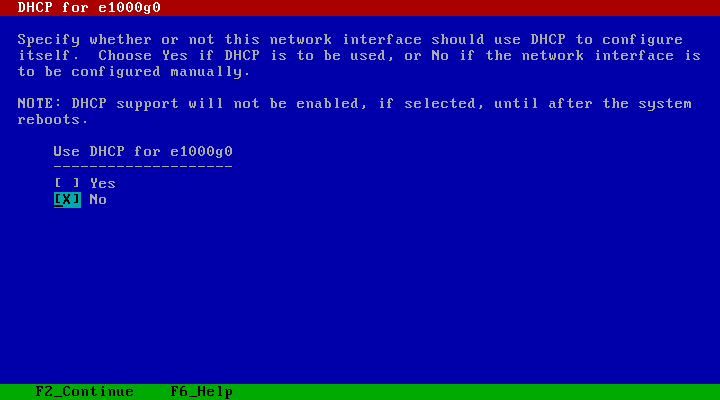
- เลือก No เพื่อทำการตั้งค่า Network เอง แล้วกด F2 Continue
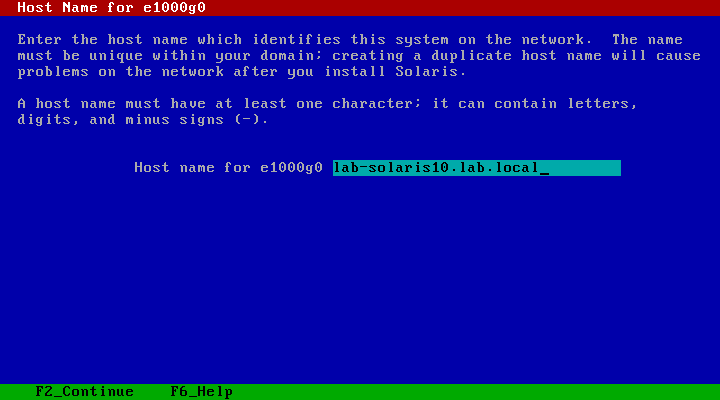
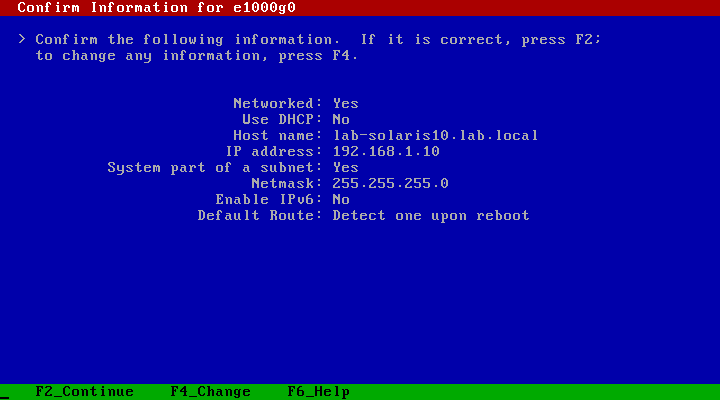
- ตั้งค่า Hostname
- ตั้งค่า IPv4

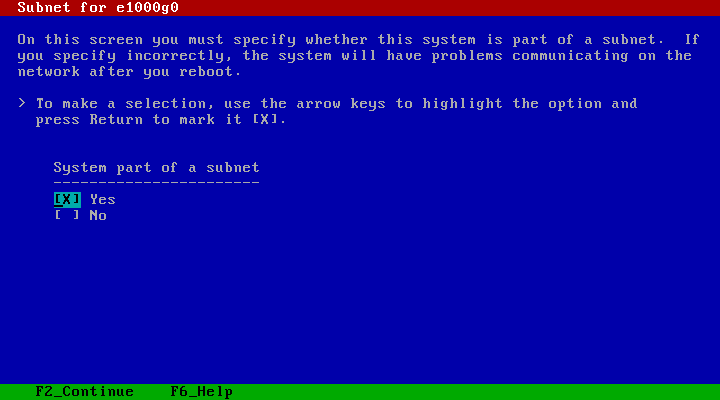
- เลือก Yes เพื่อทำการตั้งค่า Subnet แล้วกด F2 Continue
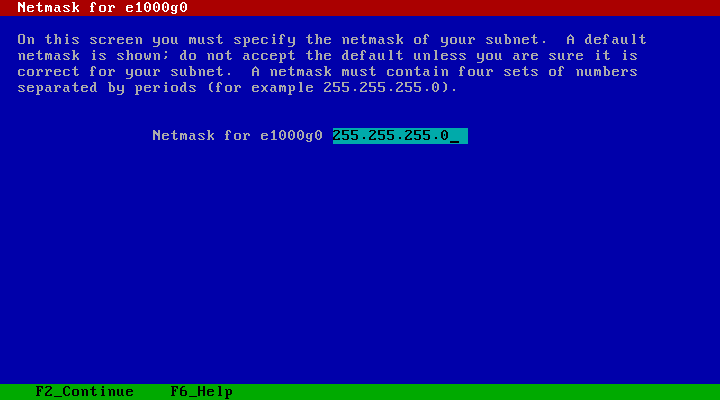
- ตั้งค่า Subnet
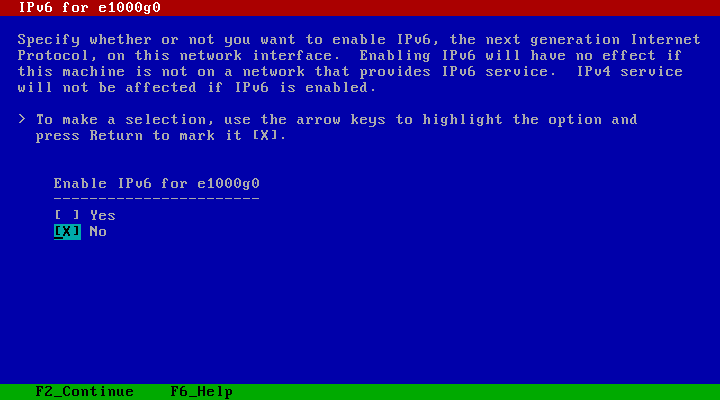
- เลือก No ไม่ใช้ IPv6 แล้วกด F2 Continue
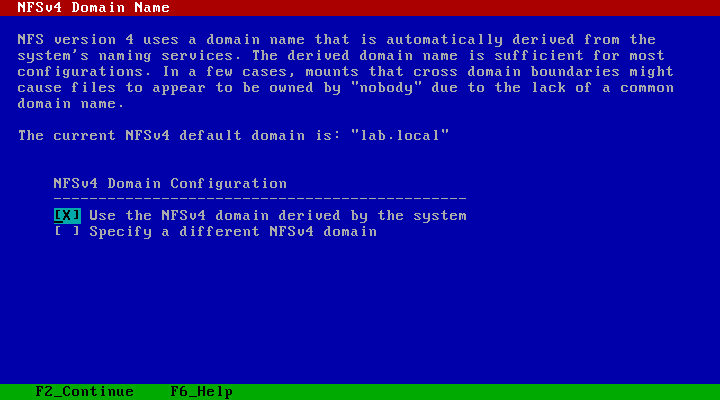
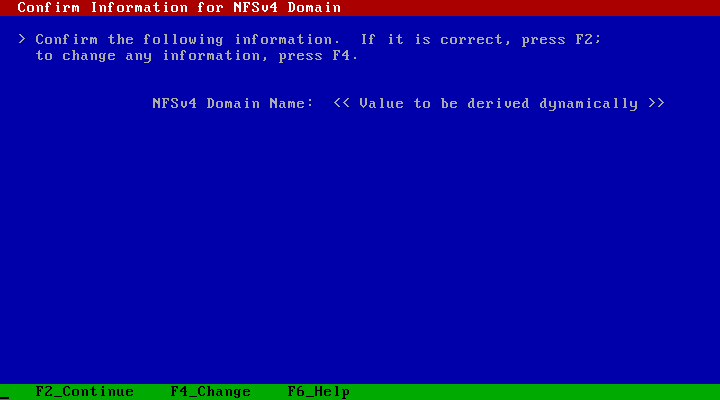
- กด F2 Continue

- กด F2 Continue
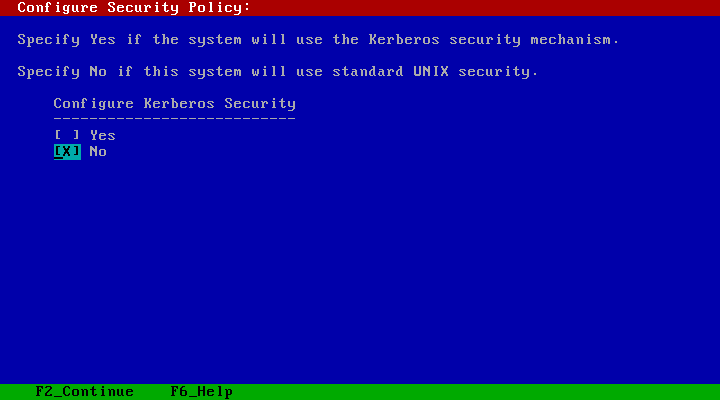
- เลือก No ไม่ตั้งค่า Security Policy แล้วกด F2 Continue
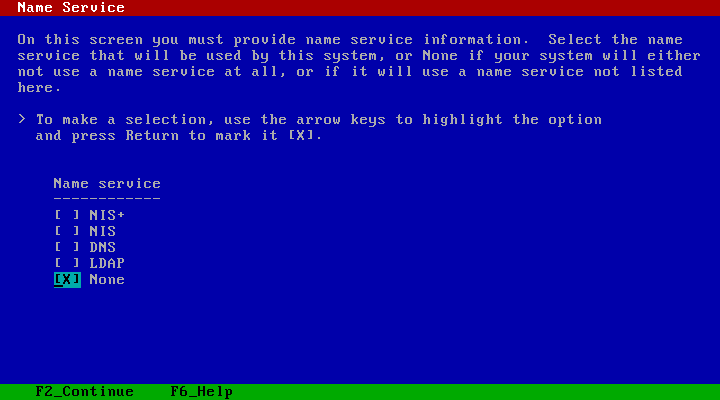
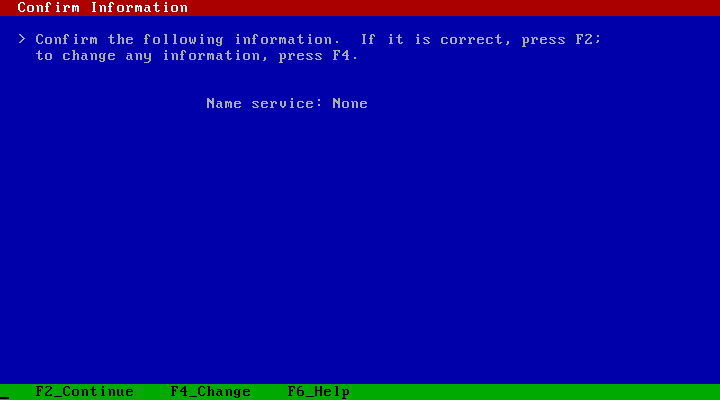
- เลือก None แล้วกด F2 Continue
- กด F2 Continue
- กด F2 Continue
- กด F2 Continue
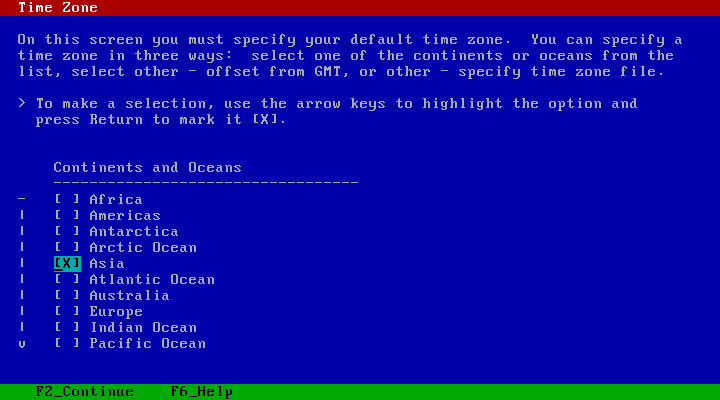
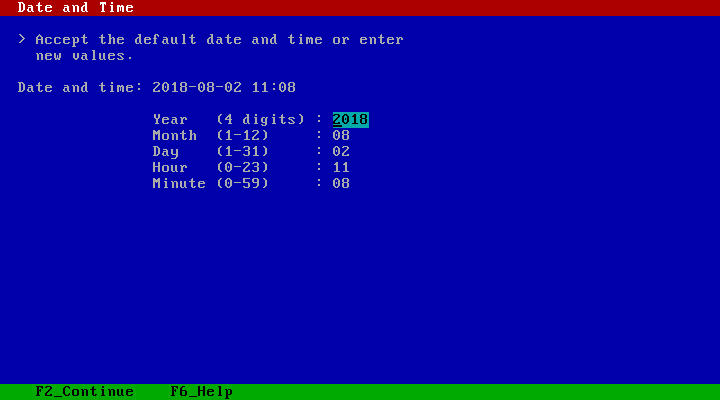
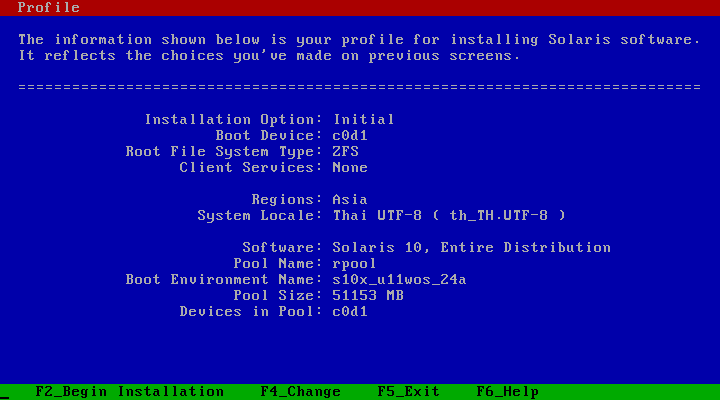
- เลือก Time Zone เป็น Asia
- เลือก Country เป็น Thailand
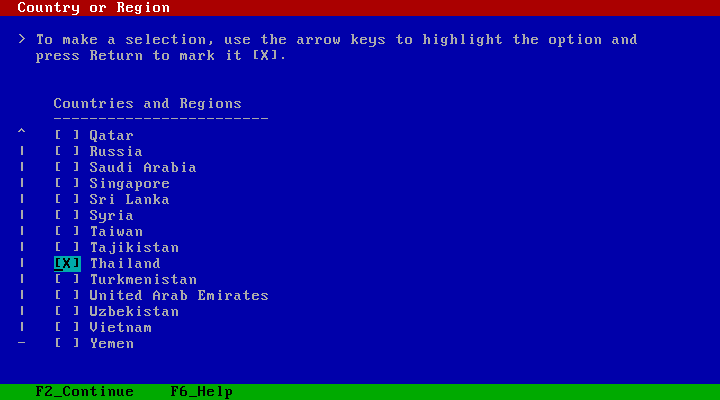
- เวลาจะถูกตั้งค่าตาม Country หรือ Region ที่เราเลือกไว้ แล้วกด F2 Continue
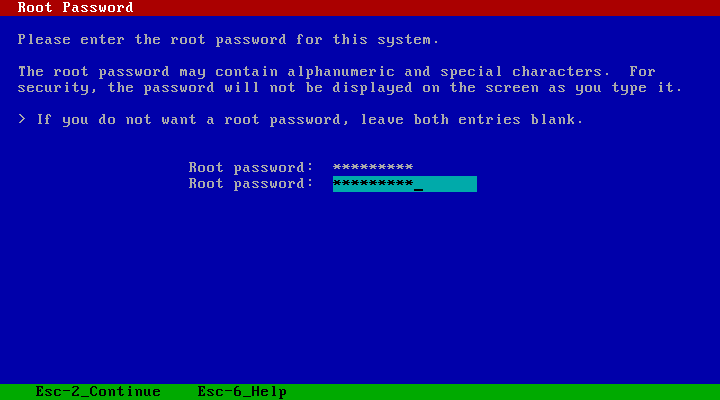
- ตั้งค่า Password ของ root แล้วกด F2 Continue
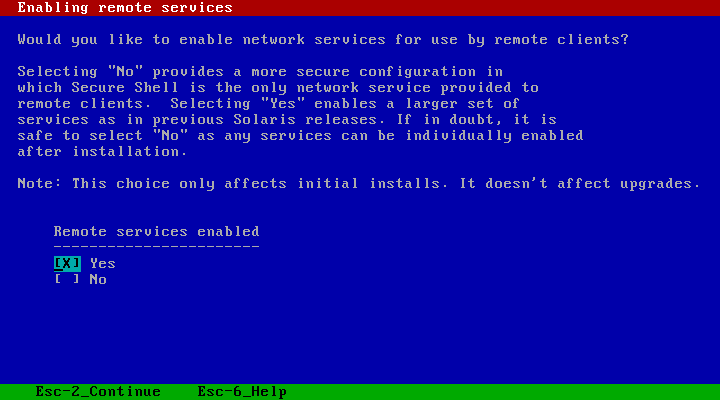
- เลือก Yes เพื่อทำการเปิด Remote Service แล้วกด F2 Continue
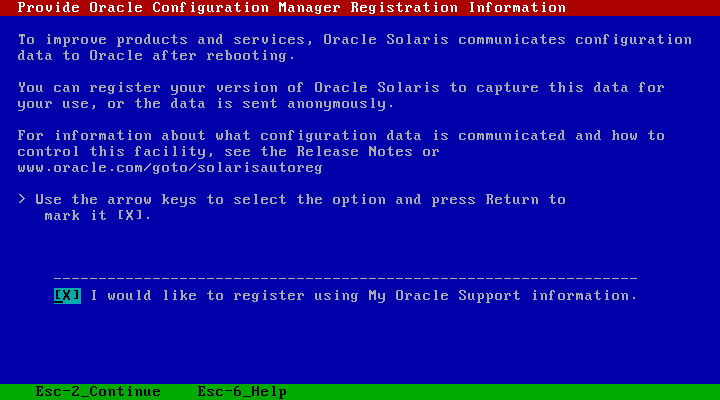
- หากมี Oracle Support ก็ระบุไป แล้วกด F2 Continue
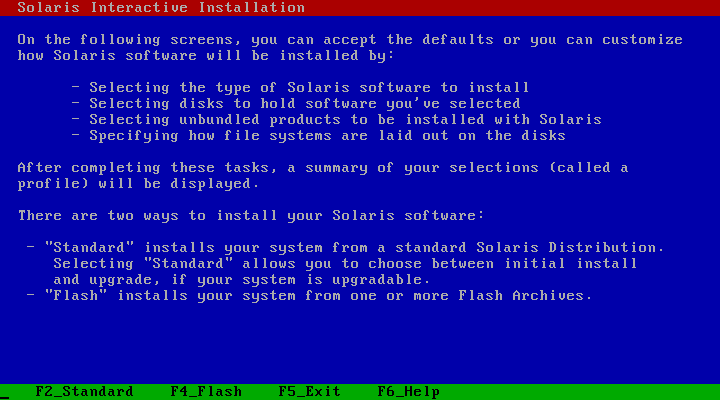
- กด F2 Standard เพื่อติดตั้งจาก Standard Solaris Distribution
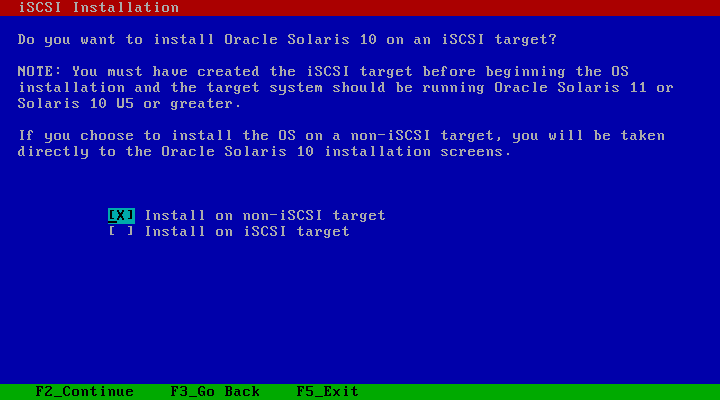
- เลือก non-iSCSI แล้วกด F2 Continue
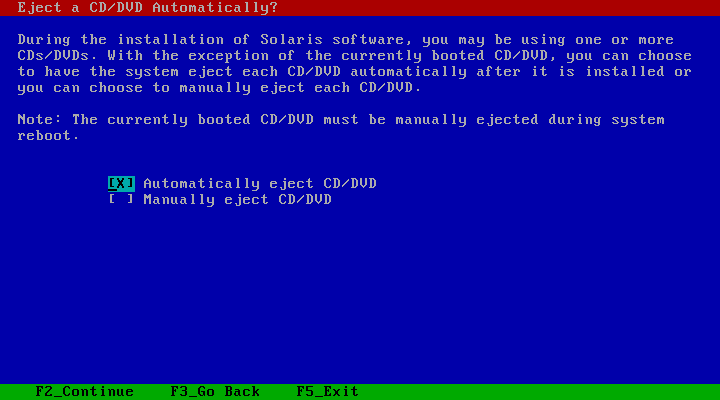
- เลือก Auto Eject แล้วกด F2 Continue
- เลือก Auto Reboot แล้วกด F2 Continue

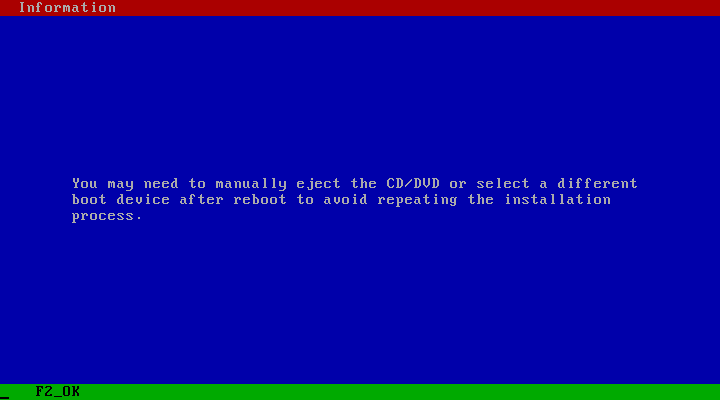
- กด F2 OK
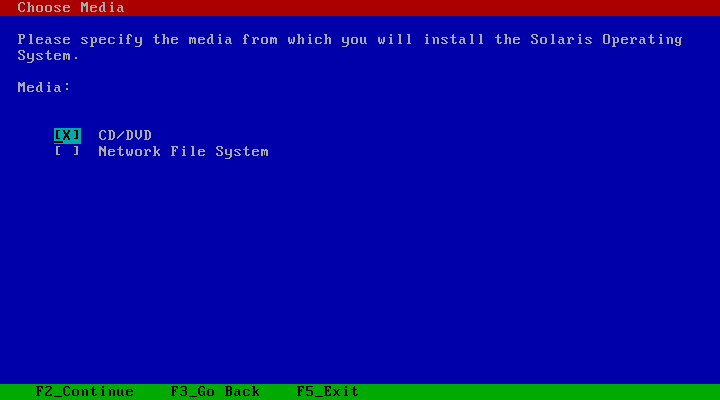
- เลือกติดตั้งจาก CD/DVD แล้วกด F2 Continue
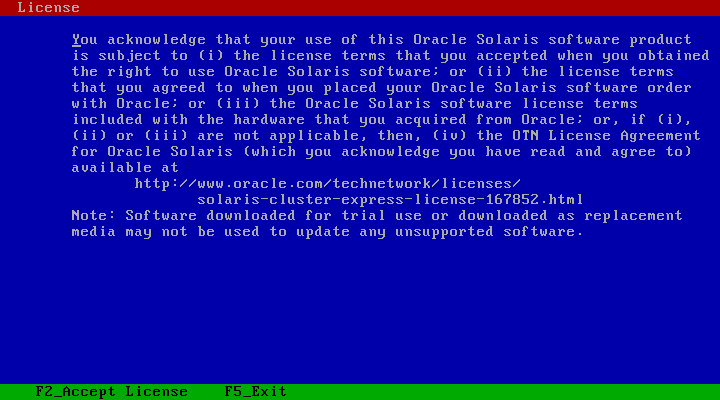
- กด F2 Accept License
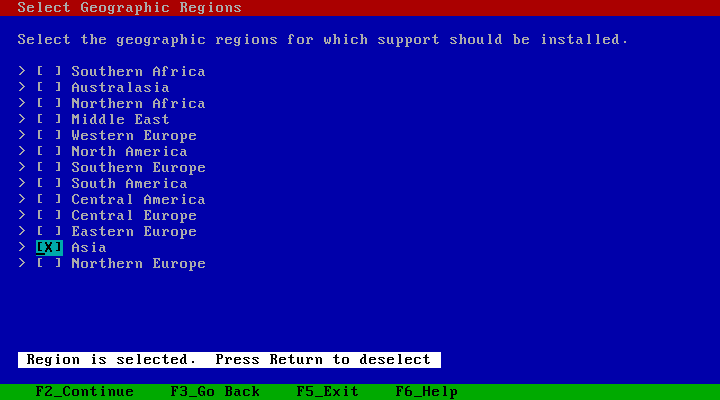
- เลือก Geographic Regions เพื่อติดตั้ง Tool Support ต่าง ๆ แล้วกด F2 Continue
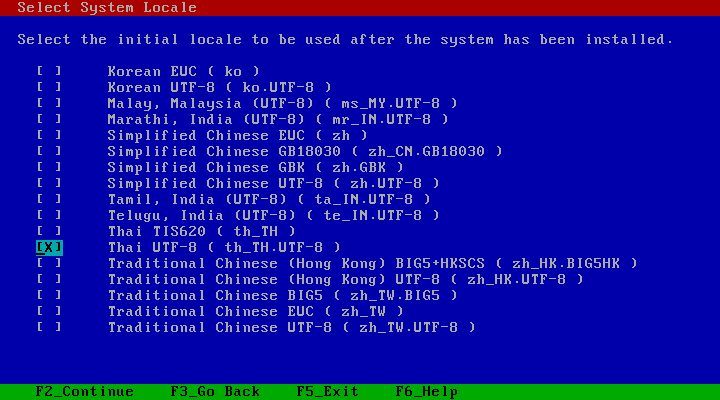
- เลือก Thai UTF-8 เพราะมันรองรับได้มากกว่า
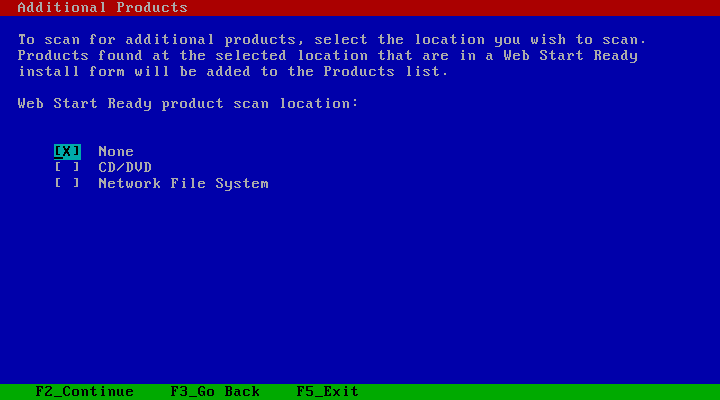
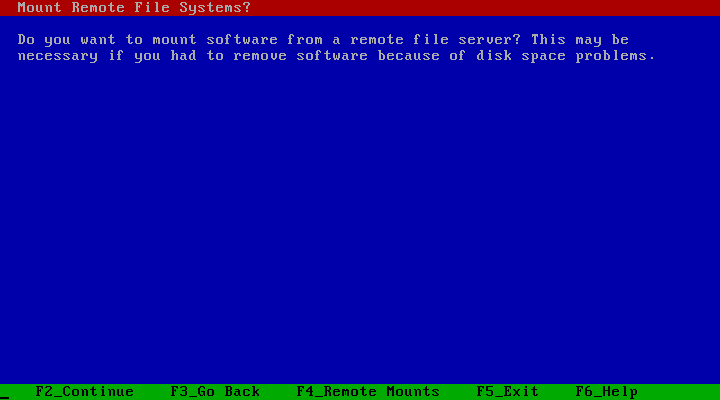
- เลือก None แล้วกด F2 Continue
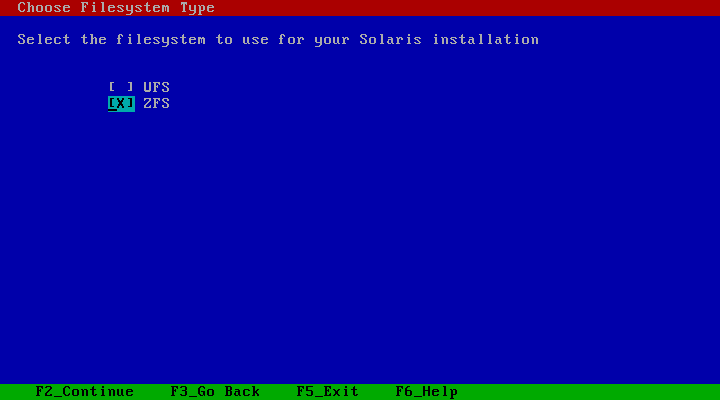
- เลือก ZFS แล้วกด F2 Continue
- เลือก Entire Distribution ซึ่งเป็น Software ที่ใช้ในการติดตั้ง แล้วกด F2 Continue

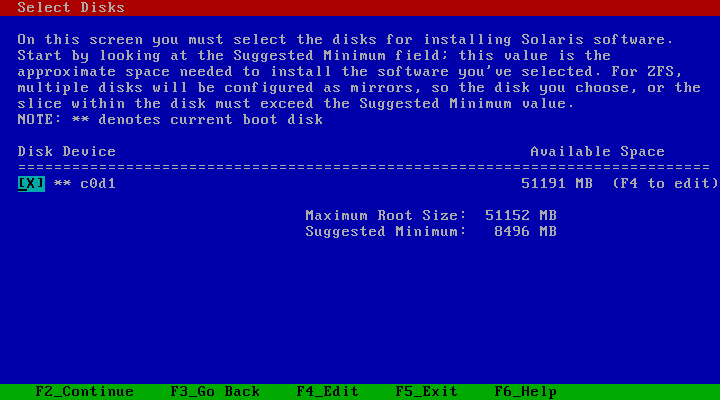
- เลือก Disk เพื่อทำการติดตั้ง ZFS แล้วกด F2 Continue
- ตั้งชื่อ ZFS Pool แล้วกด F2 Continue
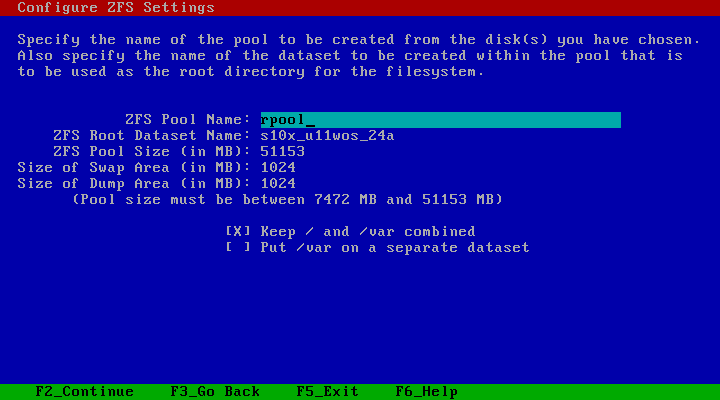
- กด F2 Continue
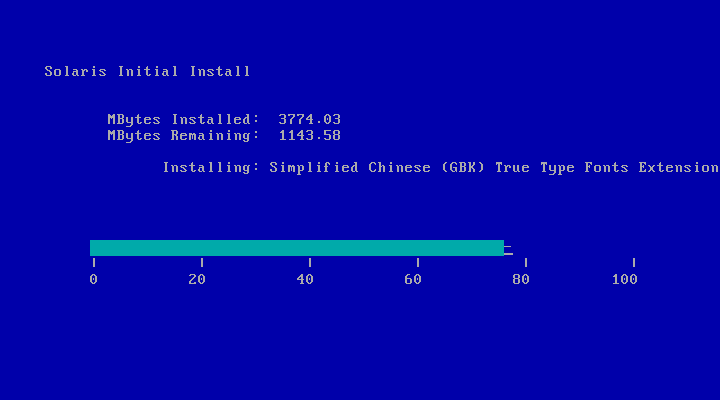
- กด F2 Continue เพื่อเริ่มทำการติดตั้ง
- รอจนติดตั้งเสร็จ
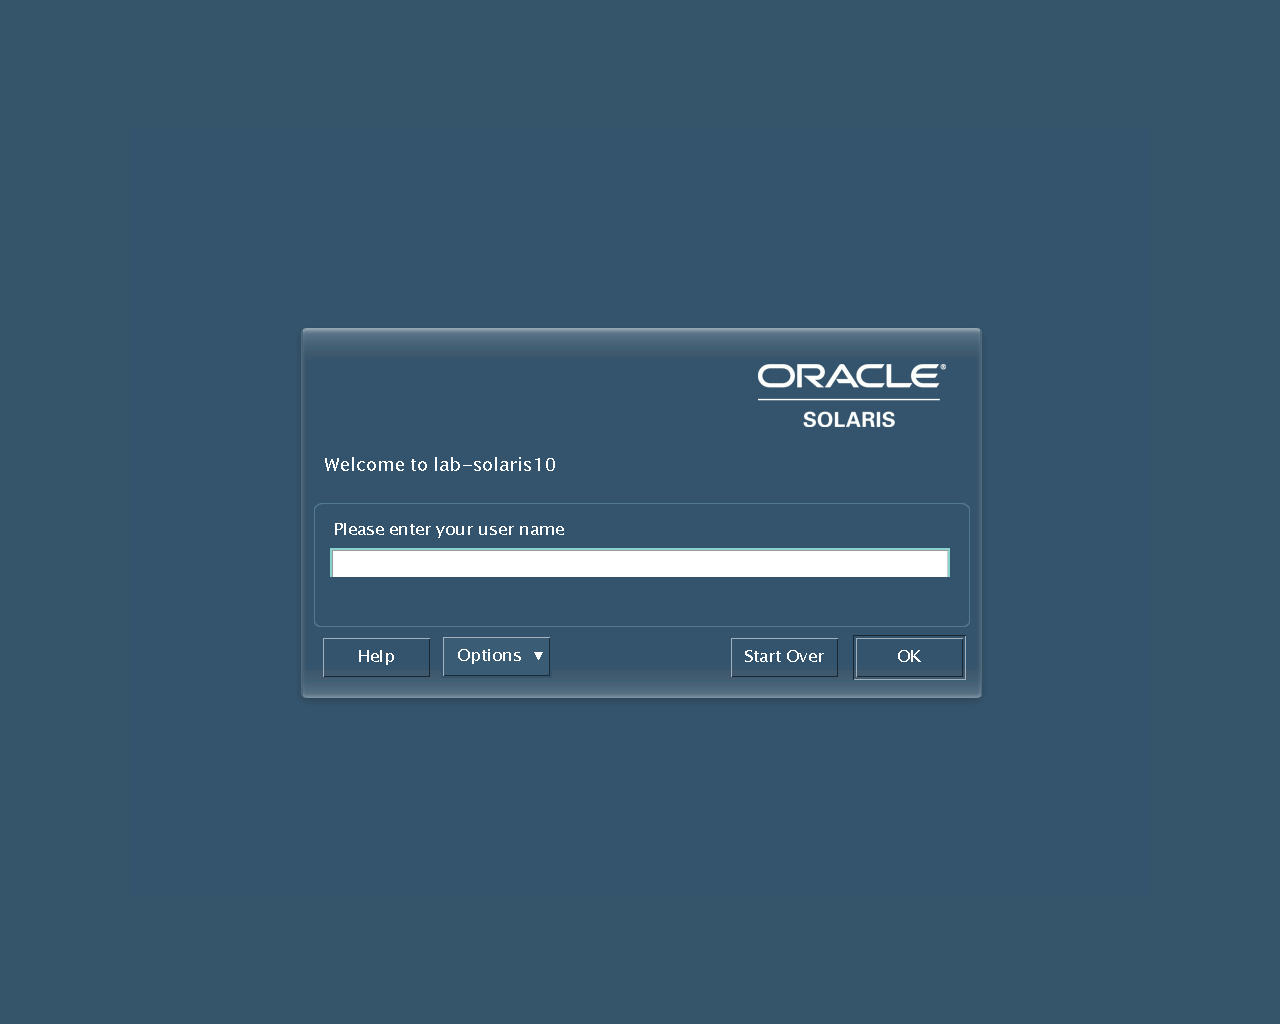
- จะขึ้นหน้าจอ Log In
Tagged: Solaris
Leave a Reply