หลังจากที่เราได้ทำการสร้าง Function App กันไปแล้ว คราวนี้ก็ถึงเวลาที่จะต่อกับ Microsoft Graph API โดยมีข้อควรระวังคือไม่ควรคัดลอก JSON มาวาง เพราะอาจจะต้องทำการ Install Extension ซึ่งมันจะไม่ขึ้นให้ Install ต้องทำการ Add Parameter แบบคลิกแทน ถึงจะขึ้นให้ทำการ Install
Get Started
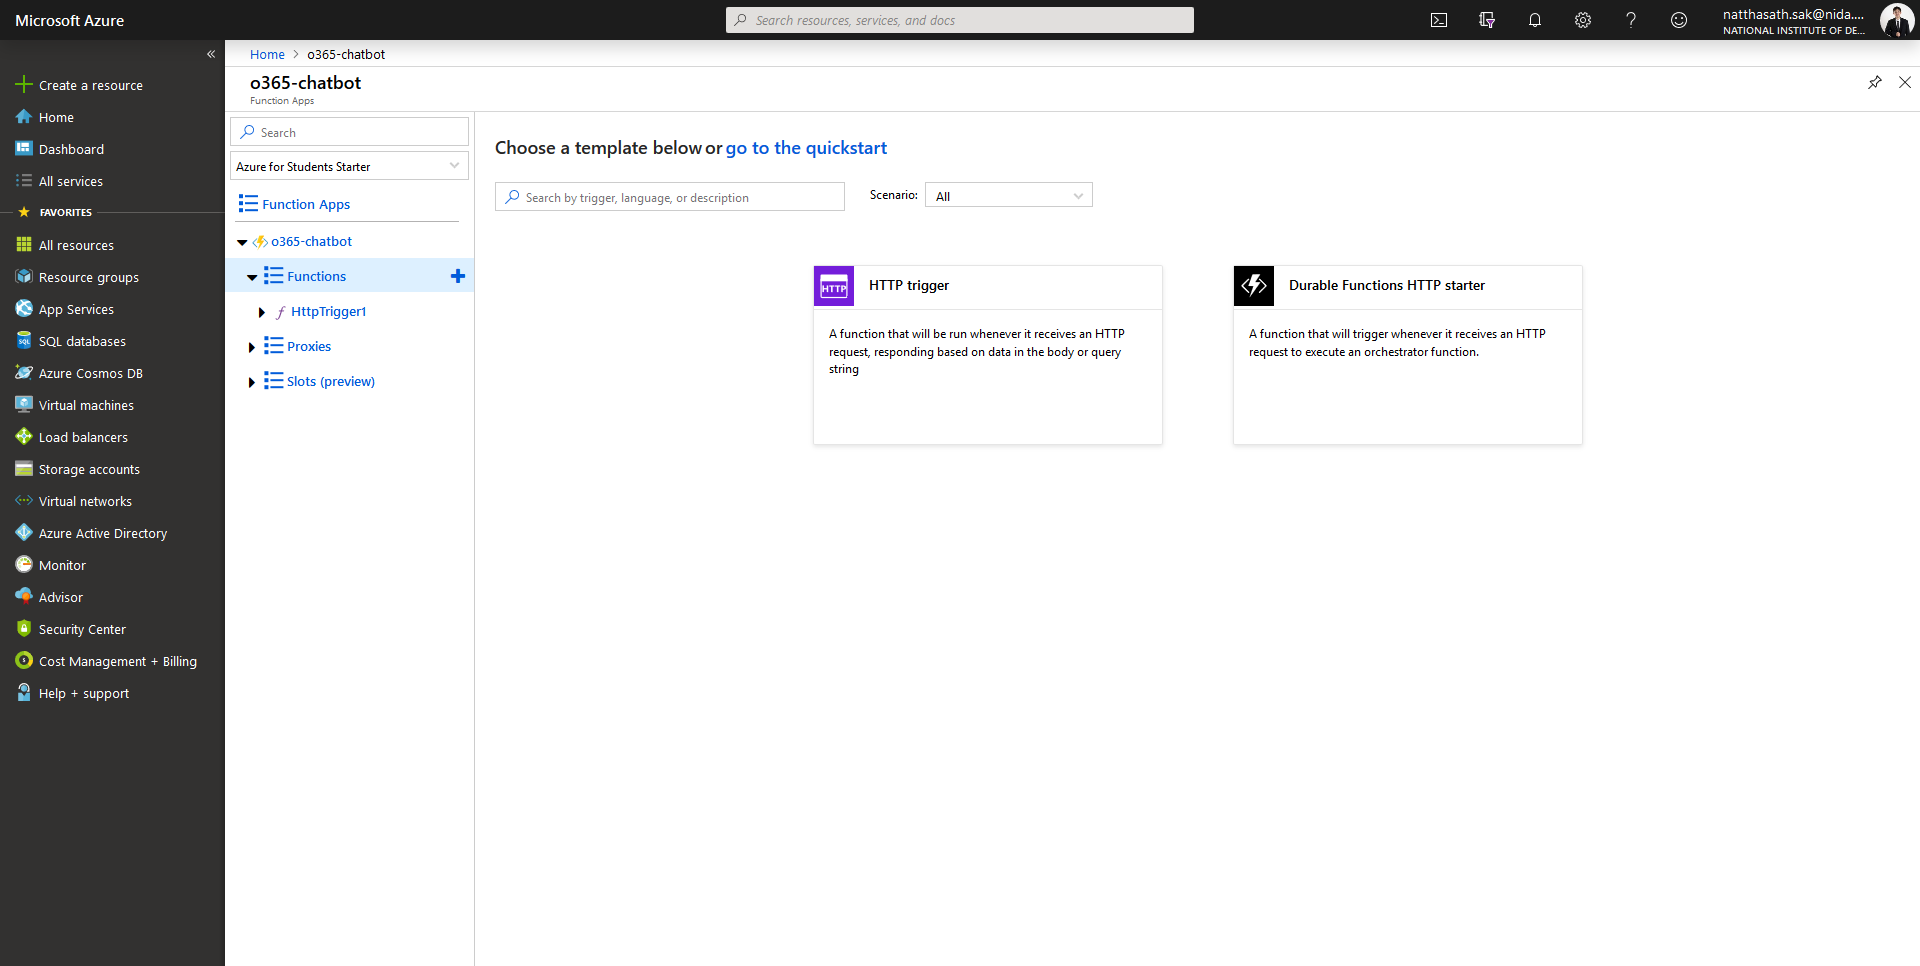
- คลิก New Function

- คลิก HTTP Trigger
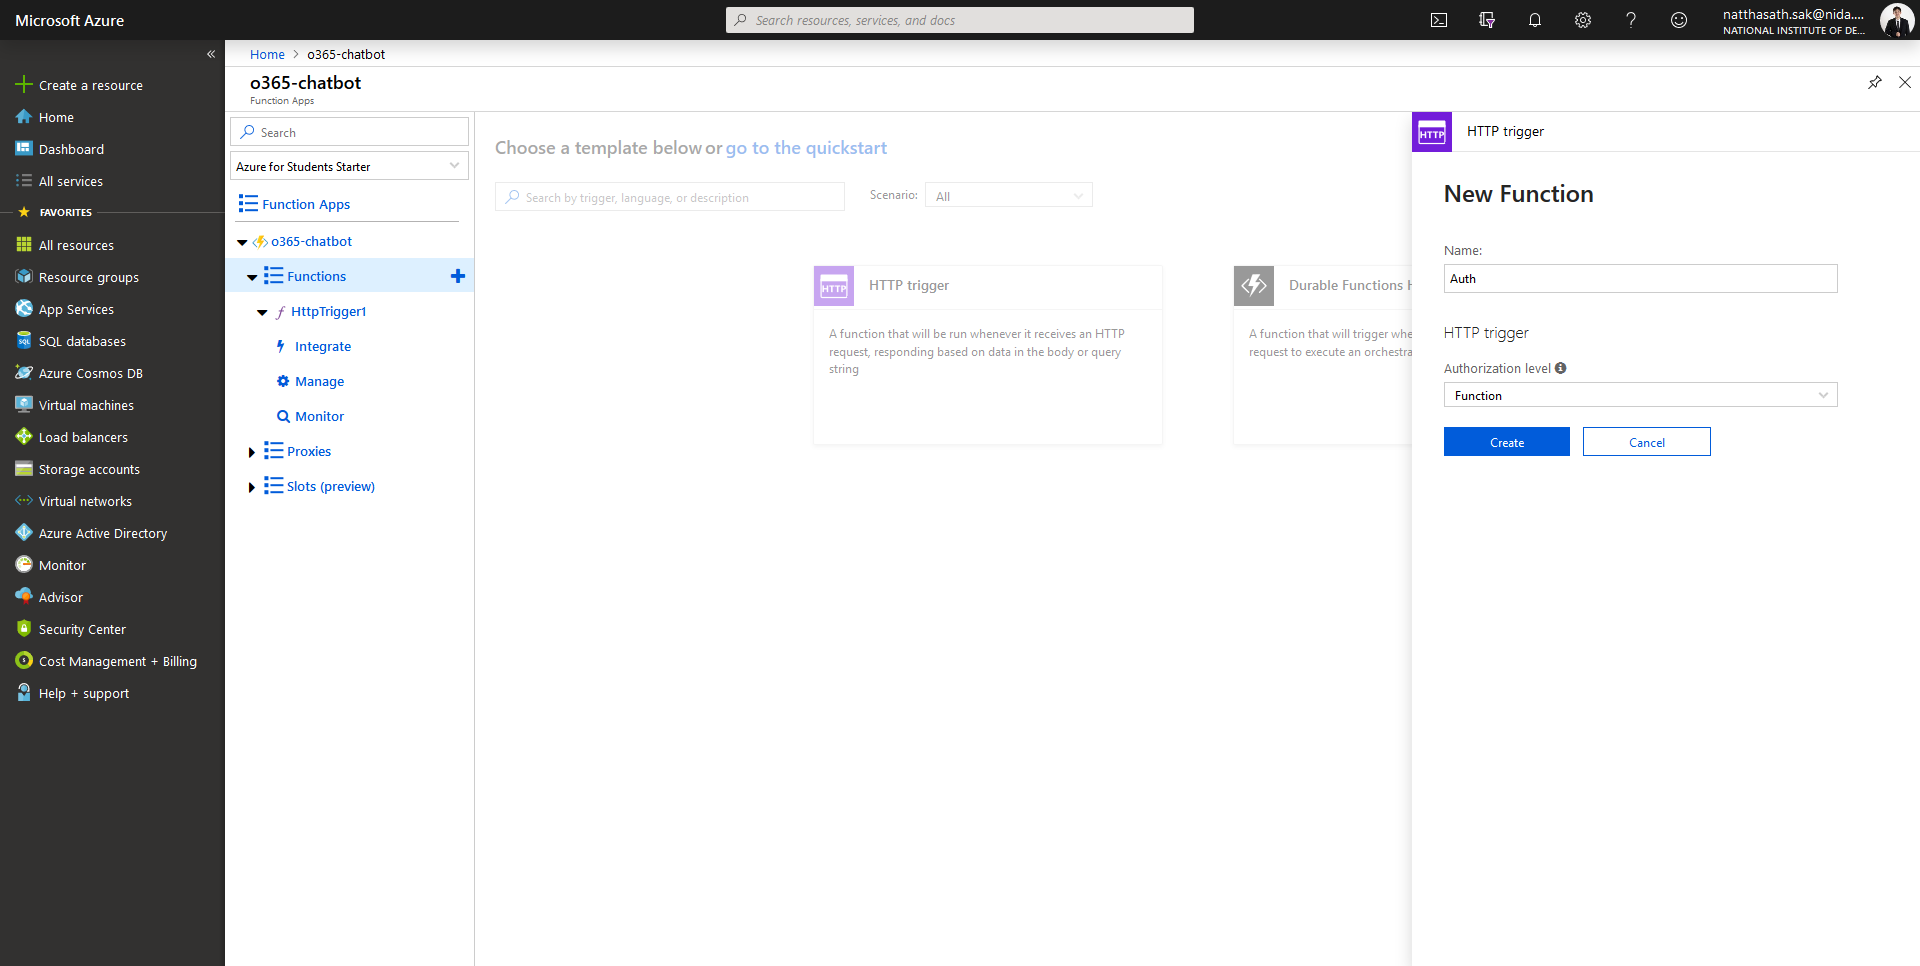
- กำหนดชื่อ Function Name แล้วคลิก Create
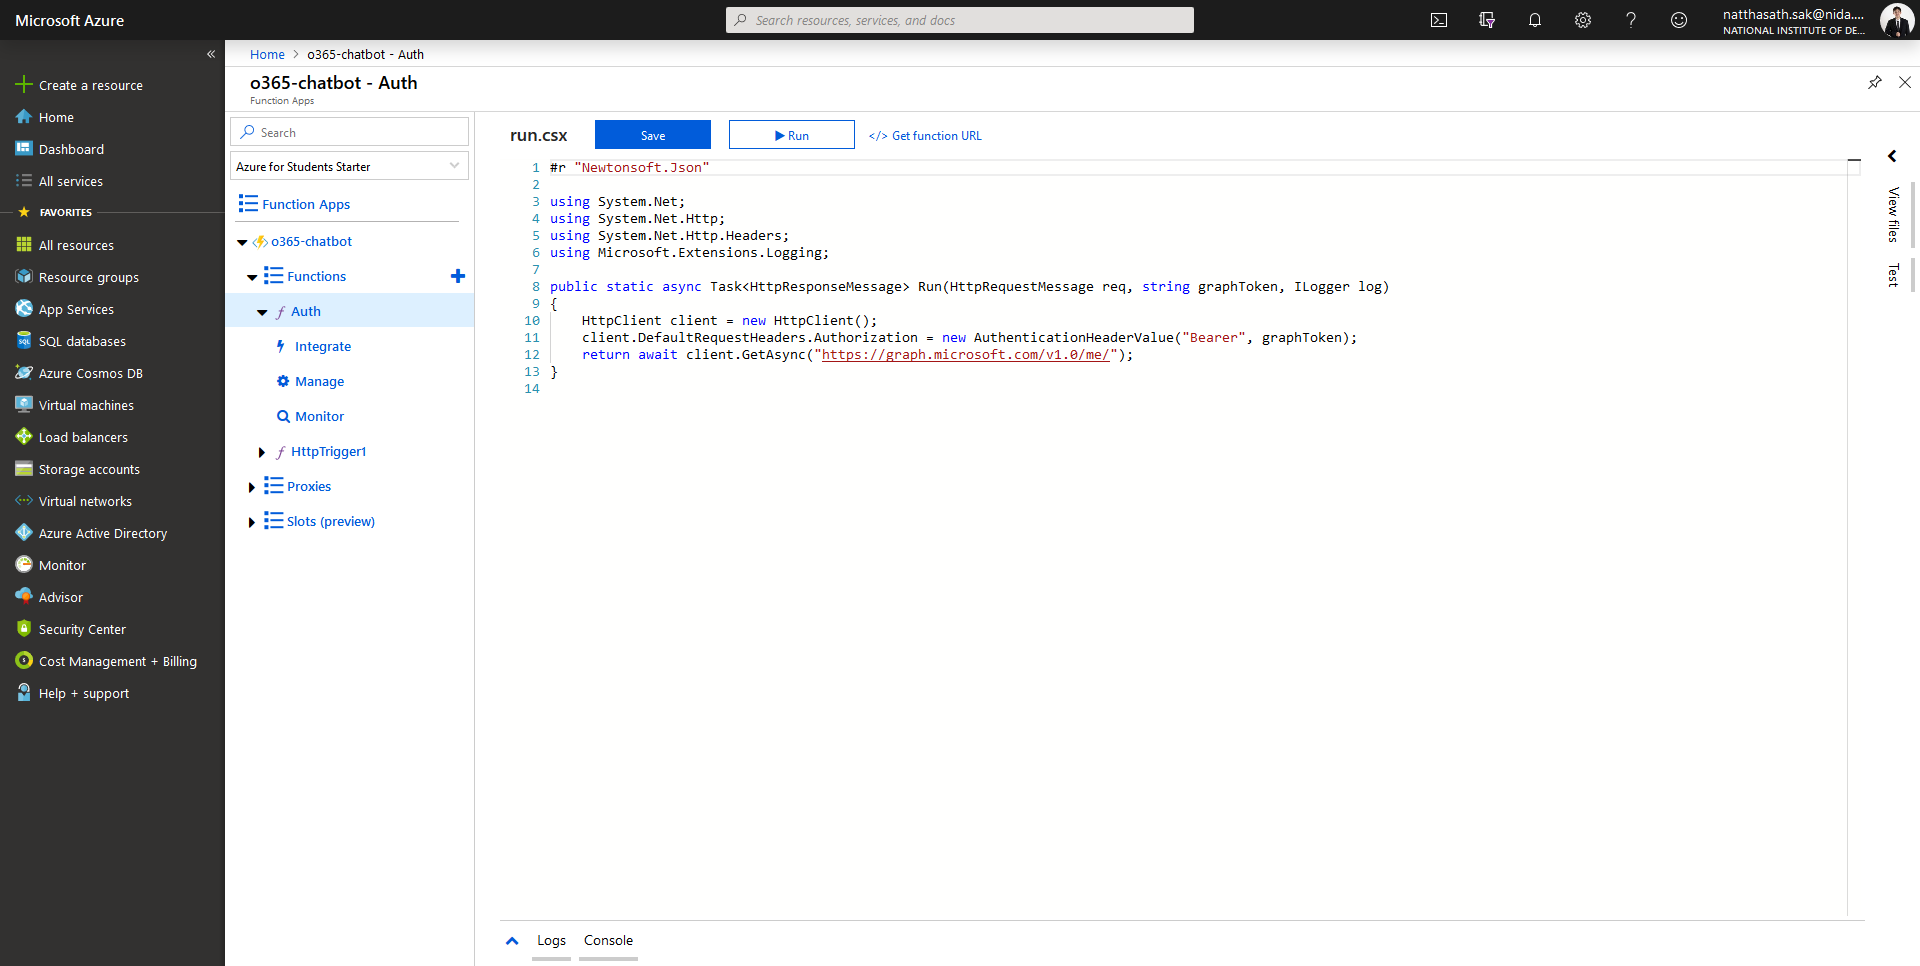
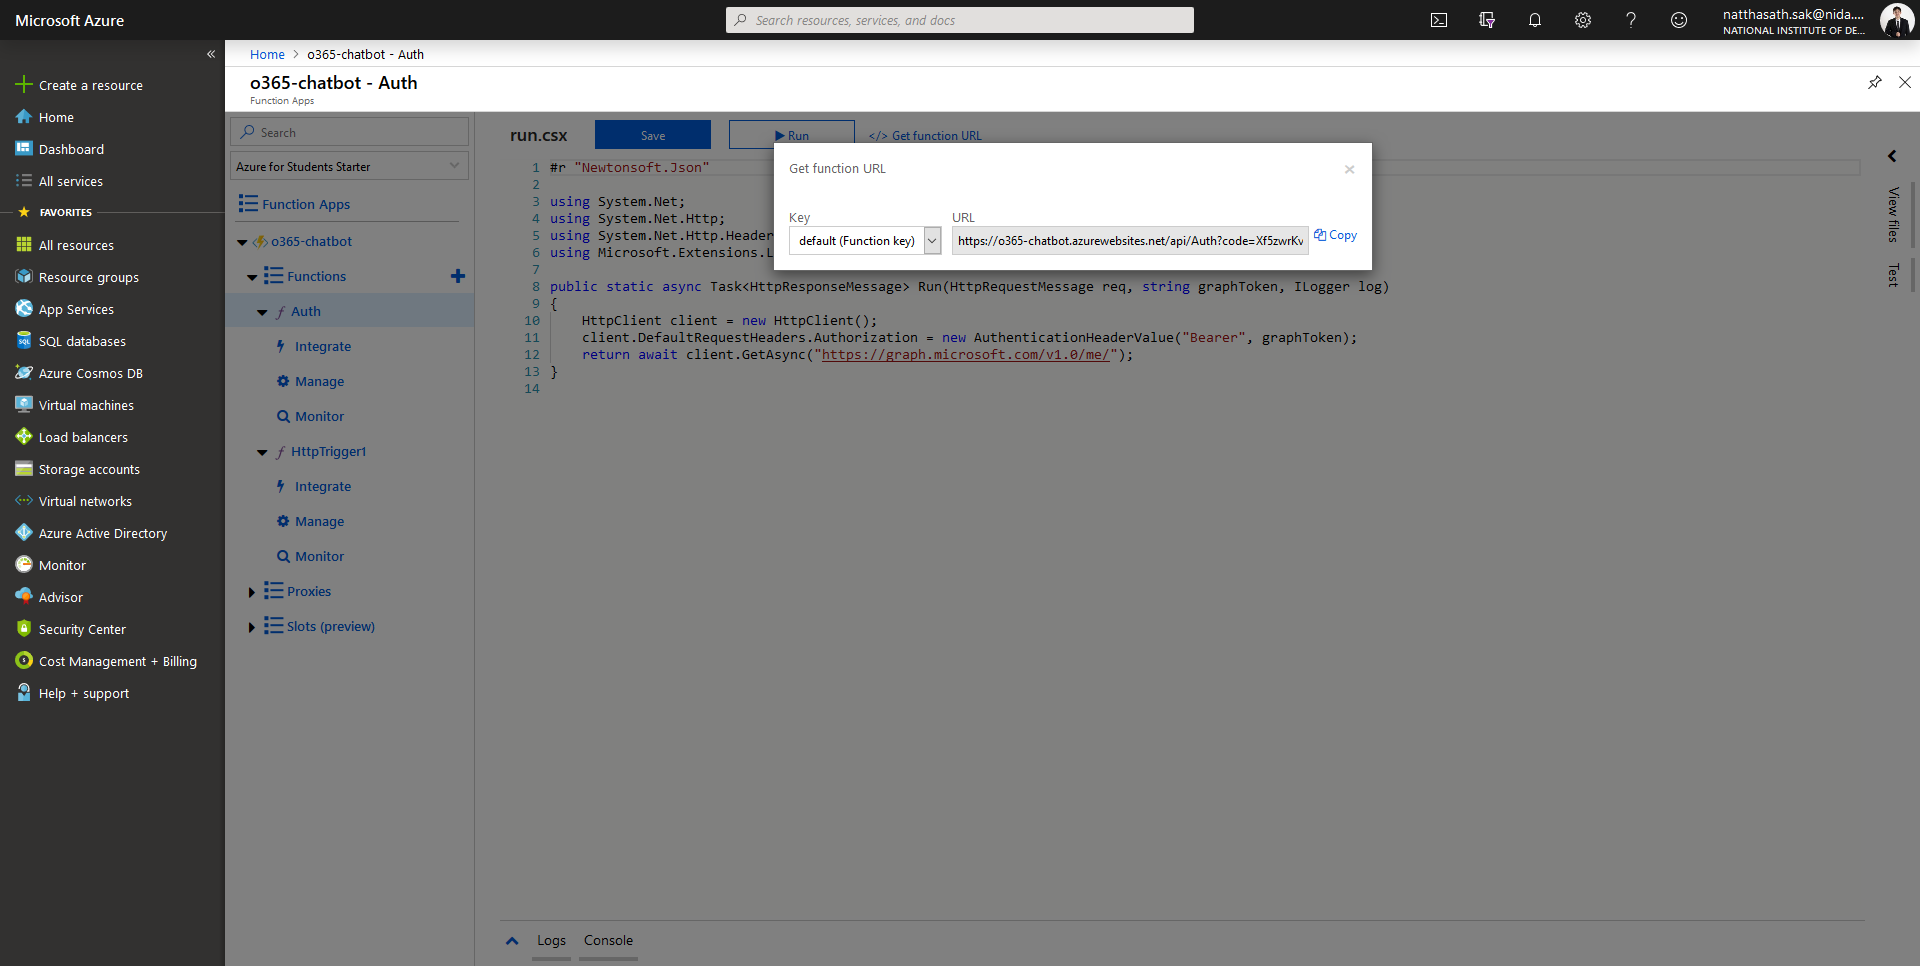
- ทำการแก้ไขไฟล์ run.csx
#r "Newtonsoft.Json"
using System.Net;
using System.Net.Http;
using System.Net.Http.Headers;
using Microsoft.Extensions.Logging;
public static async Task Run(HttpRequestMessage req, string graphToken, ILogger log)
{
HttpClient client = new HttpClient();
client.DefaultRequestHeaders.Authorization = new AuthenticationHeaderValue("Bearer", graphToken);
return await client.GetAsync("https://graph.microsoft.com/v1.0/me/");
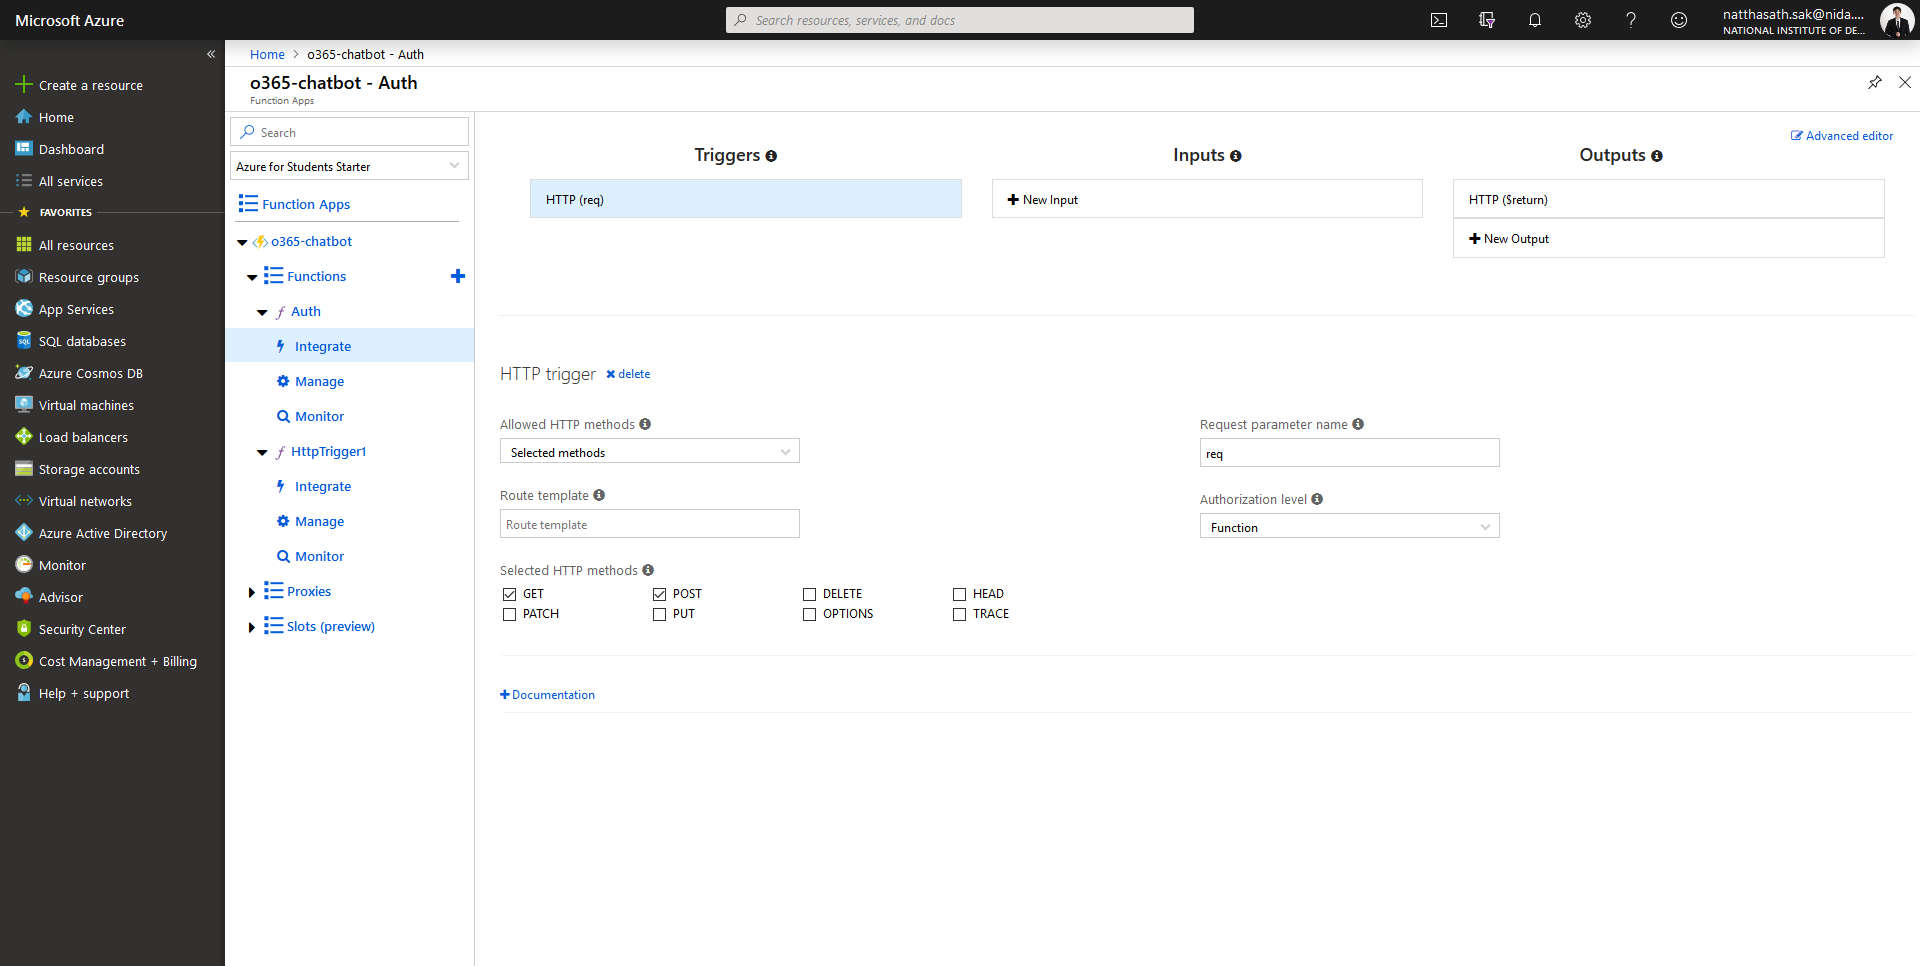
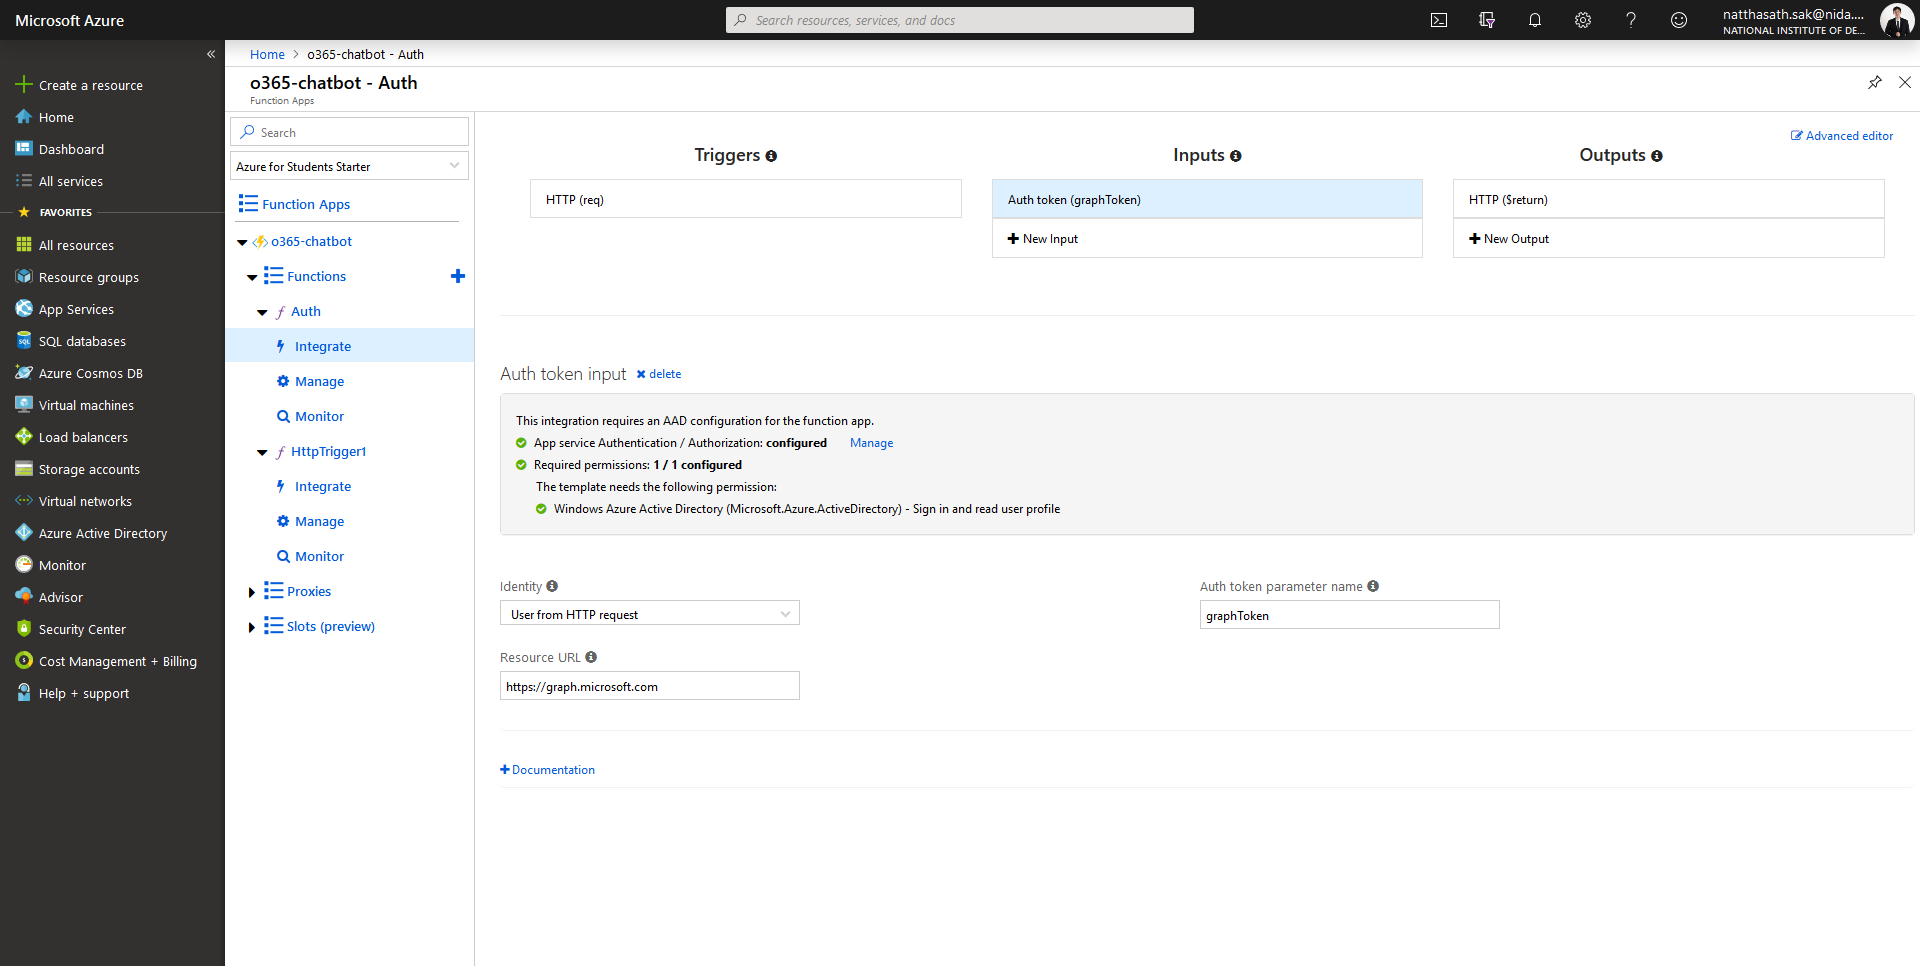
}- เลือกฟังก์ชั่นที่เราสร้าง Auth แล้วคลิก Integrate
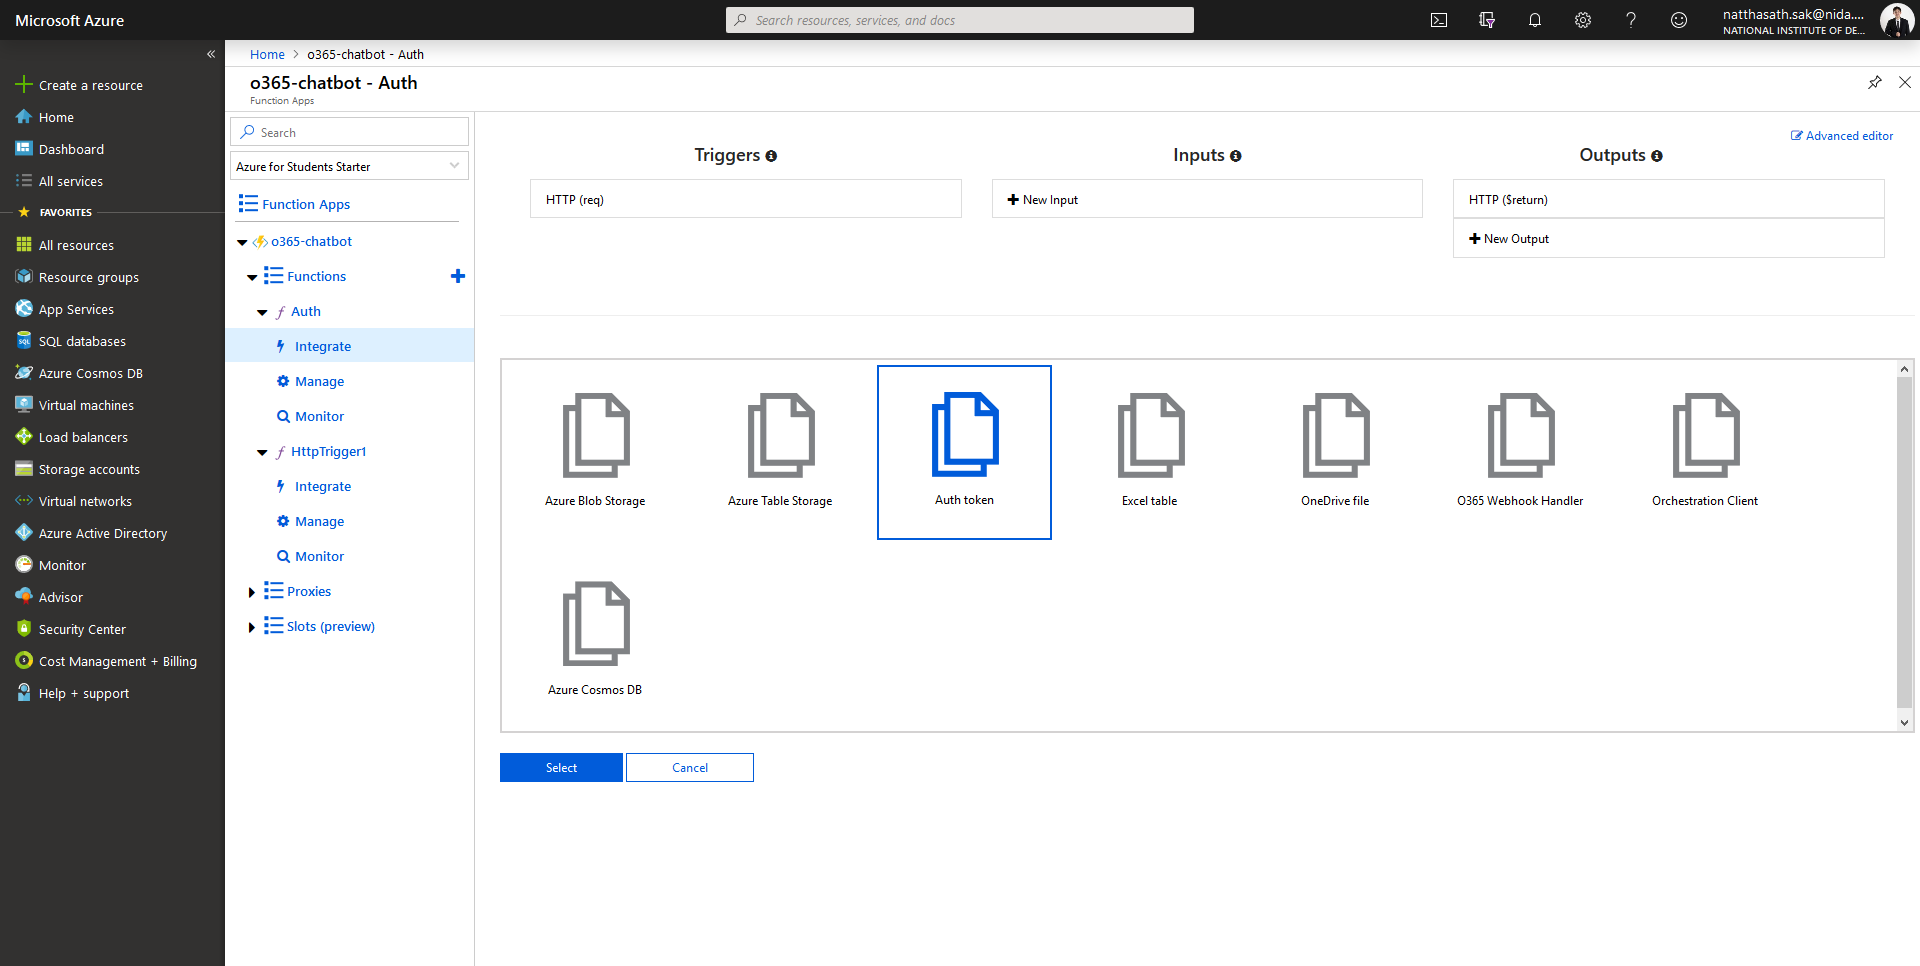
- คลิก Inputs
- เลือก Auth token แล้วคลิก Select
- ทำการติดตั้ง Extension คลิก Install
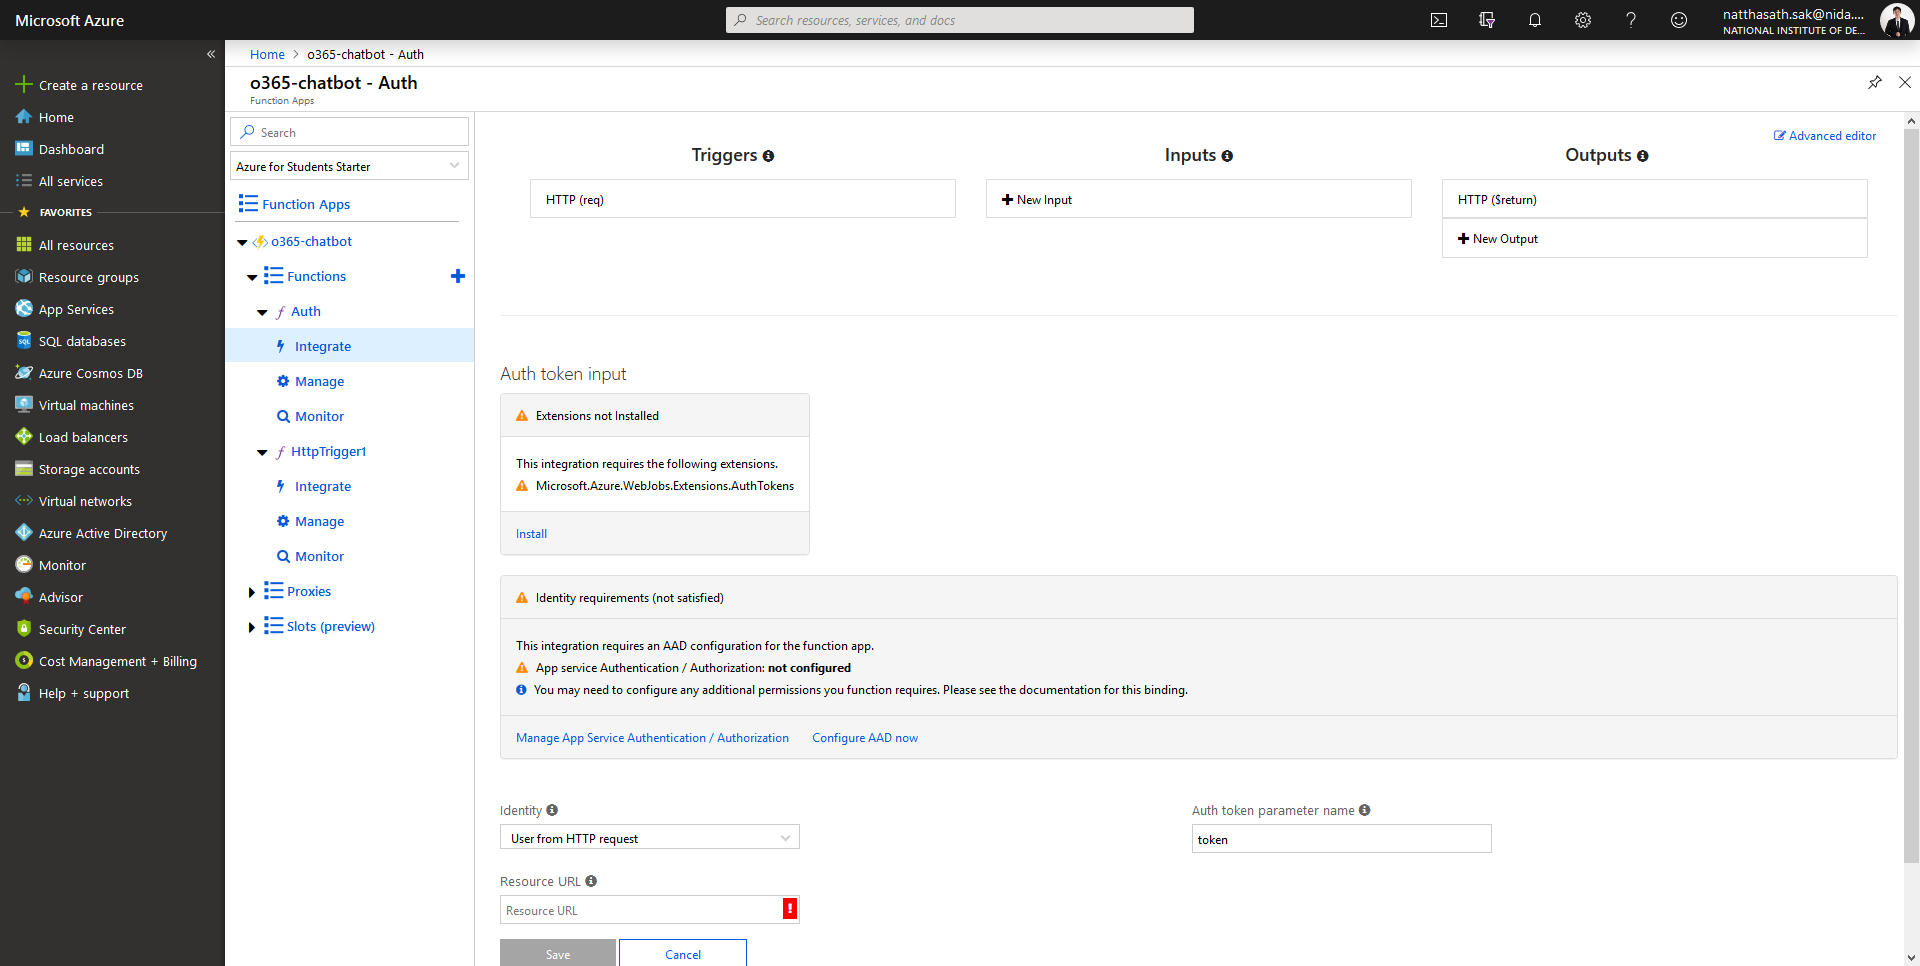
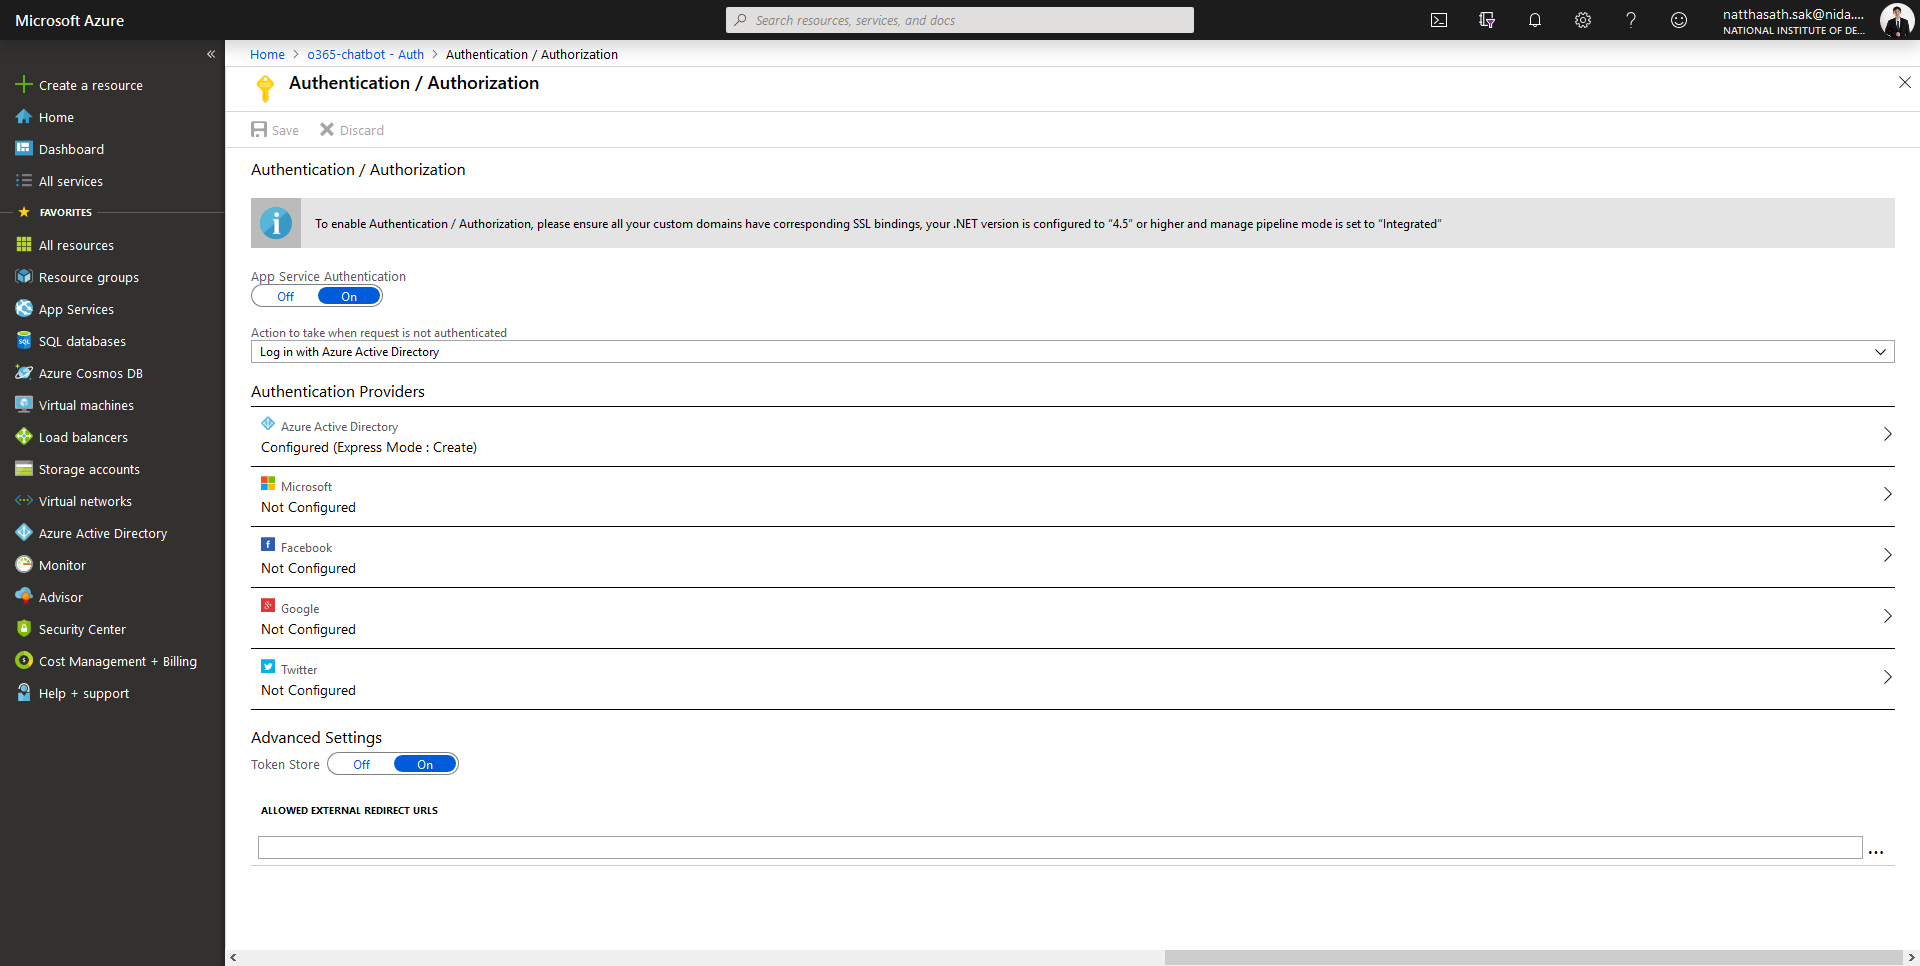
- คลิก Manage App Service Authentication / Authorization
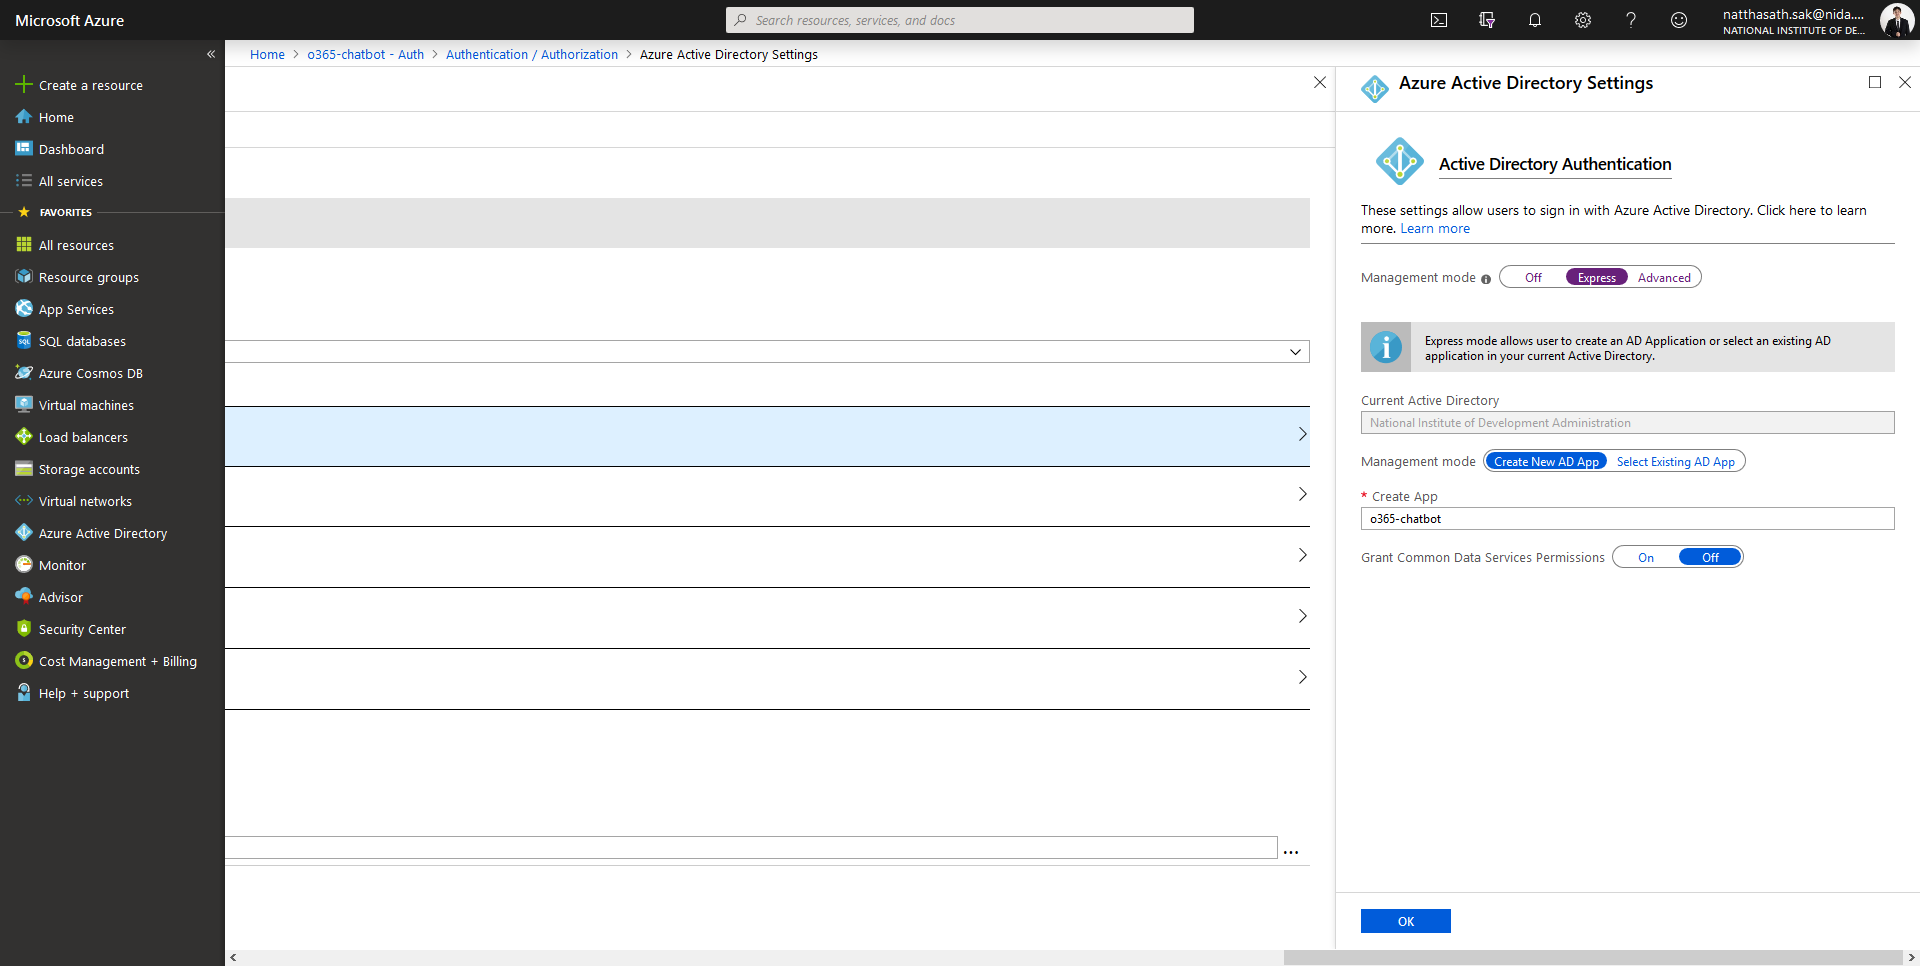
- ทำการ On App Service Authentication แล้วคลิก Azure Active Directory

- เลือก Management Mode เป็น Express แล้วคลิก OK
- เลือก Action Request เป็น Log in with Azure Active Directory แล้วคลิก Save
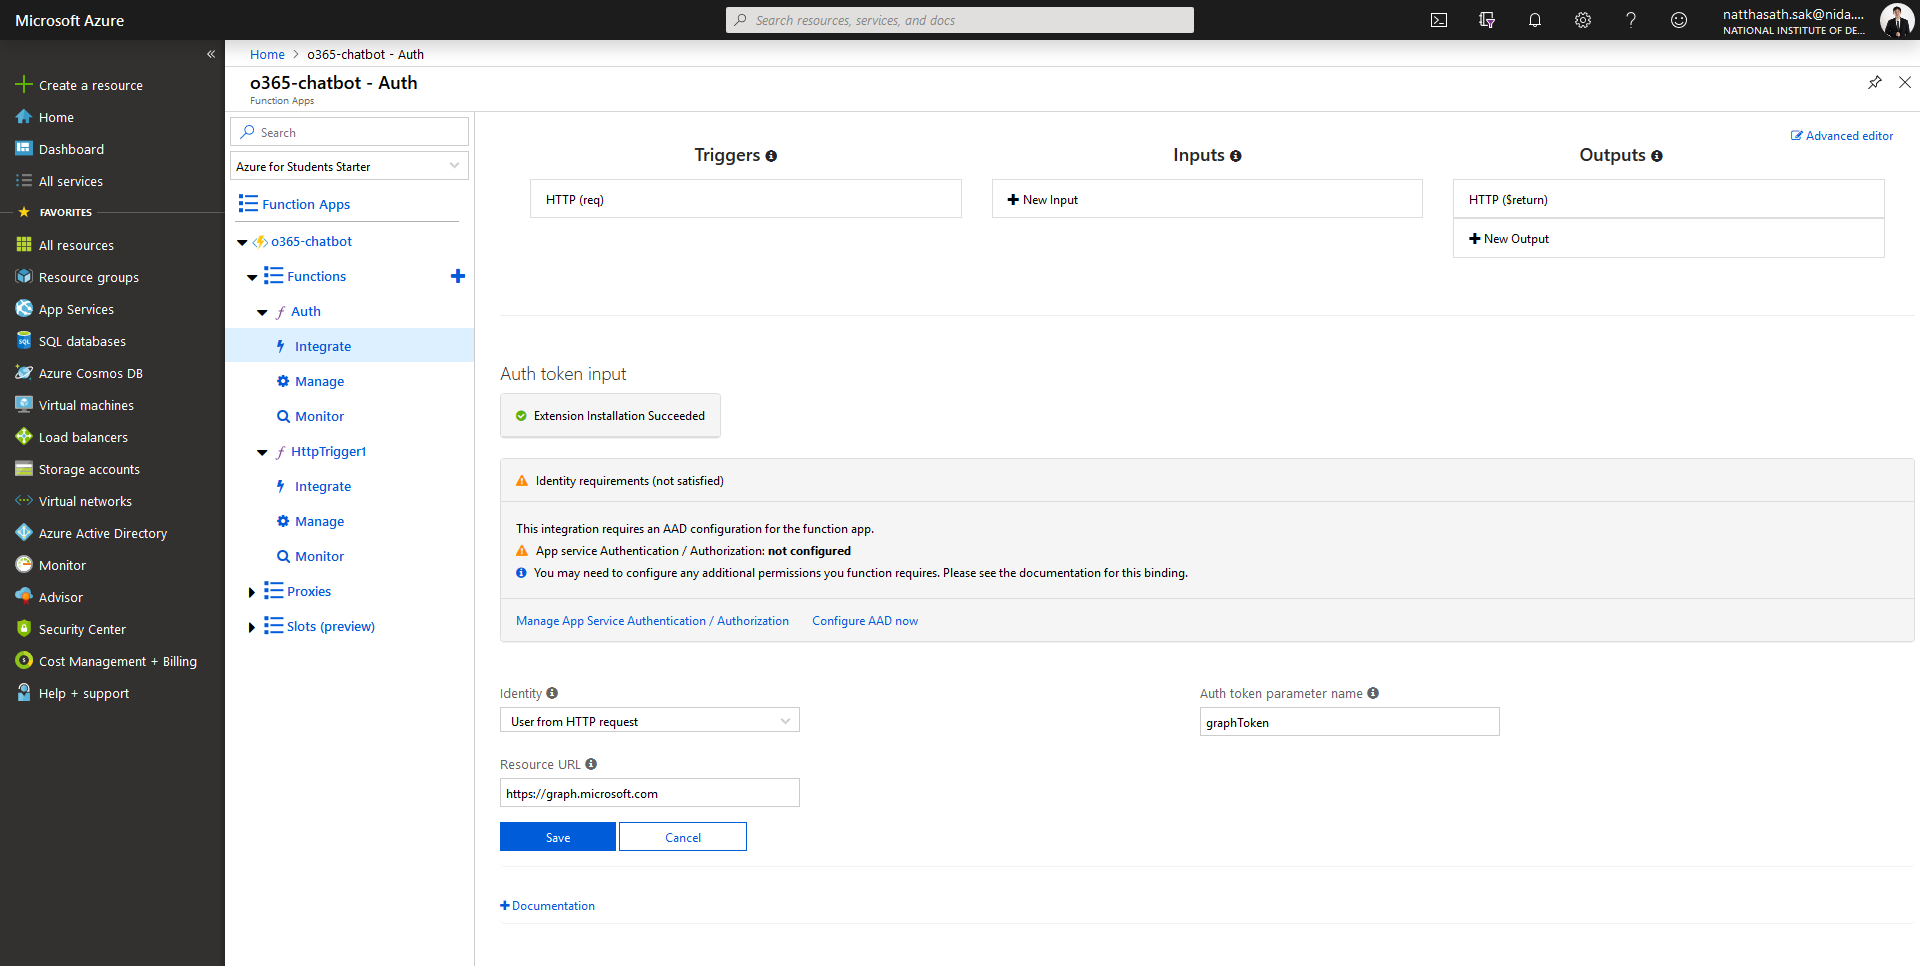
- ทำการแก้ไข Resource URL ที่จะยิงไปหา และแก้ไขชื่อ Parameter Name เป็น graphToken แล้วคลิก Save
- ทำการ Refresh หน้าจอ ฟังก์ชัน Auth จะพร้อมใช้งานแล้ว
- ลองทำการเรียกผ่าน Browser โดยคลิก Get function URL
- คลิก Accept
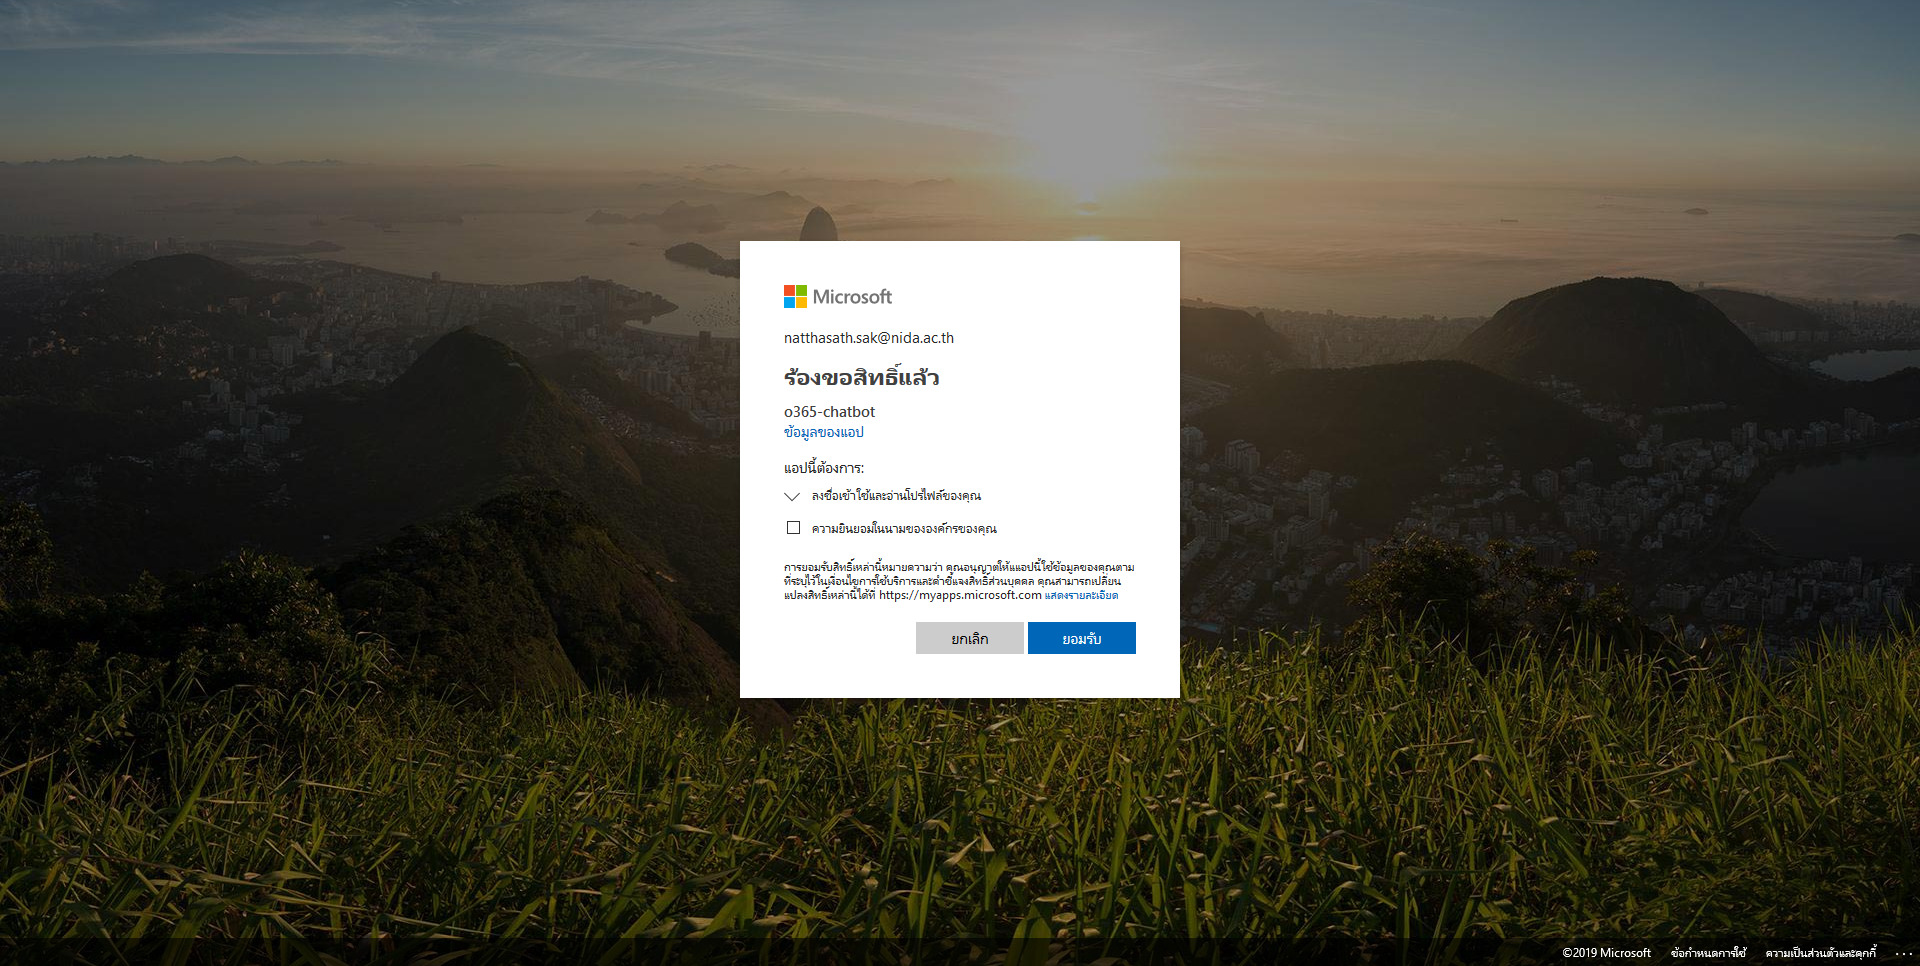
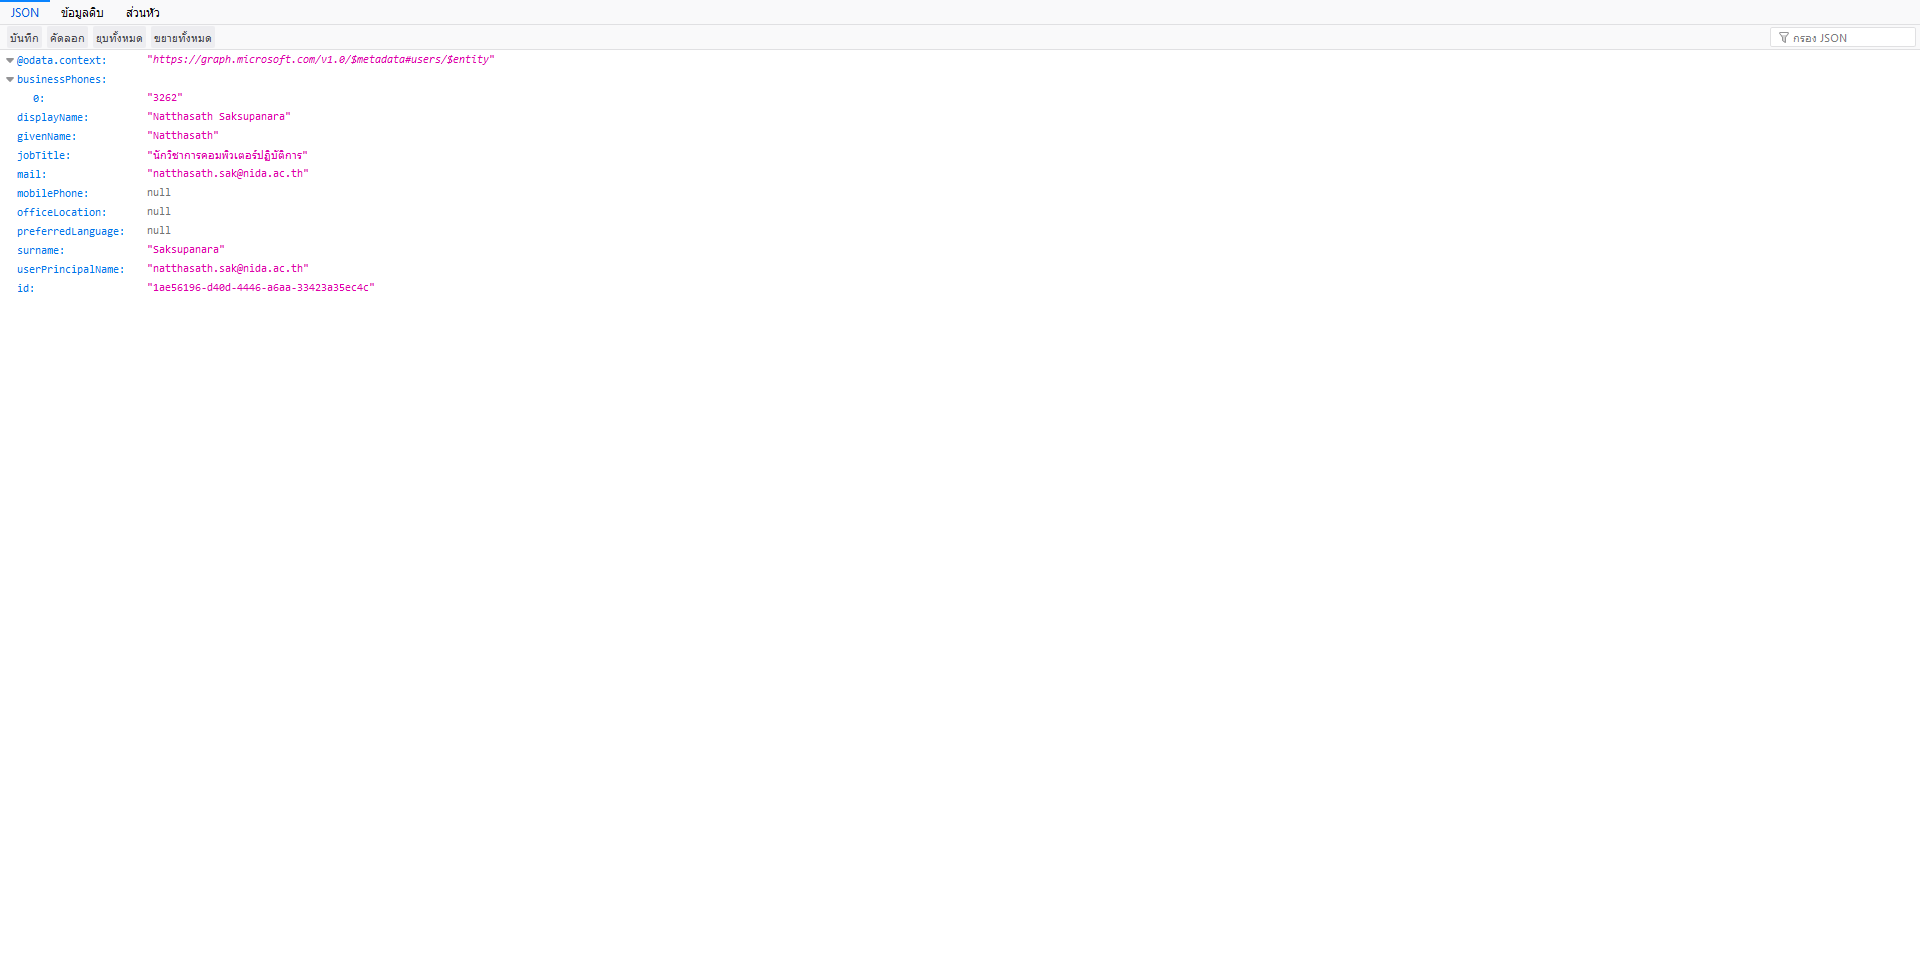
- จะแสดงผลลัพธ์ในรูปแบบ JSON
อ่านเพิ่มเติม : https://bit.ly/2FSLgi6
Tagged: Microsoft Azure
Leave a Reply