Solr เป็น Open Source Searcg Platform เขียนด้วยภาษา Java ของ Apache Software Foundation บน Apache Lucene Project ถูกออกแบบมาเพื่อใช้ในการจัดการเอกสารแบบ Full Text Search เหมาะสำหรับการทำเป็นสารานุกรม
Concept
Solr จะแบ่งออกเป็น 2 โหมด คือ Standalone Mode, Cloud Mode และประกอบด้วย Operation 4 อย่าง
- Indexing : การ Convert Document ให้อยู่ในรูปของ Index เพื่อความรวดเร็วในการค้นหา
- Querying : การ Search Document โดยสามารถทำการค้นหาแบบ Full Text Search, Field Search, Phrase Search, Combine Search
- Mapping : การ Mapping ระหว่าง User Query กับ Document Store ที่ถูกเก็บอยู่ใน Database
- Ranking : การจัดอันดับ Ranking ทันทีเมื่อทำการค้นหา แล้วแสดงผลลัพธ์ตามความสัมพันธ์
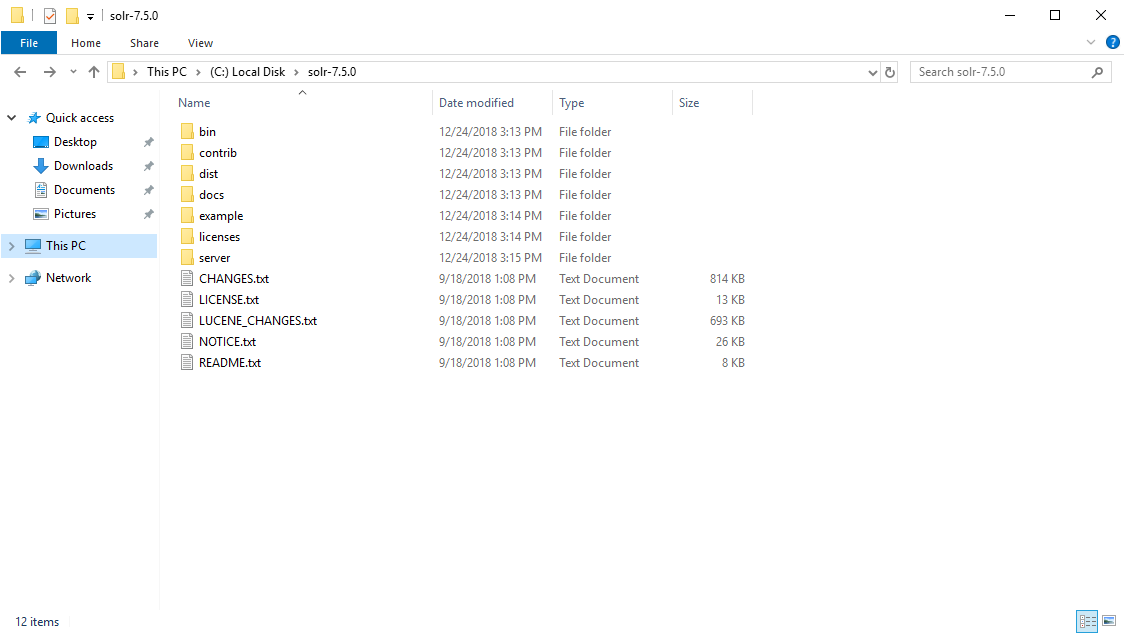
Directory Structure
/
   solr.xml
   core_name1/
      core.properties
      conf/
         solrconfig.xml
         managed-schema
      data/
   core_name2/
      core.properties
      conf/
         solrconfig.xml
         managed-schema
      data/
Step by Step
- Setup and Runing : จะเป็นการ Start Solr, สร้าง Collection, สร้าง Index และการ Search
- Ingestion a Variety of Data Source into Multiple Collection : การจัดการข้อมูล การร้องขอข้อมูล
- Solr Administrative and Search Interface : การนำไป Implement
Download
Install
- ทำการดาวน์โหลด Apache Solr แล้ววางไว้ใน C:\ พร้อมทำการติดตั้ง Java
- ทำการ Start Solr แบบ Example Cloud Mode
# C:\> cd solr-7.5.0\bin
# C:\solr-7.5.0\bin> solr start -e cloud- กำหนด Solr Node บน Local Workstation ได้แค่ 1 – 4 Node ซึ่งค่า Default คือ 2 Node แล้วกด Enter
Welcome to the SolrCloud example!

This interactive session will help you launch a SolrCloud cluster on your local workstation.
To begin, how many Solr nodes would you like to run in your local cluster? (specify 1-4 nodes) [2]:- ระบุ Port ของ Node 1 ซึ่งค่า Default คือ 8983 แล้วกด Enter
Ok, let's start up 2 Solr nodes for your example SolrCloud cluster.
Please enter the port for node1 [8983]:- ระบุ Port ของ Node 2 ซึ่งค่า Default คือ 7574 แล้วกด Enter
Please enter the port for node2 [7574]:- กำหนด Shard ซึ่งค่า Default คือ 2 แล้วกด Enter
How many shards would you like to split gettingstarted into? [2]- กำหนด Raplica per Shard ซึ่งค่า Default คือ 2 แล้วกด Enter
How many replicas per shard would you like to create? [2]- กำหนด Configuration ให้ใช้ค่า Default
Please choose a configuration for the gettingstarted collection, available options are:
_default or sample_techproducts_configs [_default]- รอจนติดตั้งเสร็จ
Created collection 'gettingstarted' with 2 shard(s), 2 replica(s) with config-set 'gettingstarted'

Enabling auto soft-commits with maxTime 3 secs using the Config API

POSTing request to Config API: http://localhost:8983/solr/gettingstarted/config
{"set-property":{"updateHandler.autoSoftCommit.maxTime":"3000"}}
Successfully set-property updateHandler.autoSoftCommit.maxTime to 3000

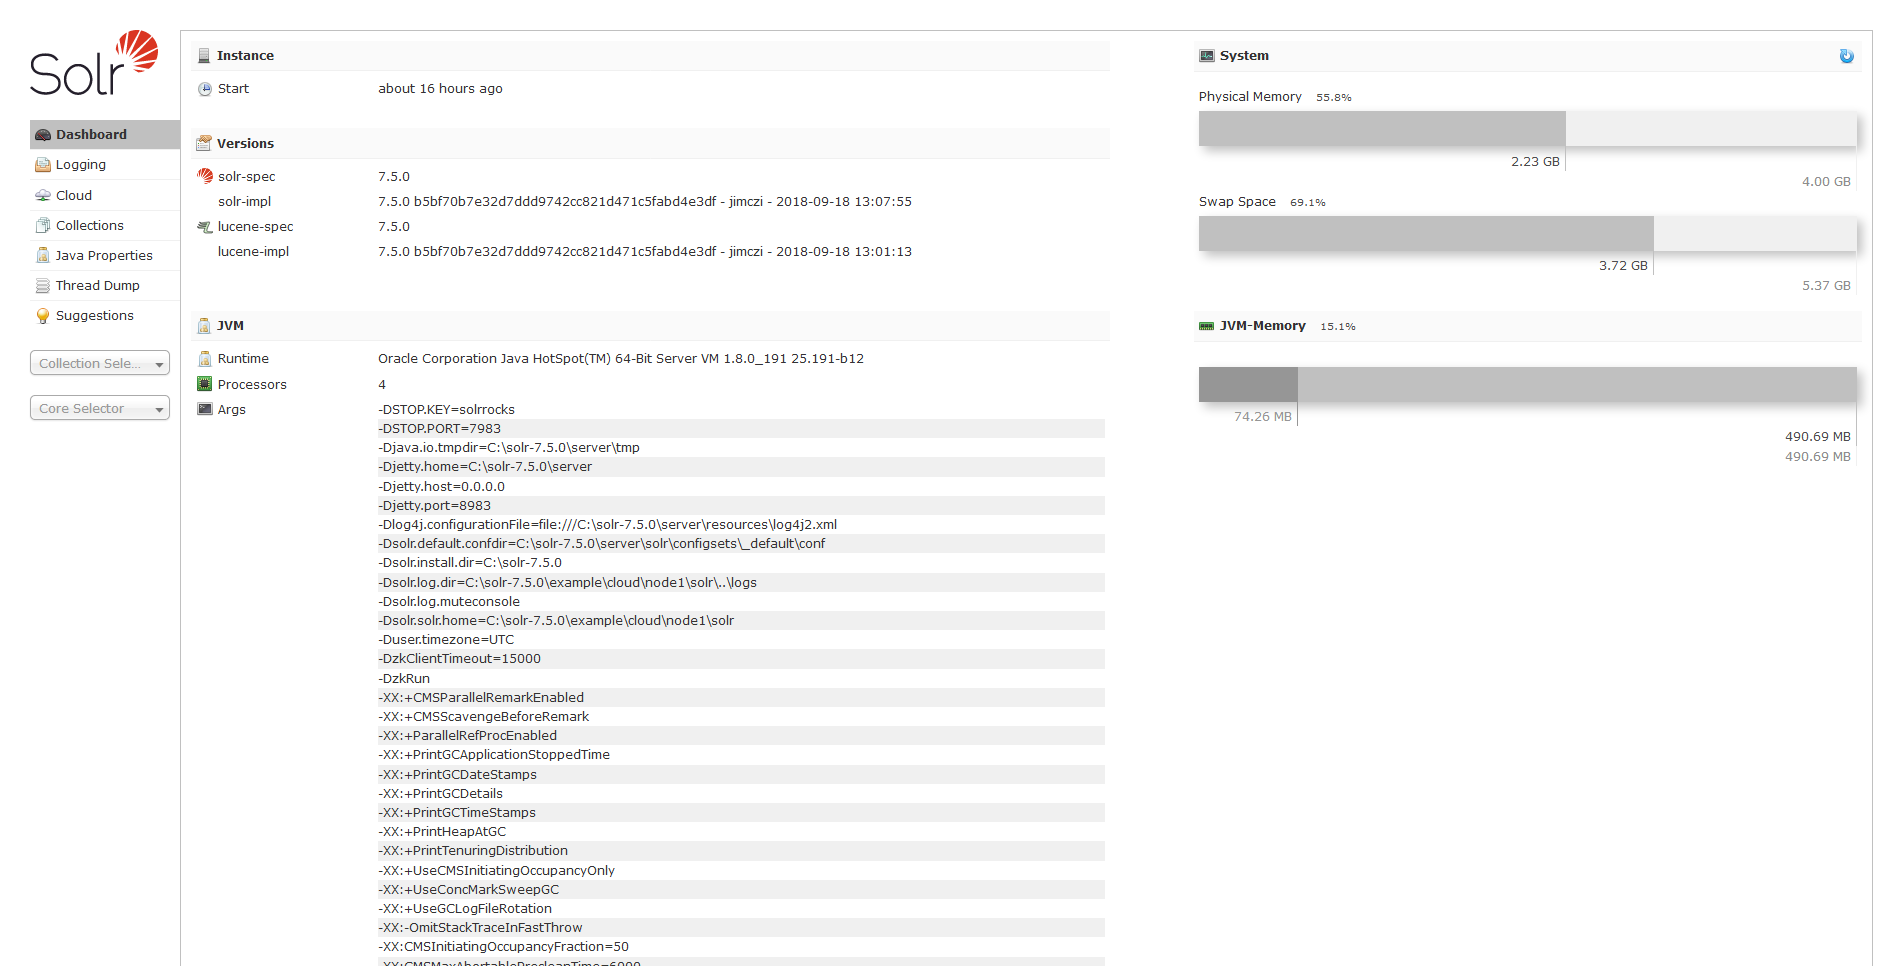
SolrCloud example running, please visit: http://localhost:8983/solr- เข้าไปที่หน้าเว็บ http://localhost:8983/solr
- ทำ Index Document ของ Data ในโฟลเดอร์ example/exampledocs ด้วย Java
# C:\solr-7.5.0> java -jar -Dc=gettingstarted -Dauto example/exampledocs/post.jar example/exampledocs/*
SimplePostTool version 5.0.0
Posting files to [base] url http://localhost:8983/solr/gettingstarted/update...
Entering auto mode. File endings considered are xml,json,jsonl,csv,pdf,doc,docx,ppt,pptx,xls,xlsx,odt,odp,ods,ott,otp,ots,rtf,htm,html,txt,log
POSTing file books.csv (text/csv) to [base]
POSTing file books.json (application/json) to [base]/json/docs
POSTing file gb18030-example.xml (application/xml) to [base]
POSTing file hd.xml (application/xml) to [base]
POSTing file ipod_other.xml (application/xml) to [base]
POSTing file ipod_video.xml (application/xml) to [base]
POSTing file manufacturers.xml (application/xml) to [base]
POSTing file mem.xml (application/xml) to [base]
POSTing file money.xml (application/xml) to [base]
POSTing file monitor.xml (application/xml) to [base]
POSTing file monitor2.xml (application/xml) to [base]
POSTing file more_books.jsonl (application/json) to [base]/json/docs
POSTing file mp500.xml (application/xml) to [base]
POSTing file post.jar (application/octet-stream) to [base]/extract
POSTing file sample.html (text/html) to [base]/extract
POSTing file sd500.xml (application/xml) to [base]
POSTing file solr-word.pdf (application/pdf) to [base]/extract
POSTing file solr.xml (application/xml) to [base]
POSTing file test_utf8.sh (application/octet-stream) to [base]/extract
POSTing file utf8-example.xml (application/xml) to [base]
POSTing file vidcard.xml (application/xml) to [base]
21 files indexed.
COMMITting Solr index changes to http://localhost:8983/solr/gettingstarted/update...
Time spent: 0:00:19.870- ลองทำการ Query Data โดยเข้าไปที่ http://localhost:8983/solr/#/gettingstarted/query ซึ่งสามารถทำการ Query Data ผ่านทาง REST Client, CURL, WGET, POSTMAN ซึ่ง Solr จะ Return Data ออกมาในรูปแบบ JSON
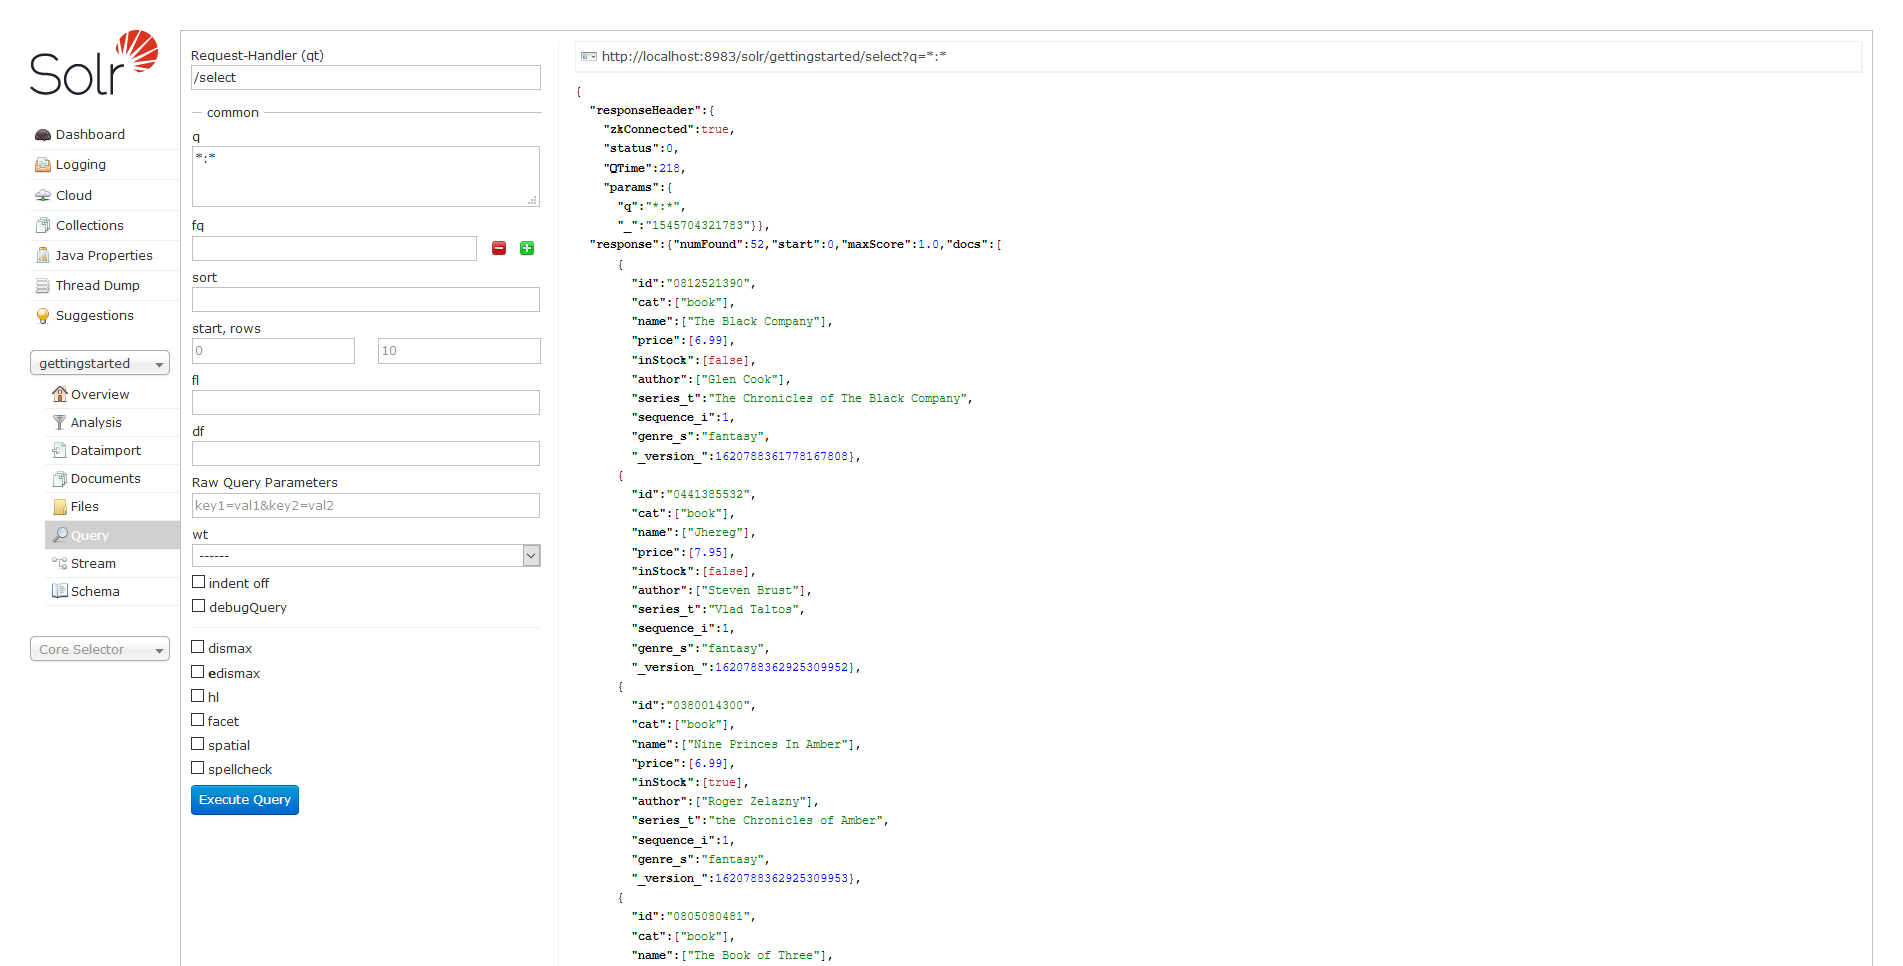
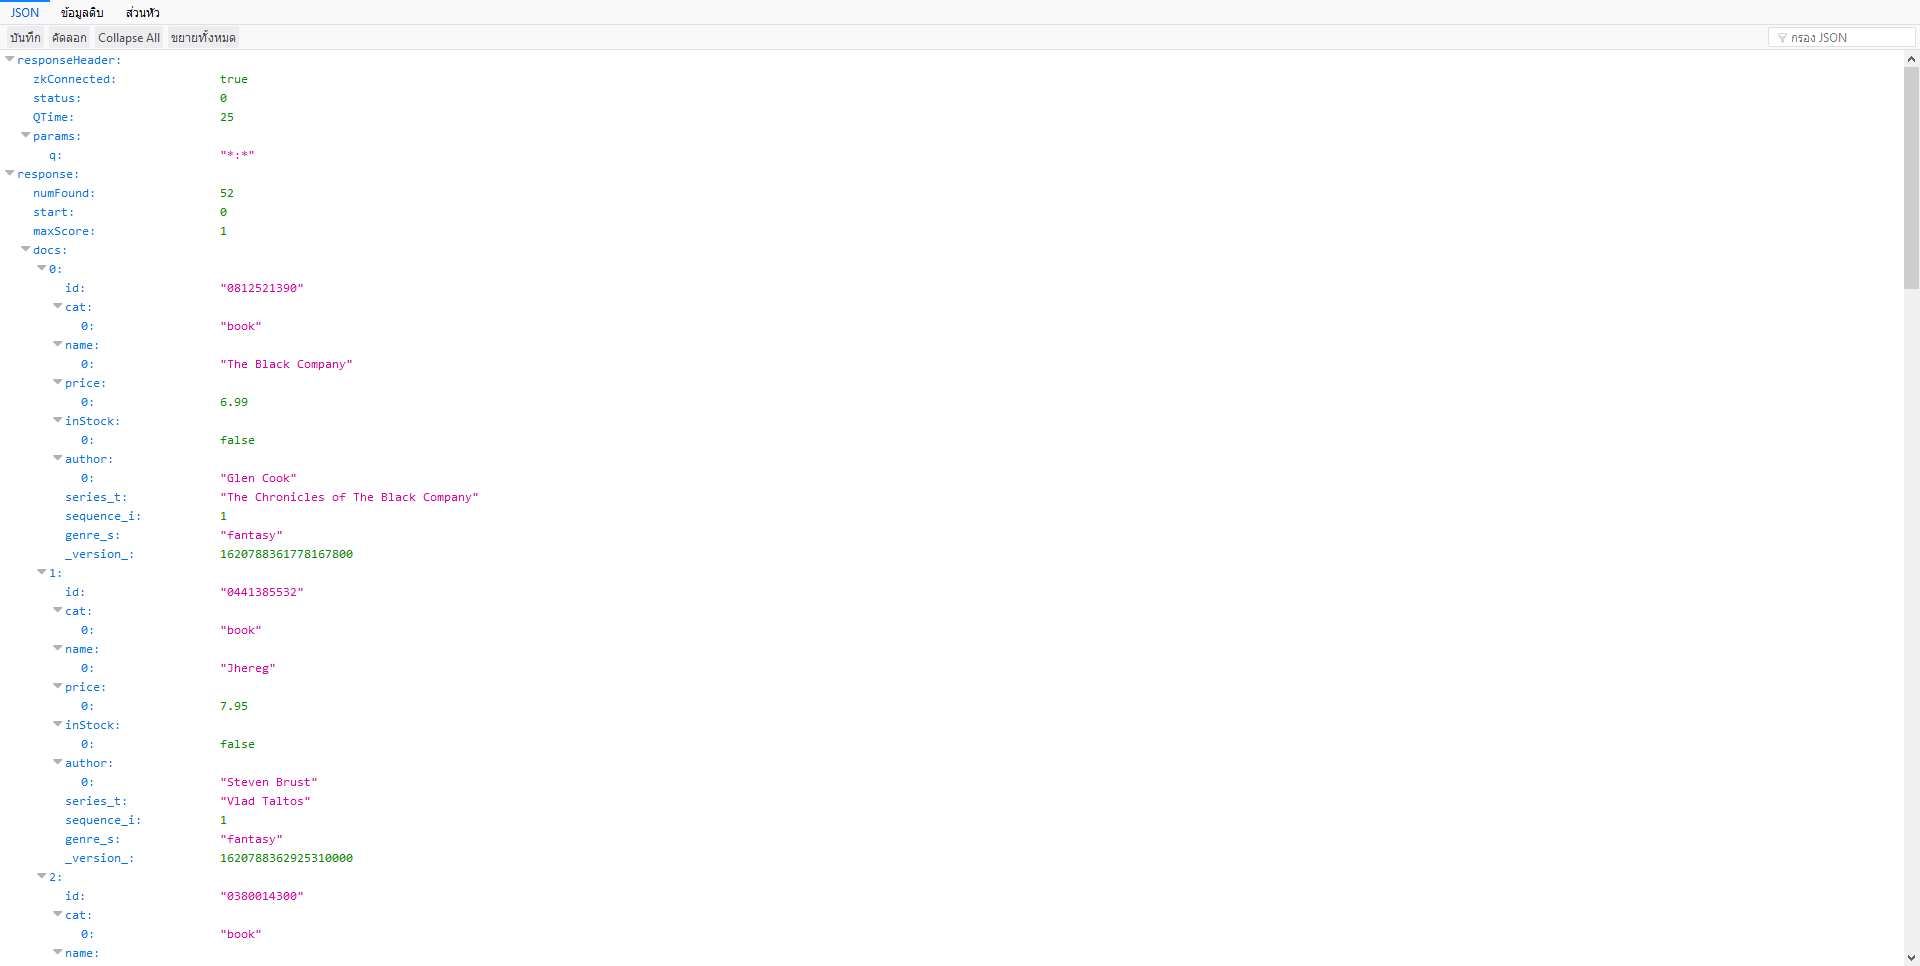
- ถ้าลองคลิก URL จะแสดงเป็น JSON ตามรูปแบบของ Browser หรือ Raw Response
- ลองทำการ Query Data ผ่าน CURL
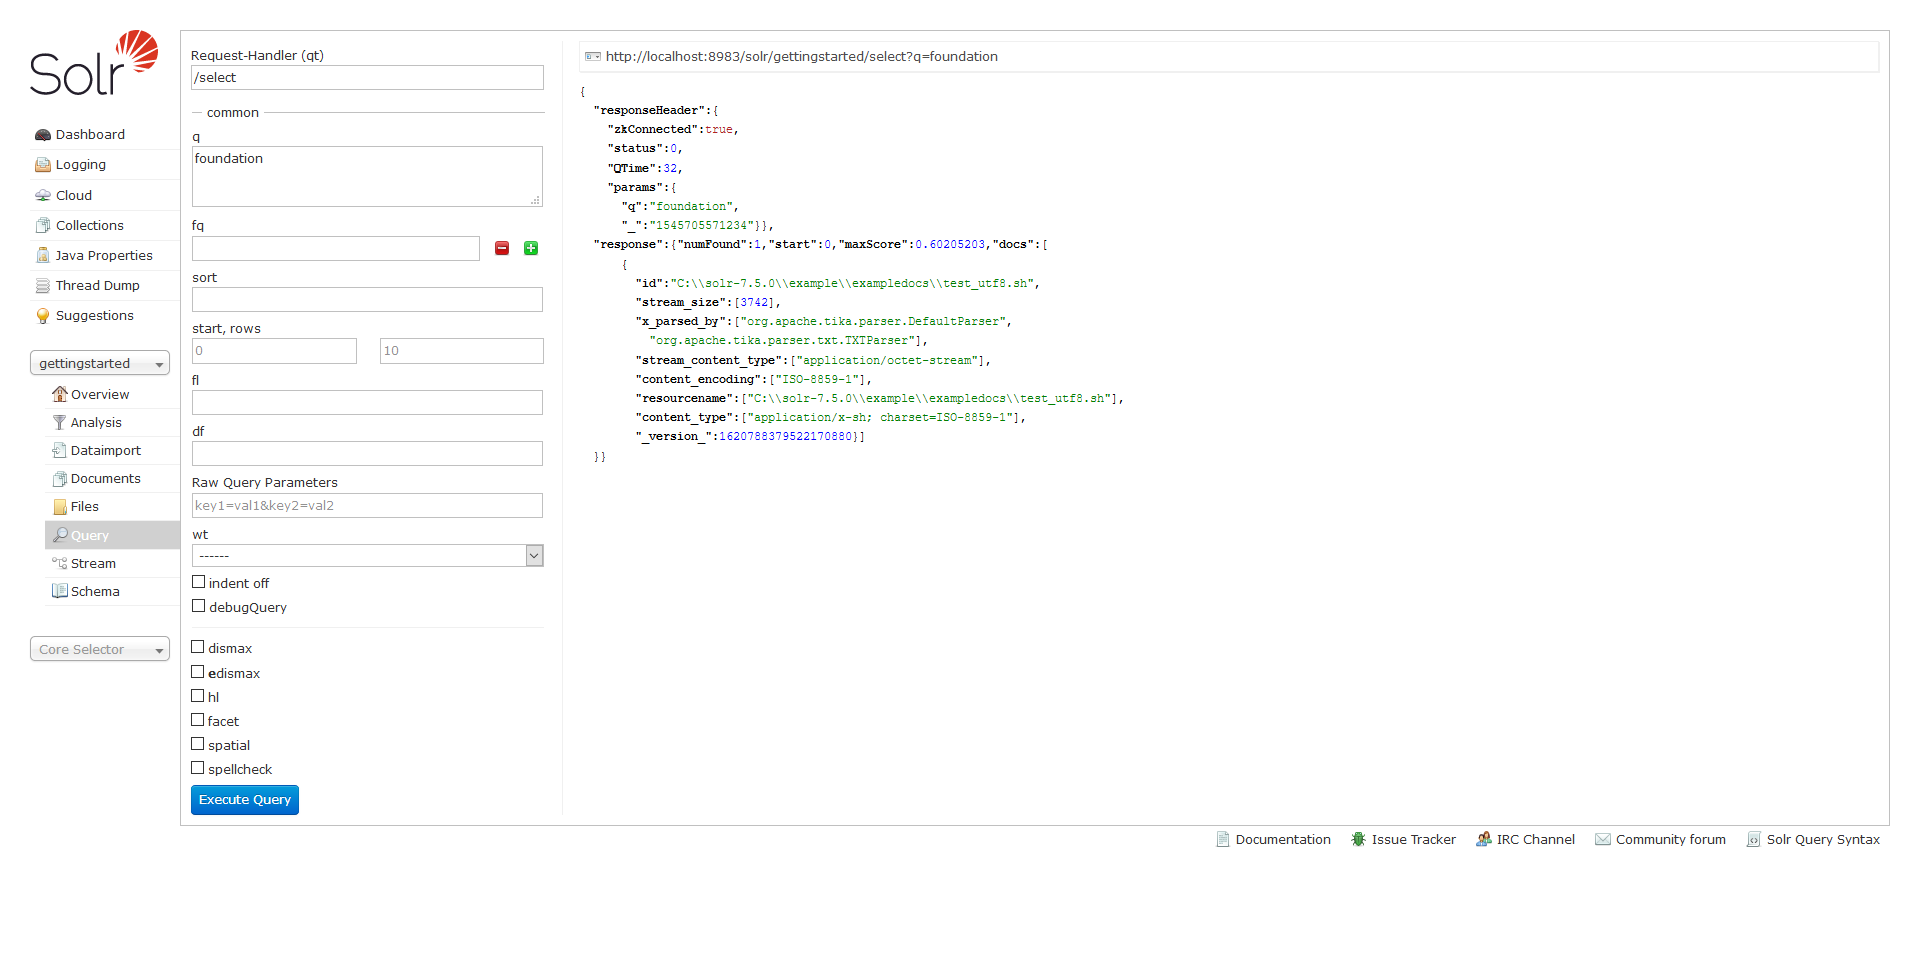
# C:\> curl "http://localhost:8983/solr/gettingstarted/select?indent=on&q=*:*"- ลองทำการ Query Data โดยระบุคำค้นหาเป็น foundation จะพบว่ามีจำนวนทั้งหมด 1 hit ส่วน responseHeader จะเป็น Parameter ที่เราได้ทำการ Search ซึ่งเราแค่ทำการ Query อย่างเดียว
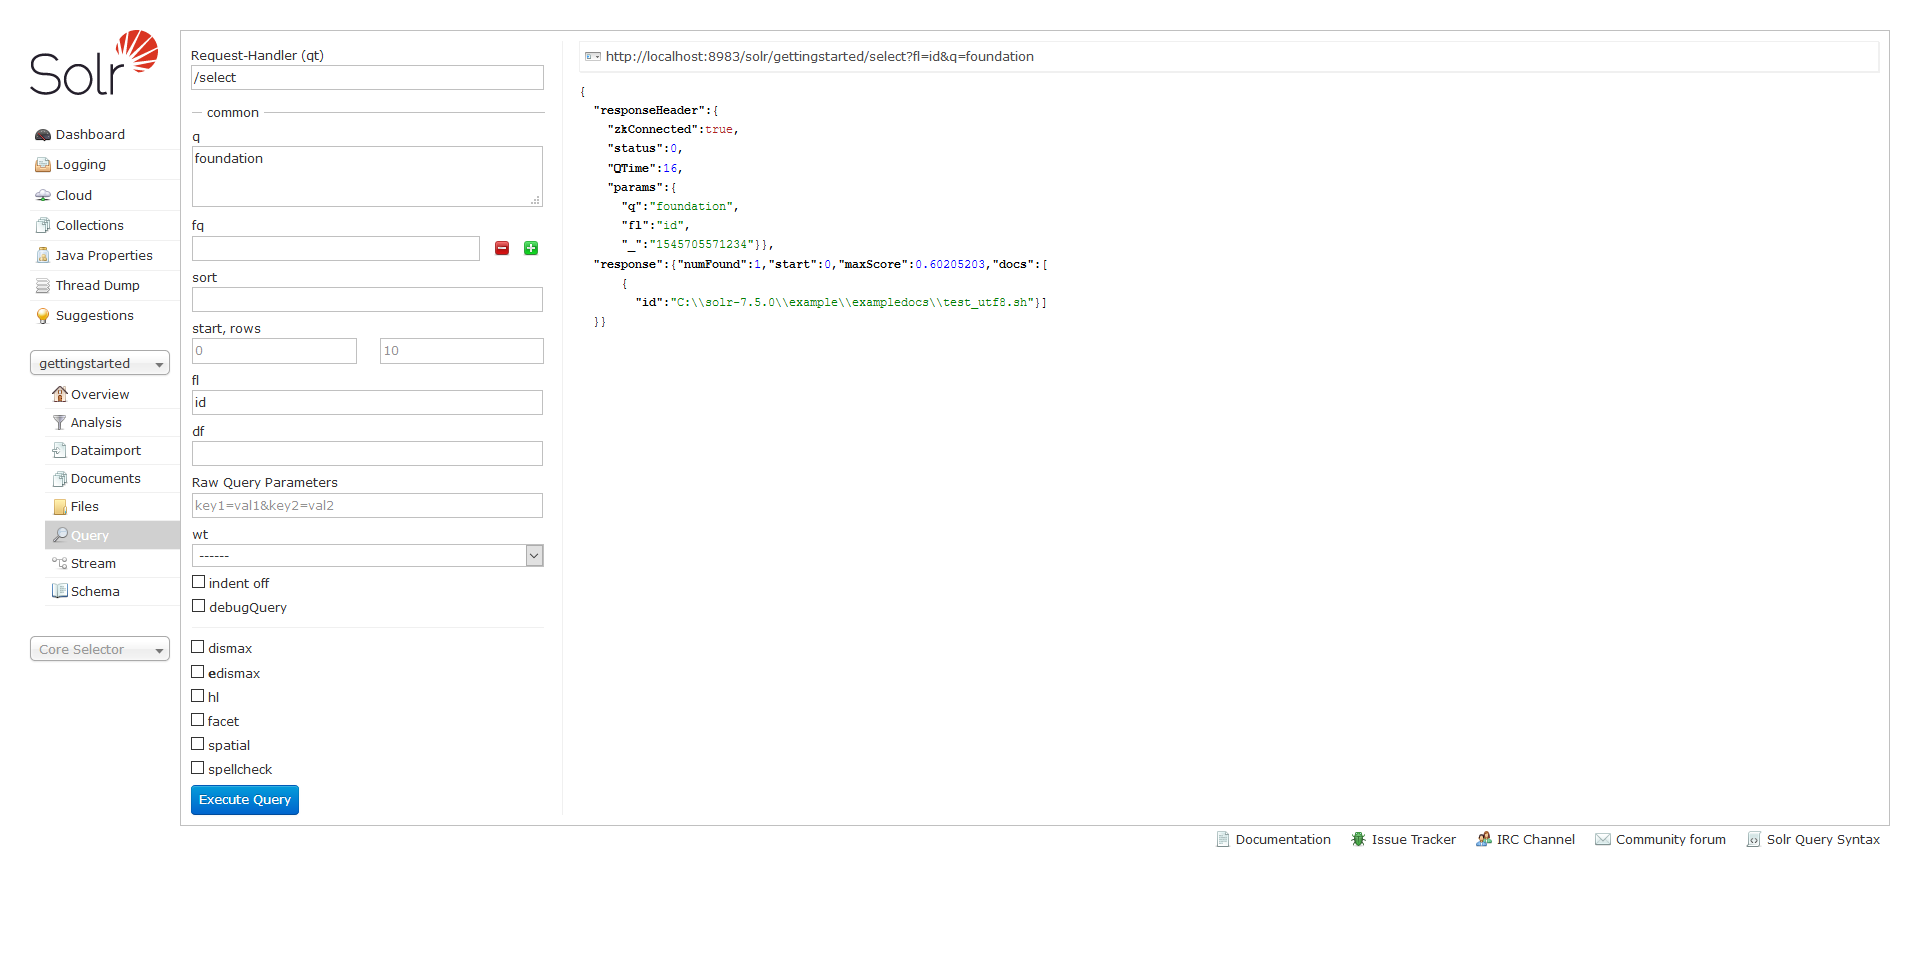
- ลองทำการ Query Data โดยกำหนด Field ที่ return ค่ากลับมาให้ใช้ Parameter ที่ชื่อว่า fl เช่น id
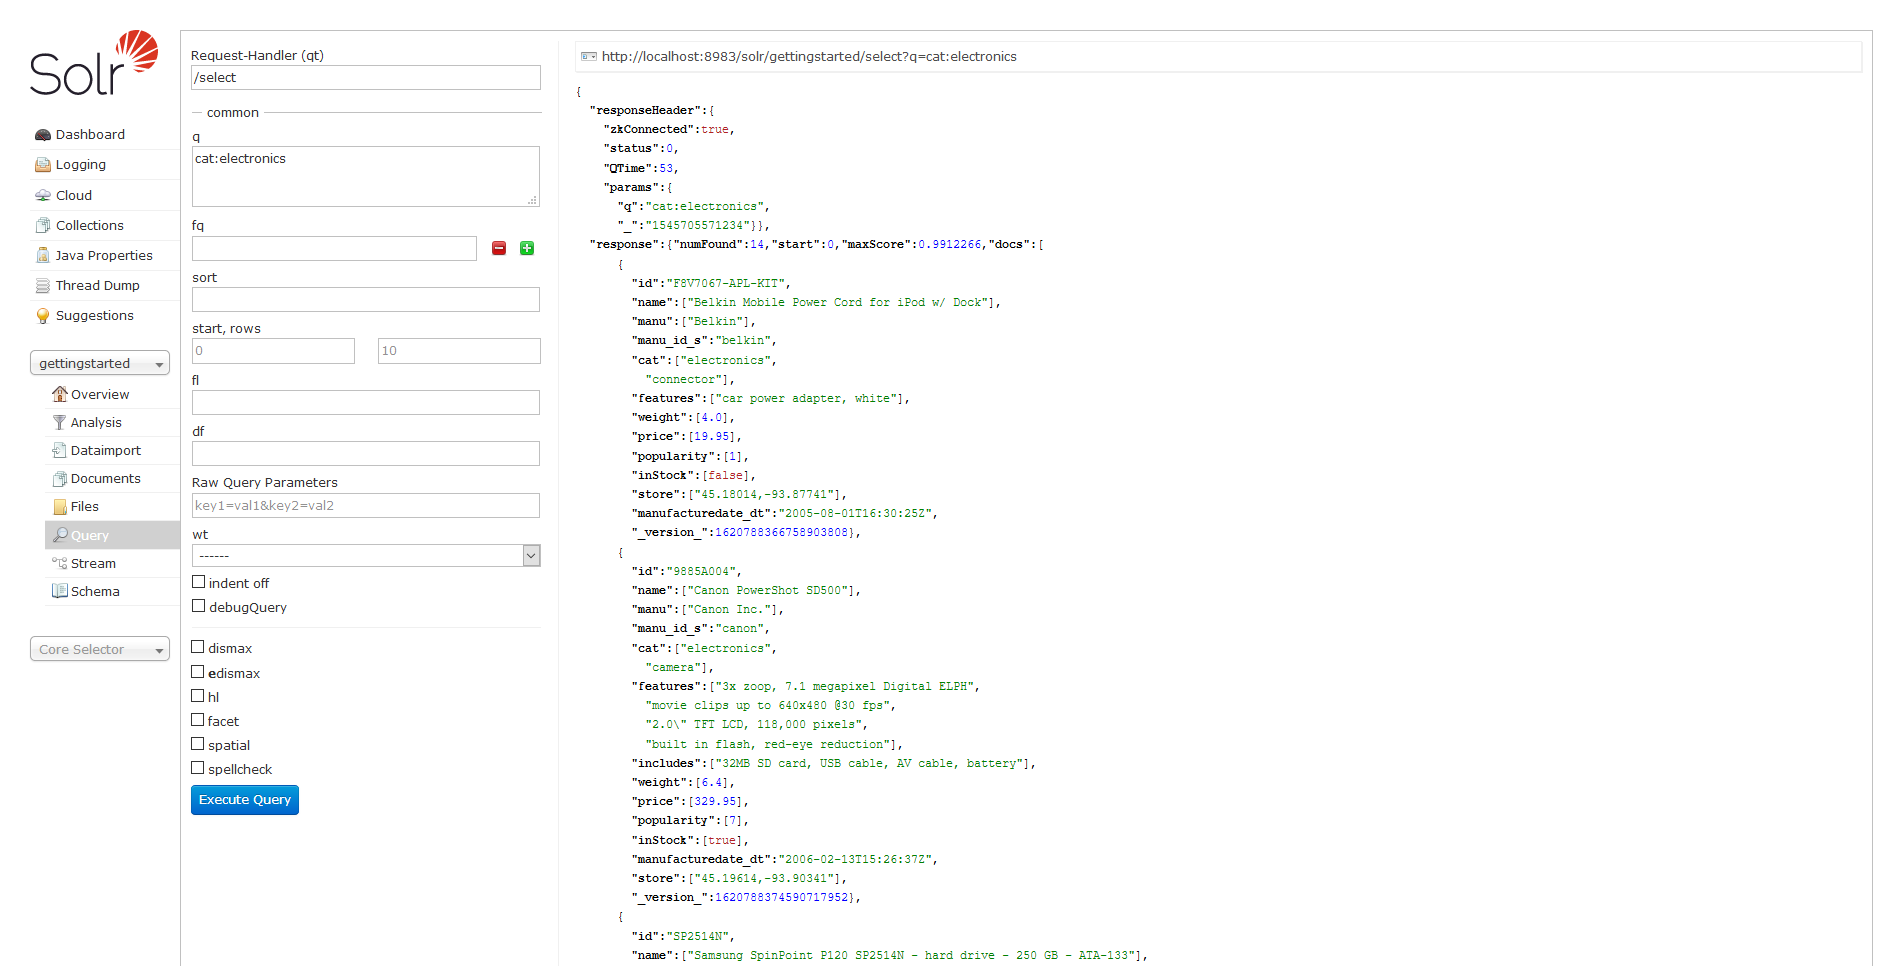
- หากต้องการ Query Data แบบ Field Search โดยระบุคำค้นหาเฉพาะบางฟิลด์ เช่น cat:electronics จะได้ 14 ผลลัพธ์
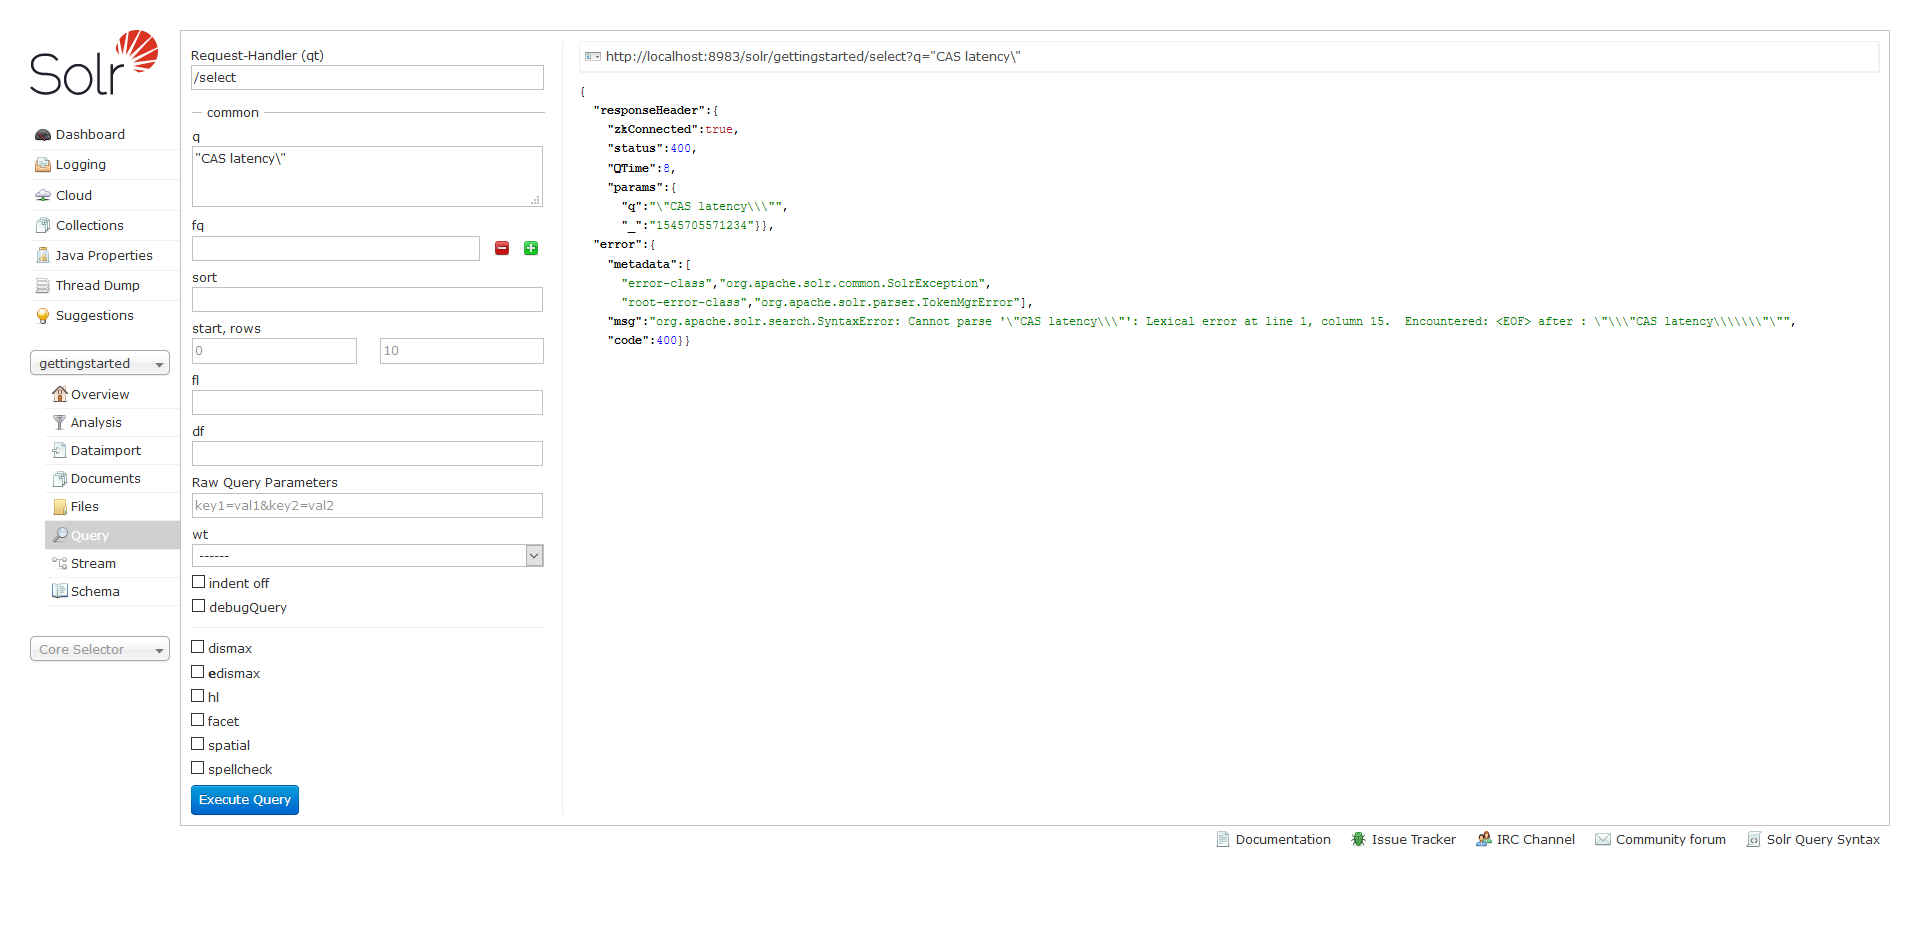
- หากต้องการ Query Data แบบ Phrase Search โดยระบุคำค้นหาเป็นวลี ด้วยการใช้ Double Quote เข่น “CAS latency\”
- หากต้องการ Query Data แบบ Phrase Search ผ่าน CURL จะต้องอยู่ภายใต้ \”…..\” และใช้เครื่องหมาย + แทนช่องว่าง
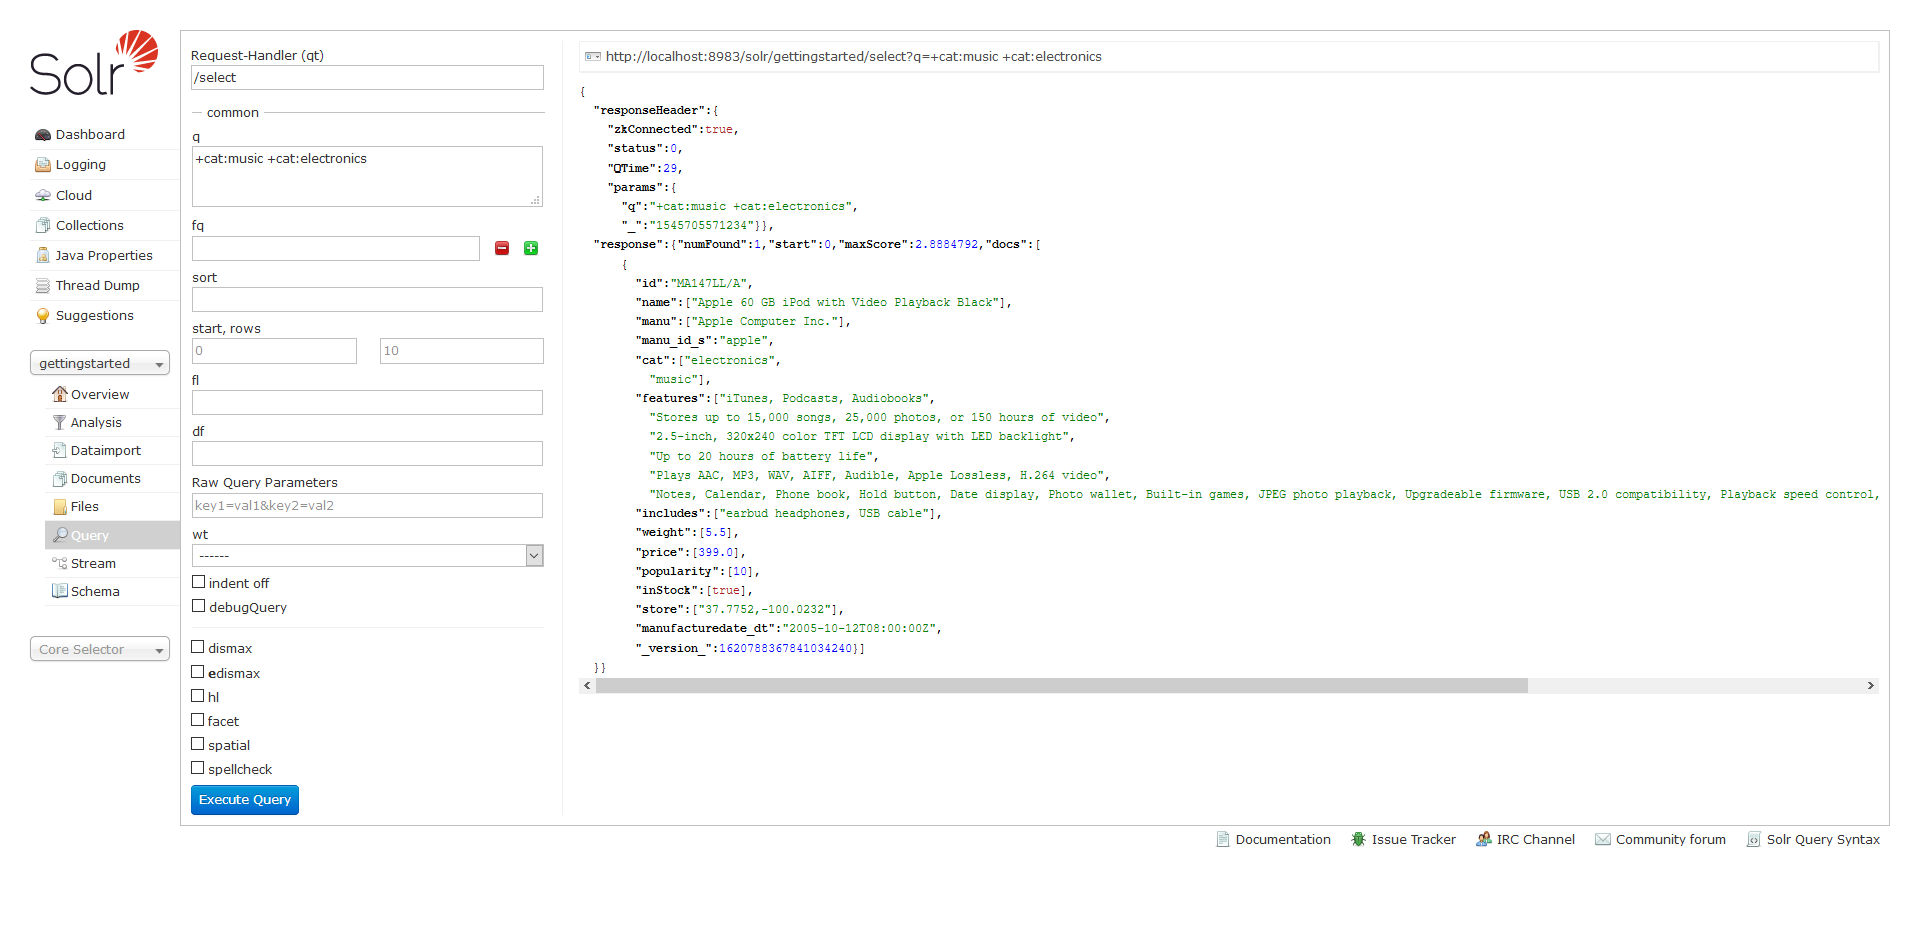
# C:\> curl "http://localhost:8983/solr/gettingstarted/select?q=\"CAS+latency\""- หากต้องการ Query Data แบบ Combine Search โดยระบุคำค้นหาร่วมกัน หากต้องการค้นหาคำที่ประกอบด้วยให้ใช้ + แต่หากต้องการค้นหาคำที่ไม่ประกอบด้วยให้ใช้ – เช่น +cat:music +cat:electronics จะได้ 1 ผลลัพธ์
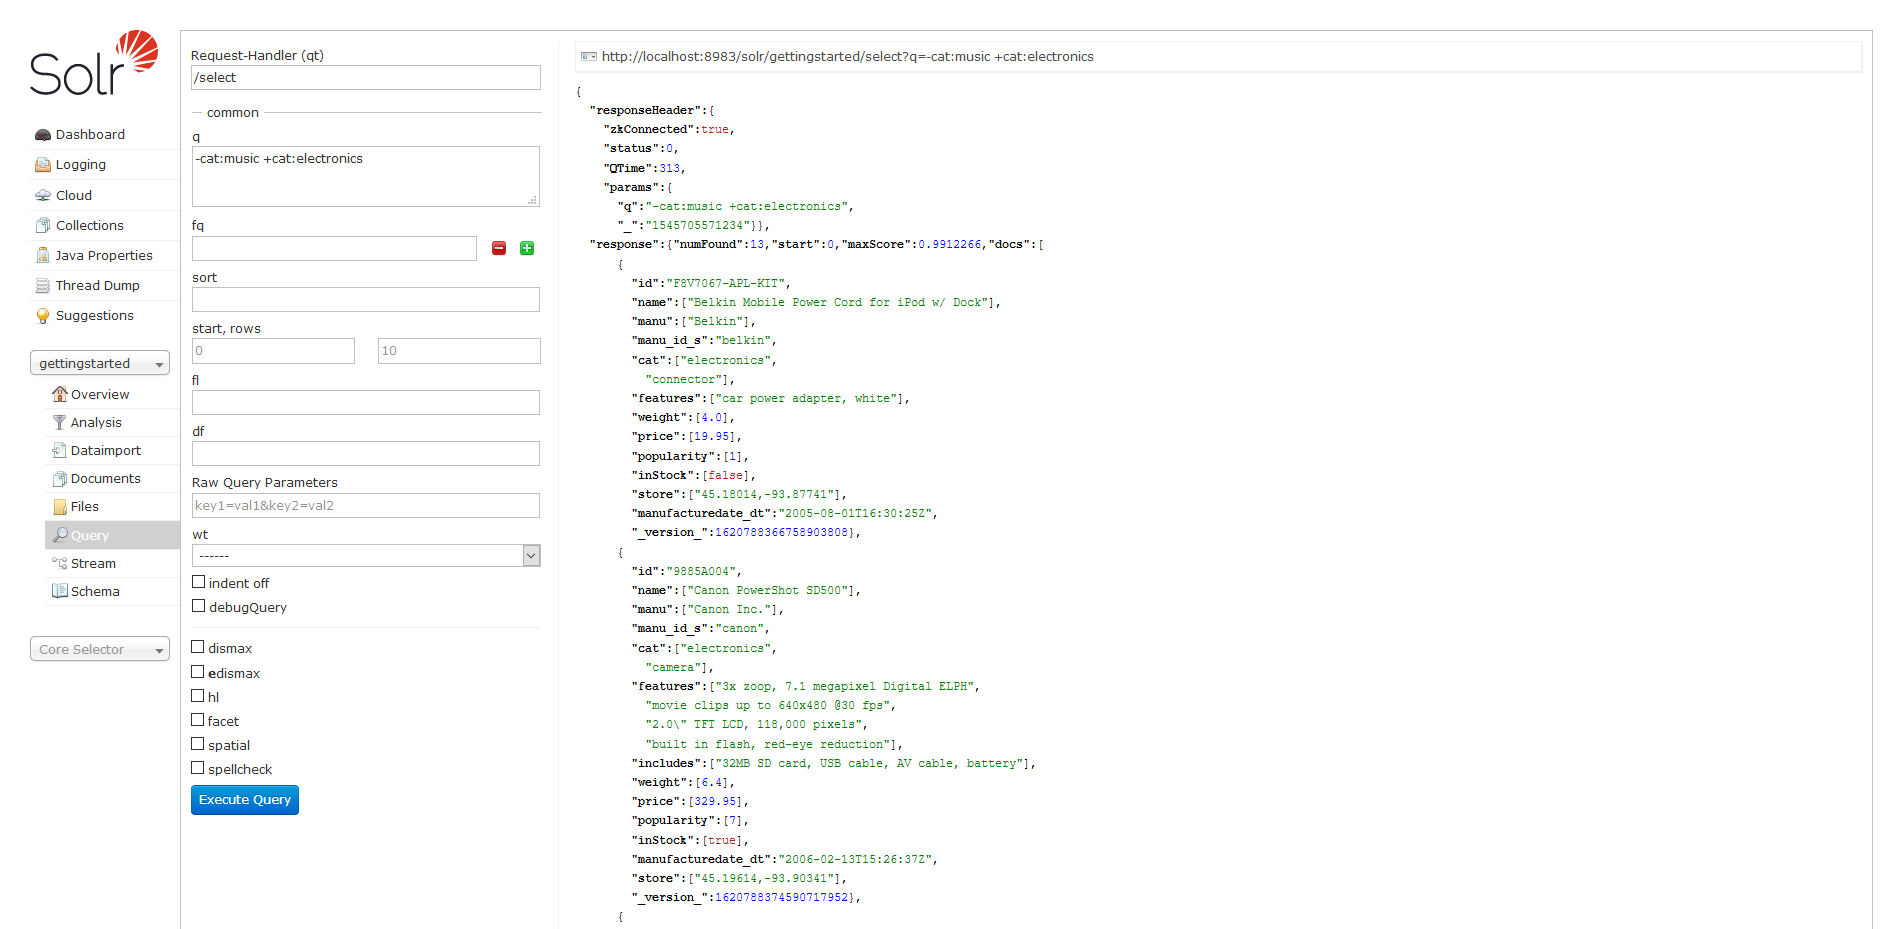
- ในทางกลับกันหากเราระบุคำค้นหาเป็น -cat:music +cat:electronics จะได้ 13 ผลลัพธ์
- หากต้องการ Query Data แบบ Combine Search ผ่าน CURL จะต้องใช้เครื่องหมาย %2B แทน + เพราะเครื่องหมาย + จะใช้แทนช่องว่าง
# C:\> curl "http://localhost:8983/solr/gettingstarted/select?q=-cat:music%20%2Bcat:electronics"- การ Stop Core
# C:\solr-7.5.0\bin> solr stop -all
# C:\solr-7.5.0\bin> solr stop -c -p 8983
# C:\solr-7.5.0\bin> solr stop -c -p 7574- การ Start Core หากต้องการ Start Core แบบ Cloud Mode ให้ทำการระบุ Port และ Path ด้วย
# C:\solr-7.5.0\bin> solr start -all
# C:\solr-7.5.0\bin> solr start -c -p 8983 -s ../example/cloud/node1/solr
# C:\solr-7.5.0\bin> solr start -c -p 7574 -s ../example/cloud/node2/solr -z localhost:9983
อ่านเพิ่มเติม : https://bit.ly/2BBRjEM, https://bit.ly/2LBOJmX
Tagged: Apache Solr
Leave a Reply