หลายคนคงเคยใช้งาน Raspberry Pi กันมาบ้างแล้ว ซึ่งหากใครไม่มีบอร์ด Raspberry Pi แต่อยากจะลองเล่น ก็สามารถติดตั้ง Raspberry Pi Desktop แบบ Virtual Machine ได้เช่นกัน ซึ่งเราจะมาติดตั้งกันบน Hyper-V
Download
Install
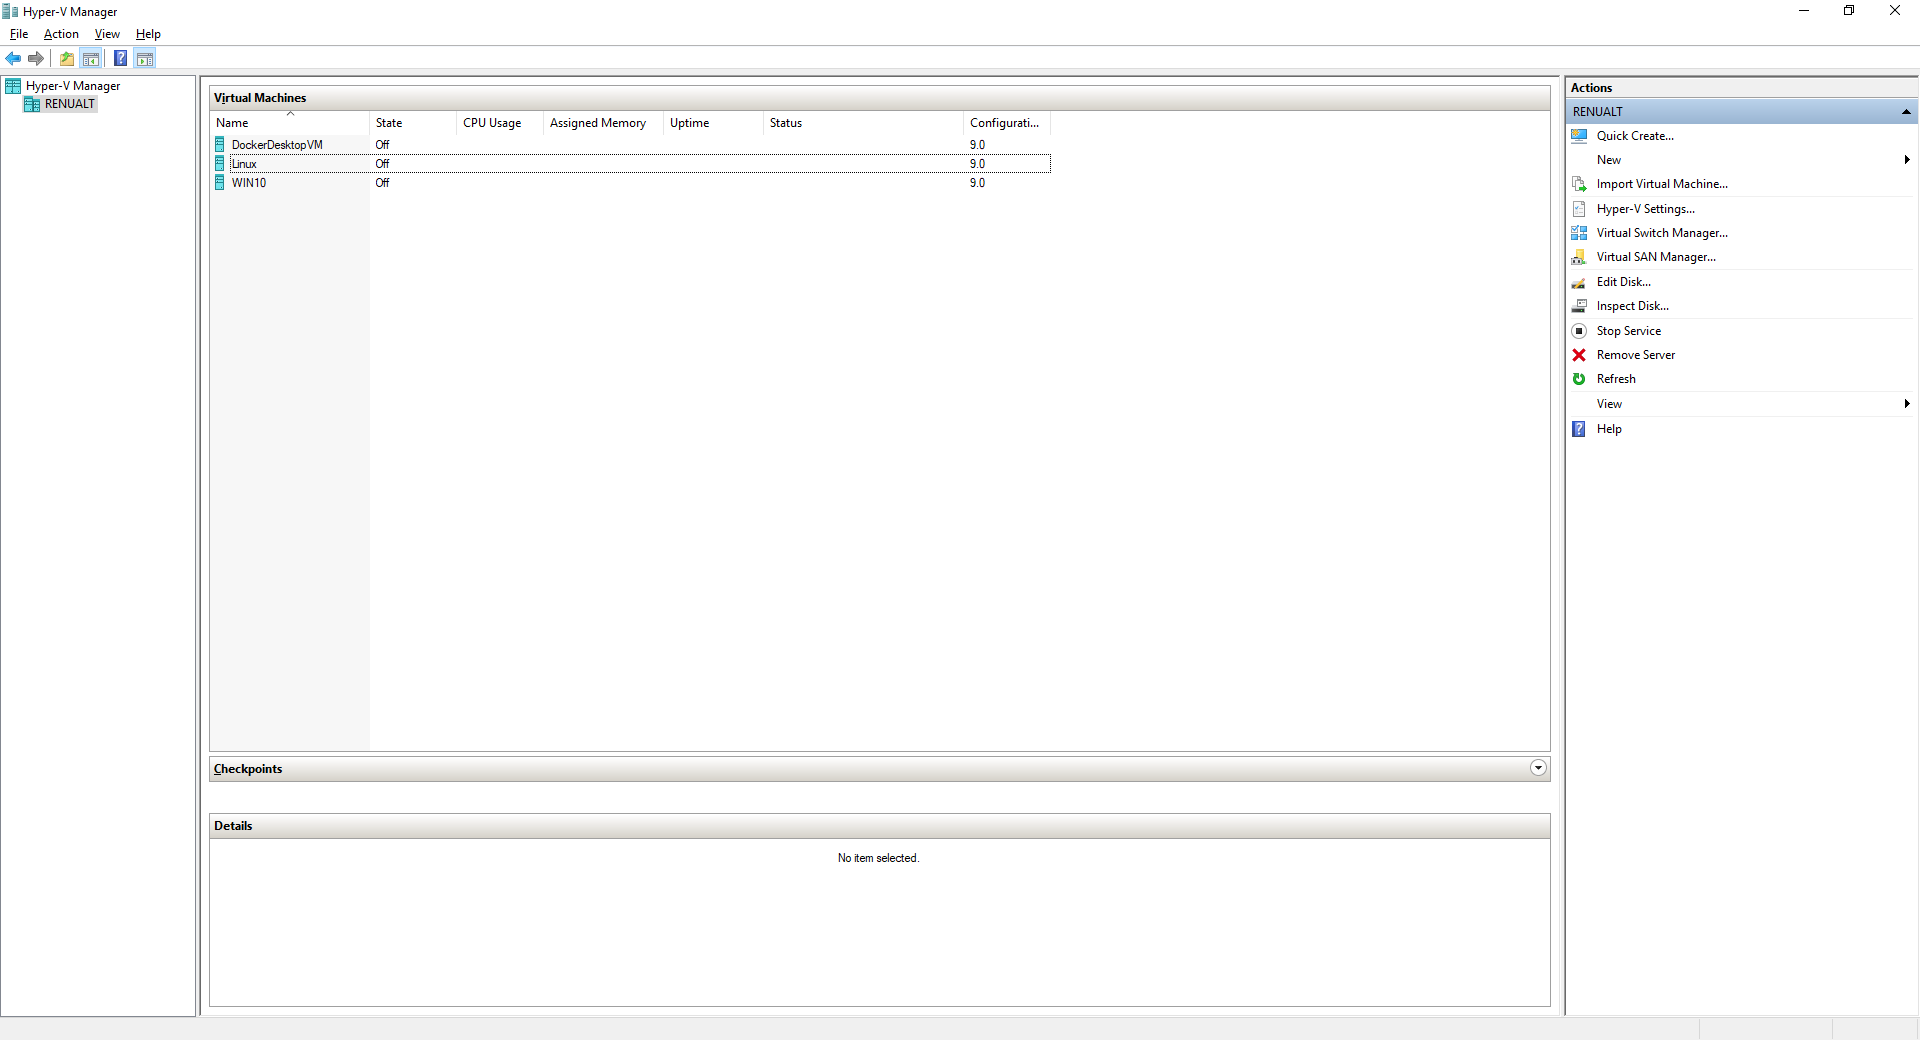
- ทำการเปิด Hyper-V Manager แล้วคลิก New -> Virtual Machine
- คลิก Next

- ทำการกำหนด VM Name แล้วคลิก Next

- เลือก Generation 1 แล้วคลิก Next

- ทำการกำหนด Memory แล้วคลิก Next

- ทำการกำหนด Network Connection แล้วคลิก Next

- ทำการกำหนด Disk Size แล้วคลิก Next

- ทำการเลือก Image File แล้วคลิก Next

- คลิก Finish

- เลือก Graphical Install แล้วคลิก Enter

- เลือก British English แล้วคลิก Continue

- เลือก Guided – use entire disk แล้วคลิก Continue

- เลือก Disk to Partition แล้วคลิก Continue

- เลือก All files in one partition แล้วคลิก Continue

- เลือก Finish partitioning and write changes to disk แล้วคลิก Continue

- เลือก Yes แล้วคลิก Continue

- คลิก Yes แล้วคลิก Continue

- เลือก Device for boot loader แล้วคลิก Continue

- คลิก Continue

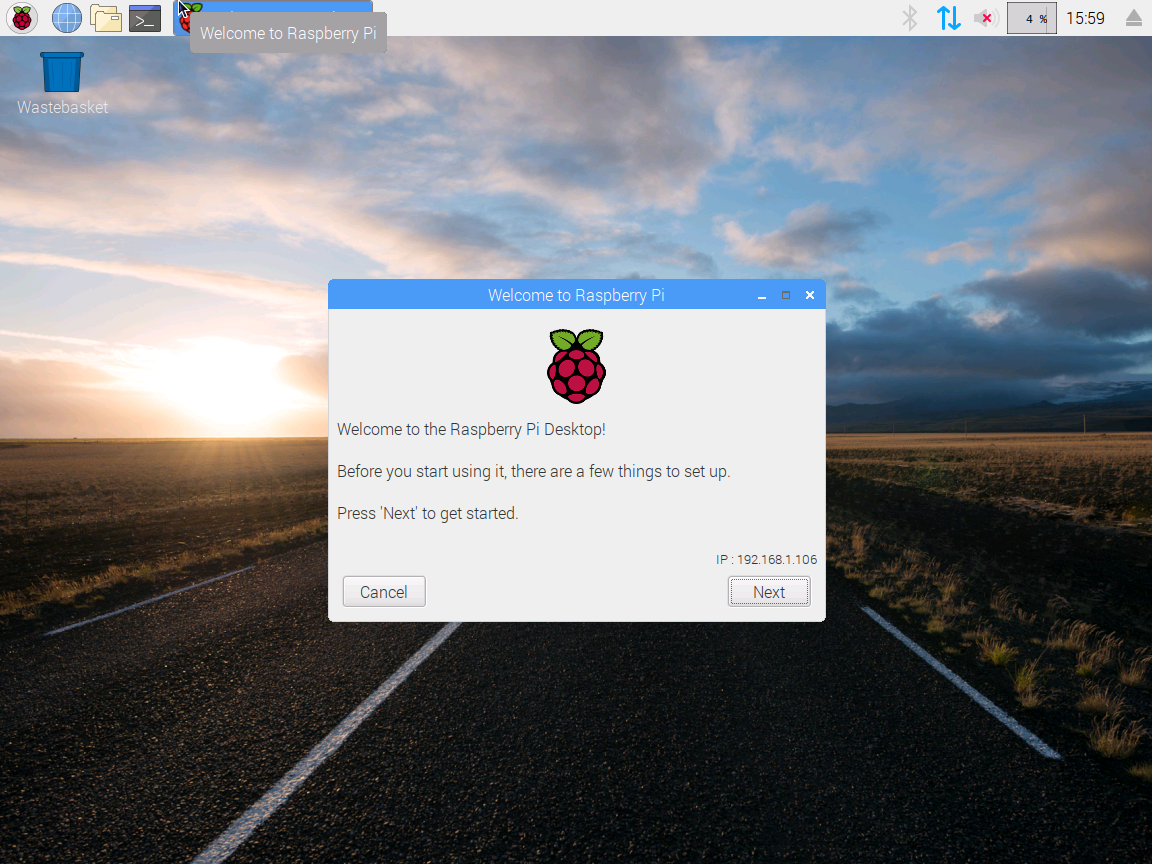
- คลิก Next
- ทำการกำหนด Set Country แล้วคลิก Next

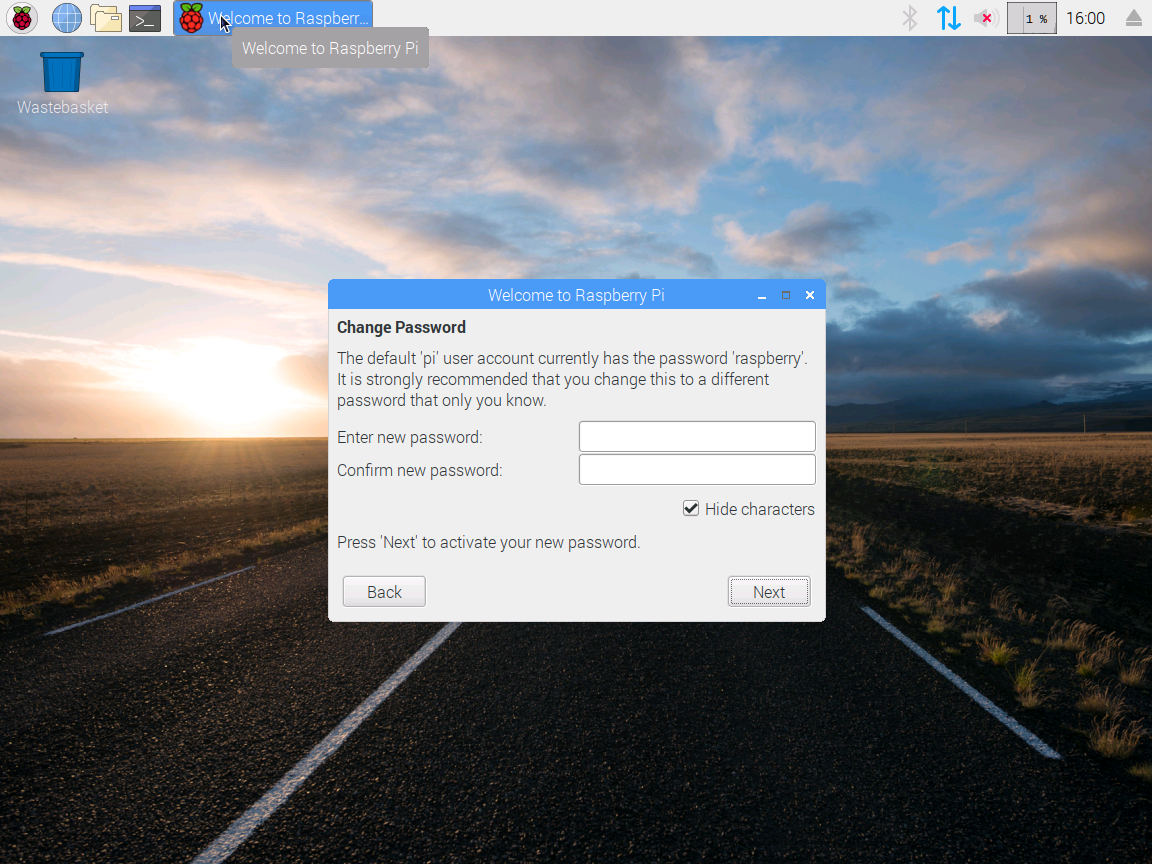
- ทำการกำหนด Password แล้วคลิก Next
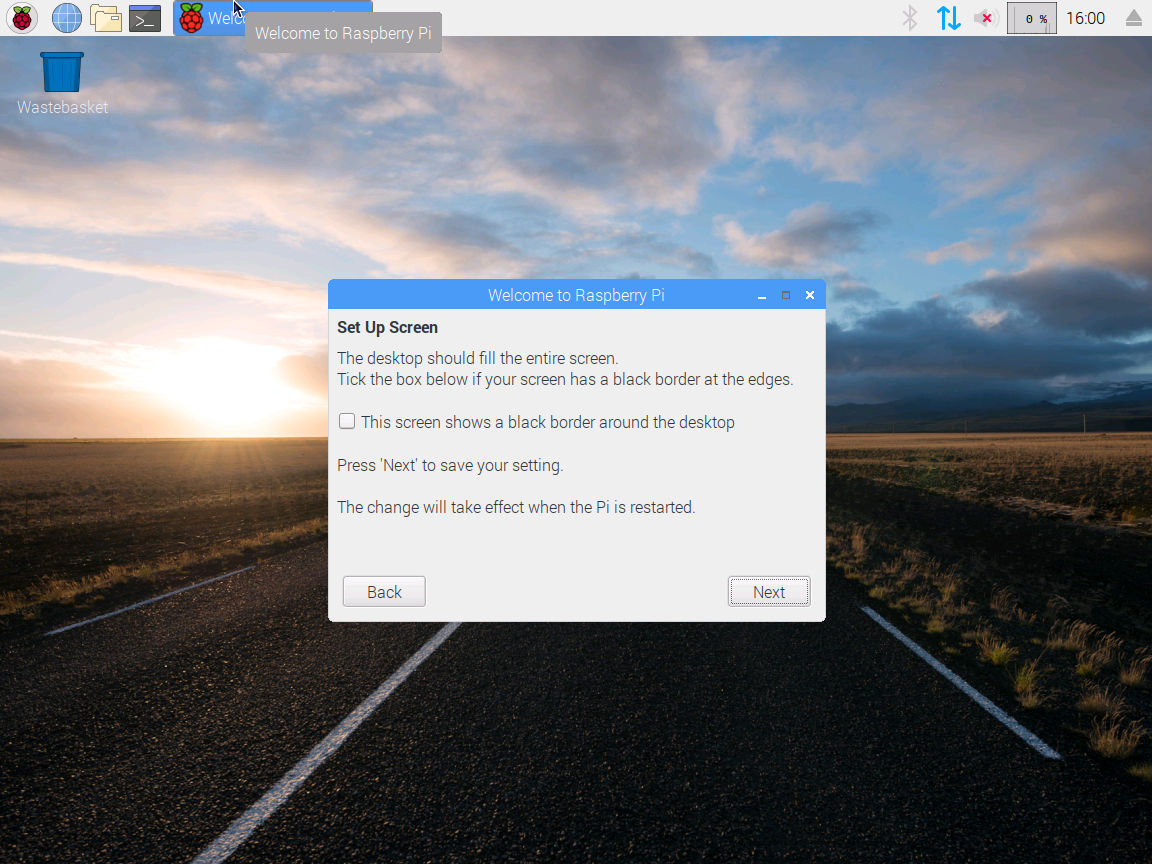
- คลิก Next
Leave a Reply