หลังจากที่เราได้ลองติดตั้ง Domain Controller และ Additional Domain Controller ซึ่งอยู่ภายใต้ Domain เดียวกัน เราจะมาสร้าง Child Domain เพื่อแยกการ Access Resource และการบังคับใช้ Policy
Requirement
- Change Computer Name
- Network Configuration
- DNS Setting ( Localhost, Forest Root Domain )
- Firewall Enable ( ICMPv4, ICMPv6 )
Install
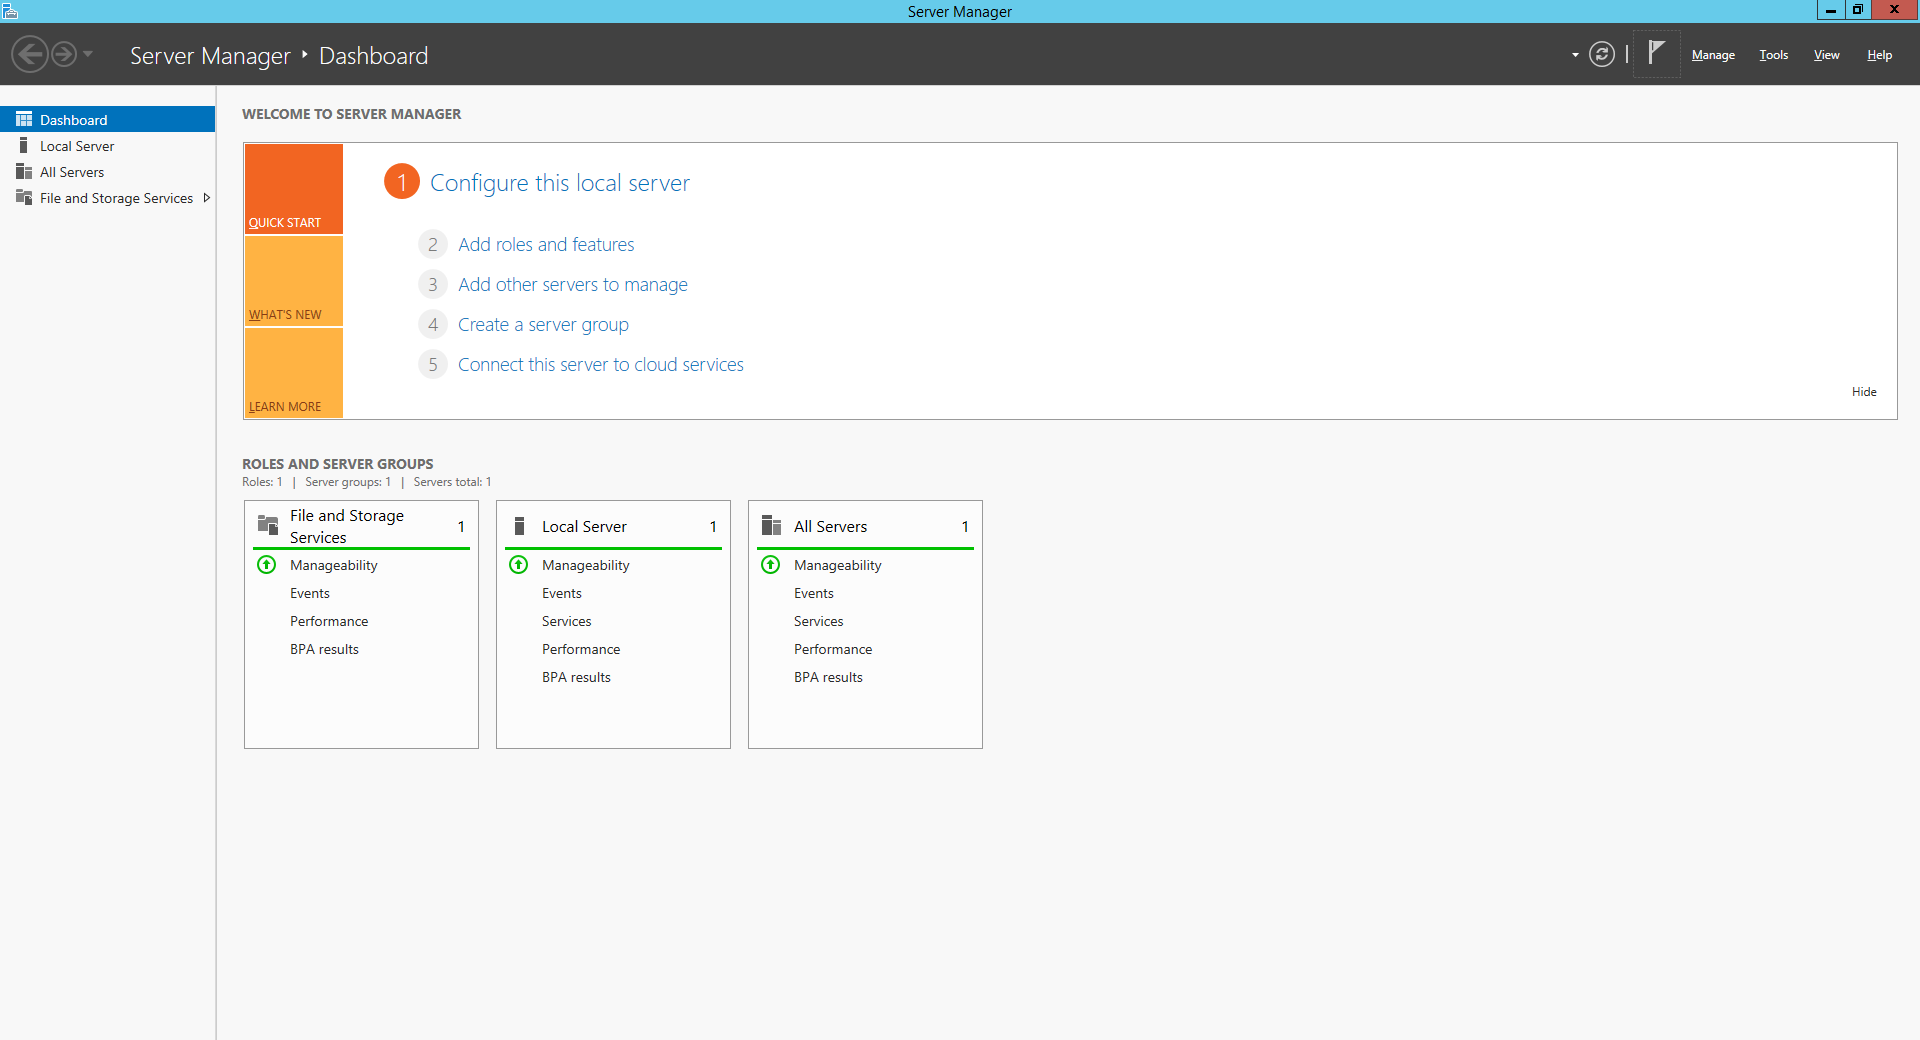
- คลิก Manage เลือก Add Roles and Features
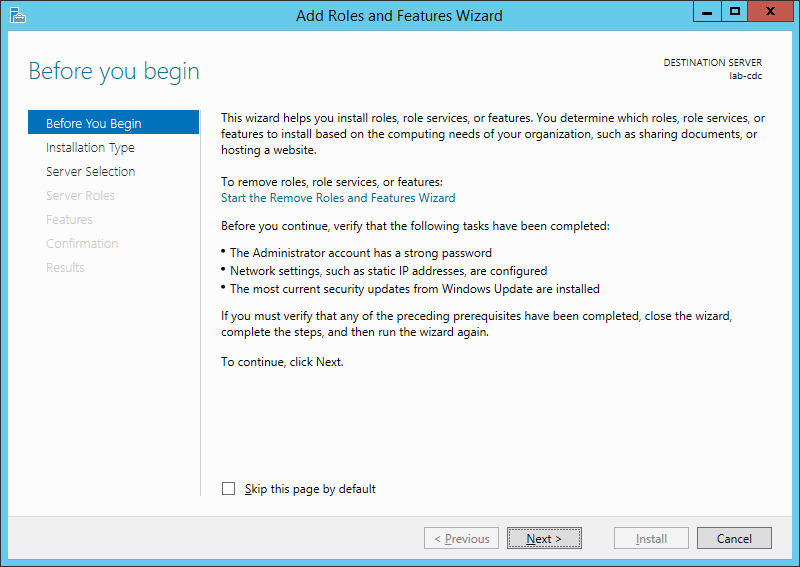
- คลิก Next
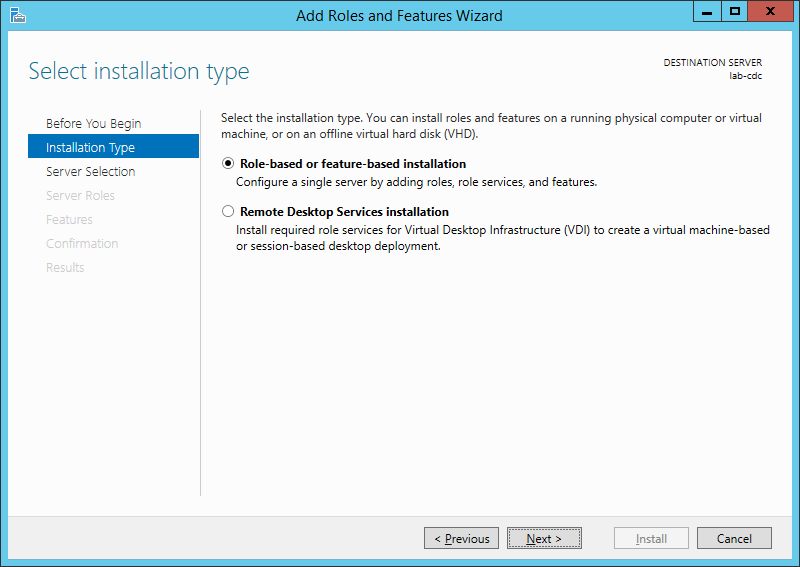
- เลือก Role-based or feture-based installation คลิก Next
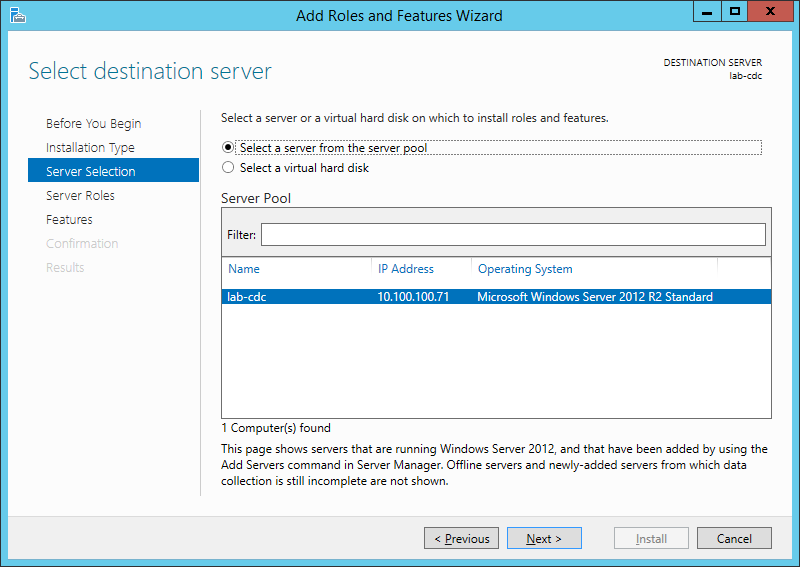
- คลิก Next
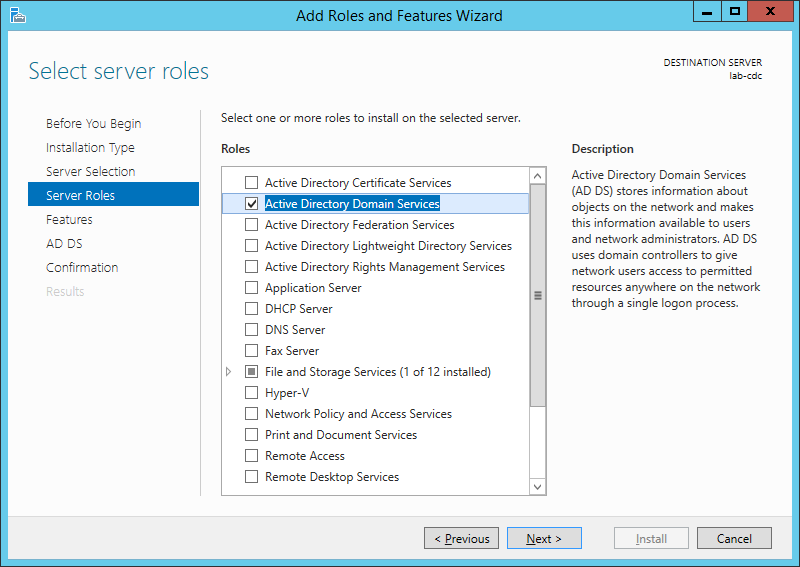
- เลือก Active Directory Domain Services แล้วคลิก Next

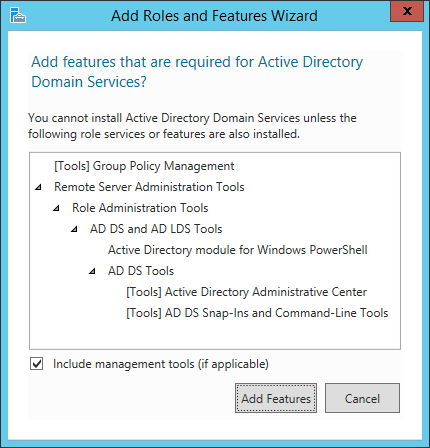
- คลิก Add Features
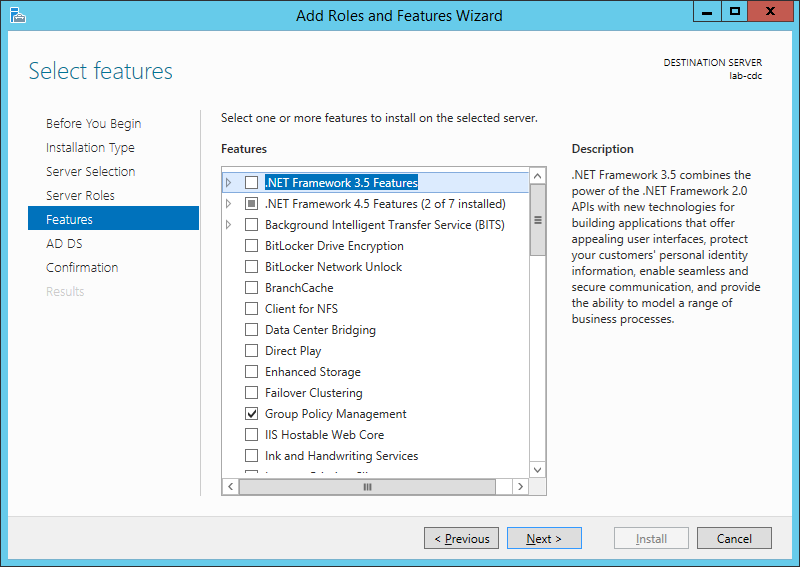
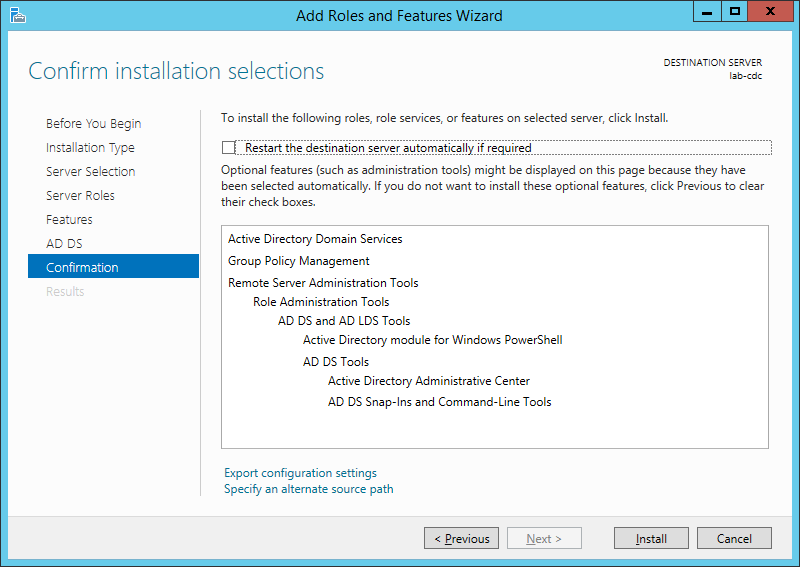
- คลิก Next
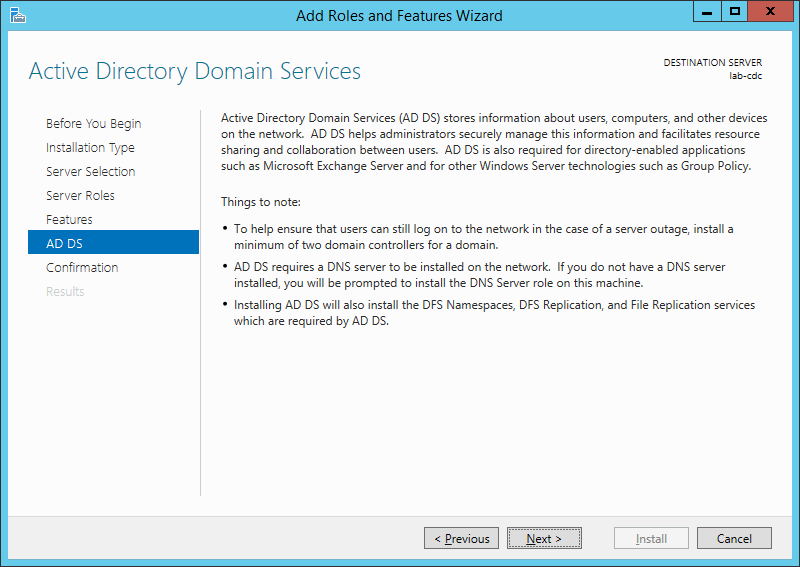
- คลิก Next
- คลิก Next
- คลิก Install
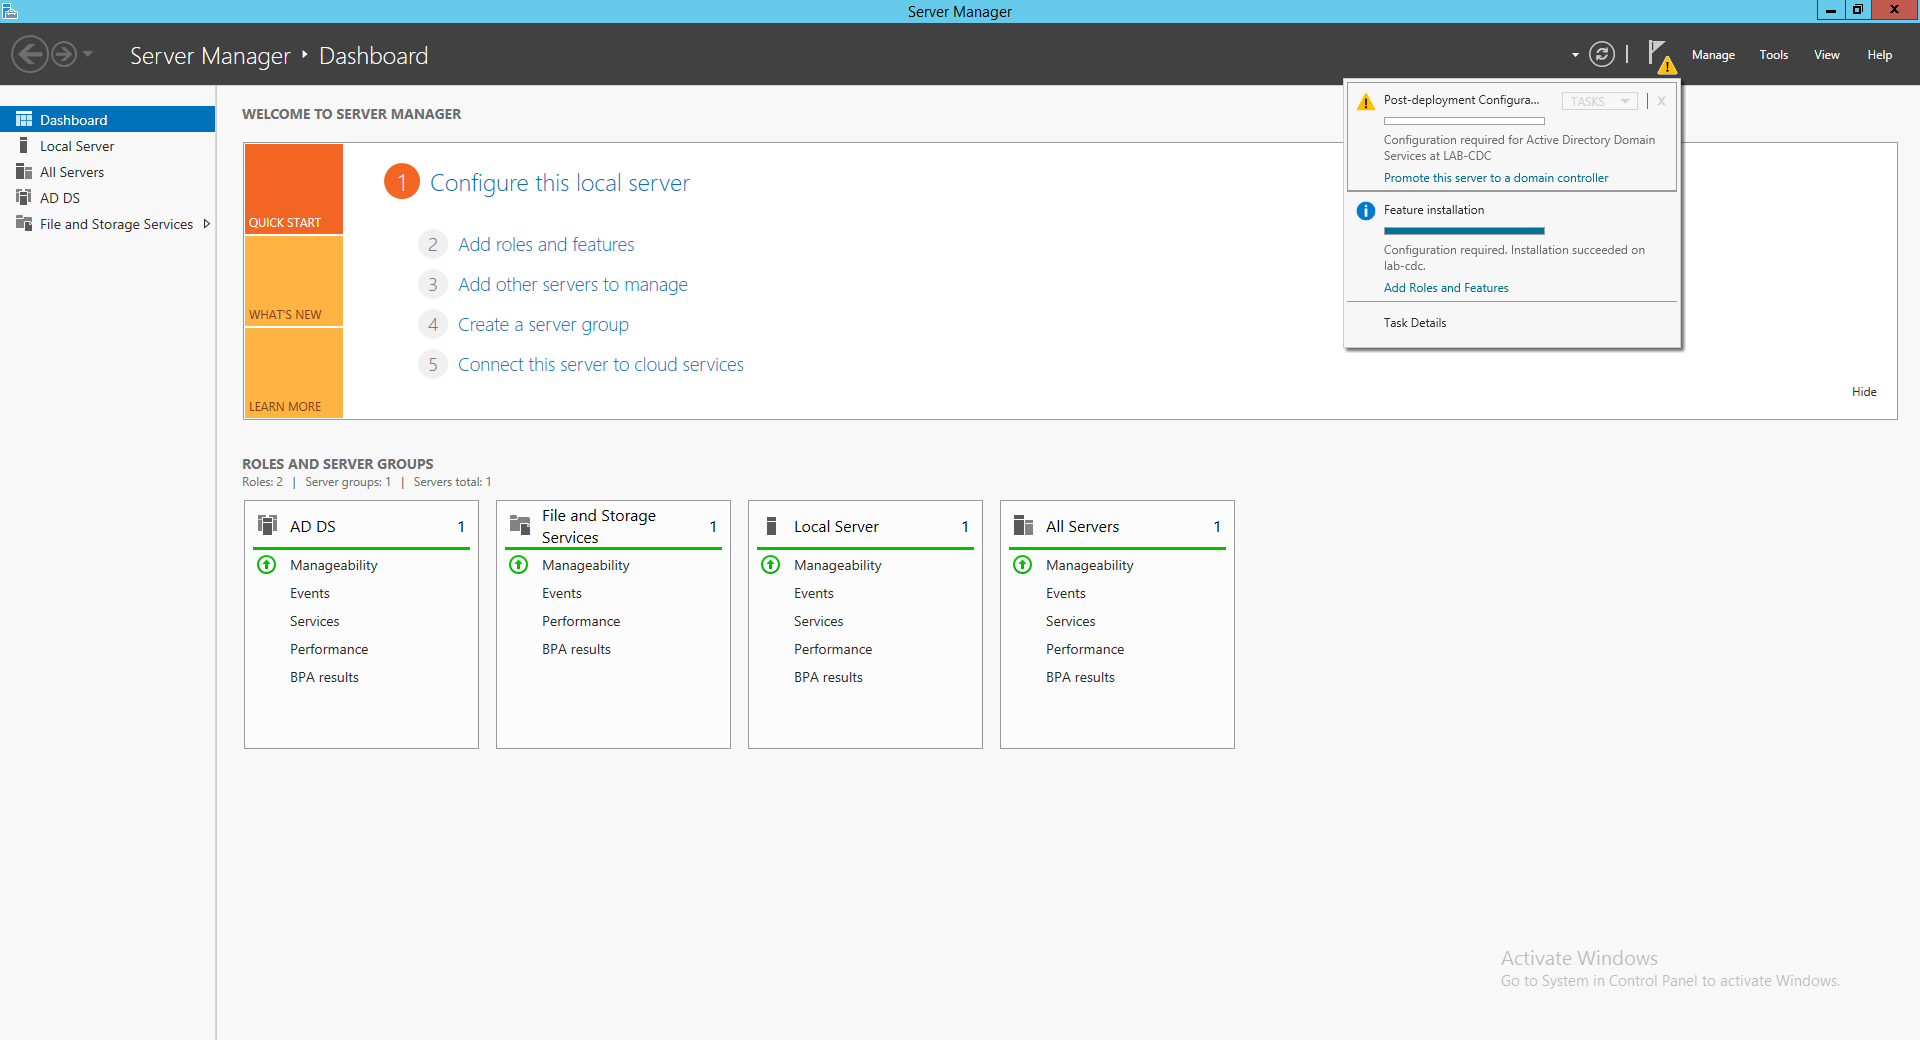
- คลิก Close
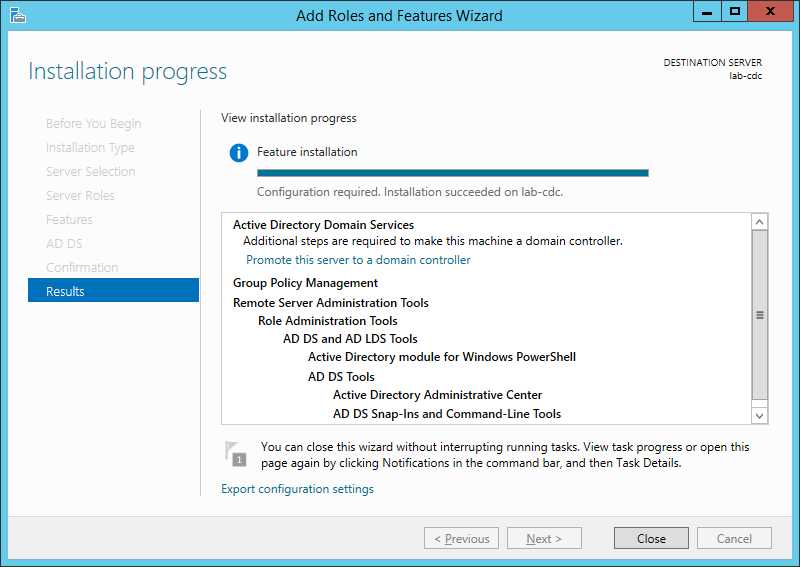
- คลิก Promote this server to a domain controller
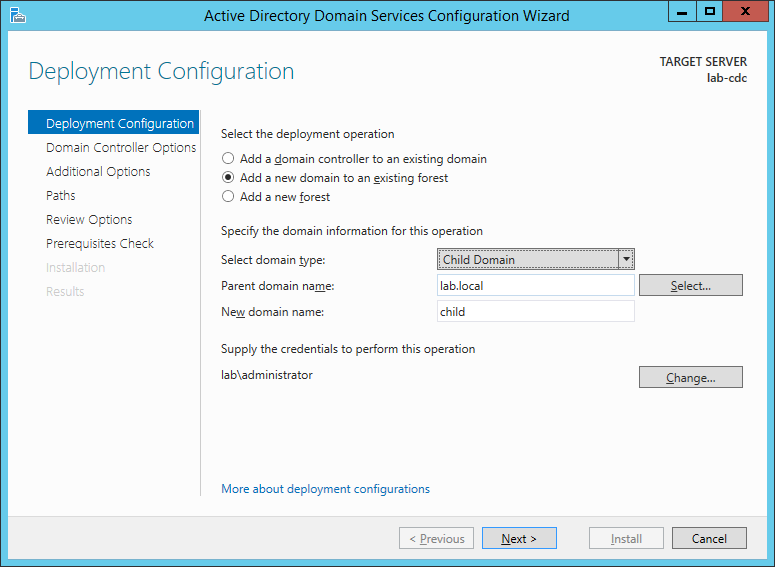
- เลือก Add a new domain to an existing forest โดยเลือกเป็น Child Domain แล้วคลิก Select
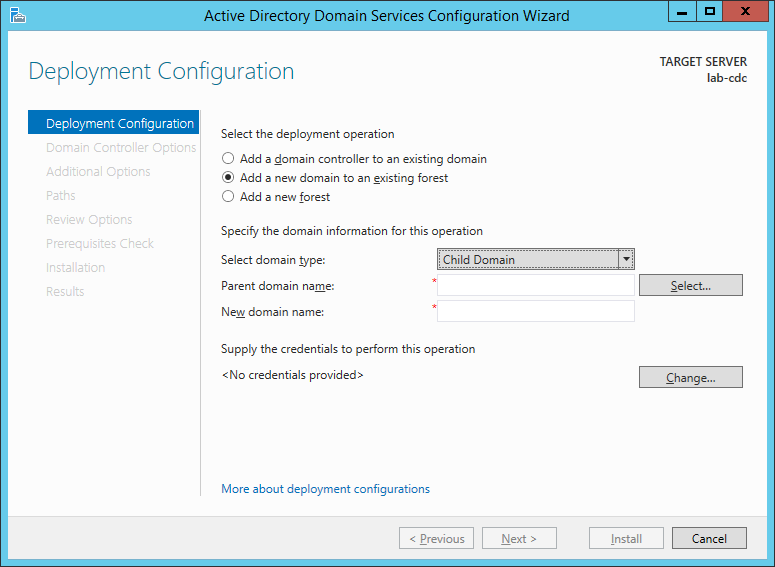
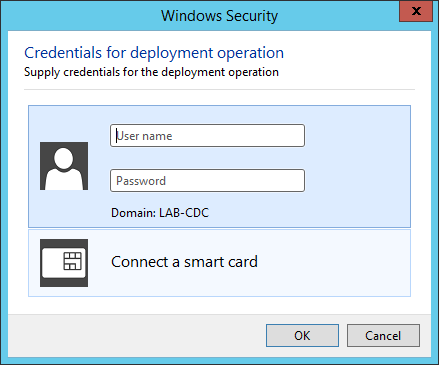
- กรอก Username และ Password ของ Domain ( lab.local )
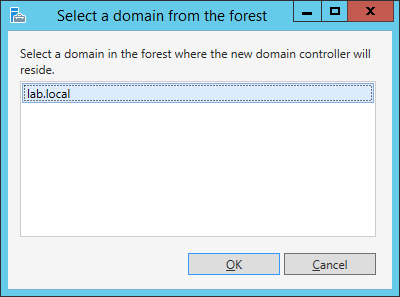
- จะแสดง Domain ( lab.local ) แล้วคลิก OK
- กำหนดชื่อ Child Domain แล้วคลิก Next
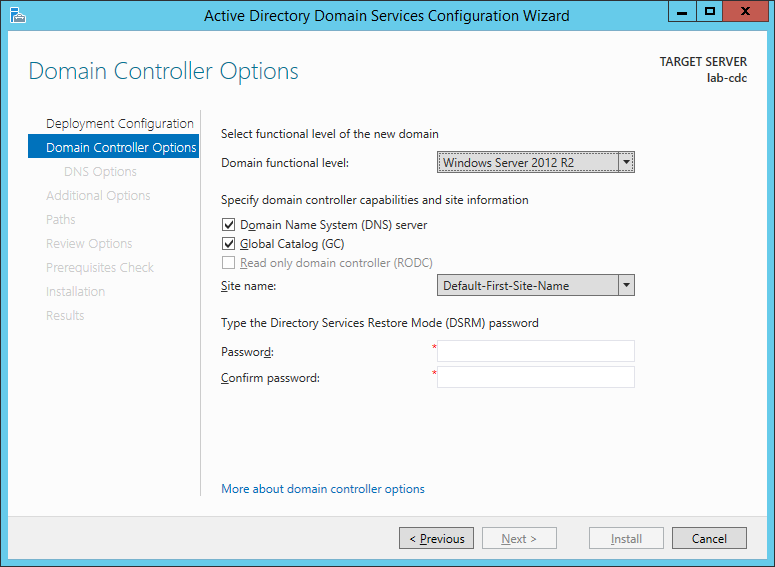
- กรอก Password ของ Local Admin เพื่อให้สามารถทำการ Restore บริการ Directory Service ใน Safe Mode แล้วคลิก Next
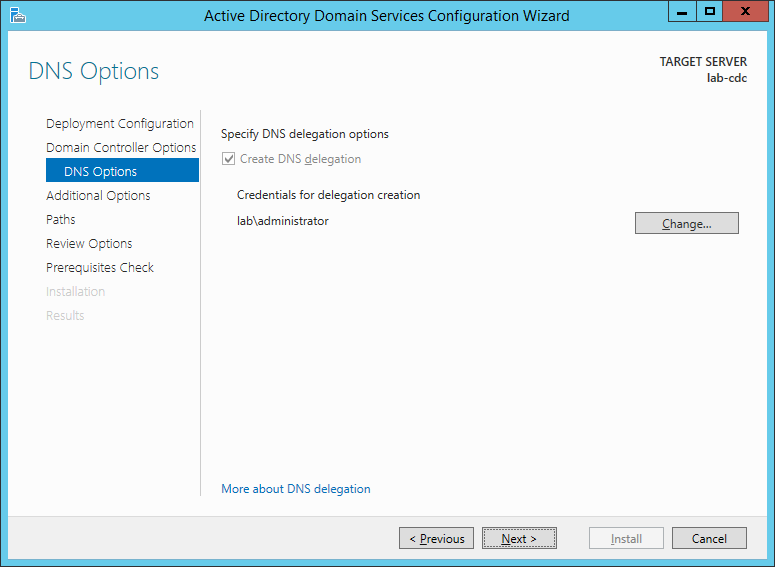
- กรณีที่สร้างเป็น Child Domain ระบบจะทำการ Create DNS Delegation โดยอัตโนมัติ คลิก Next
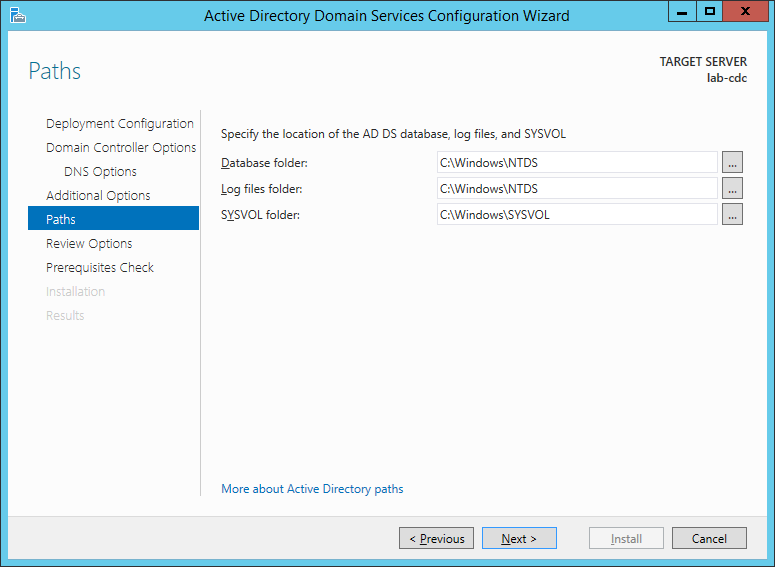
- คลิก Next

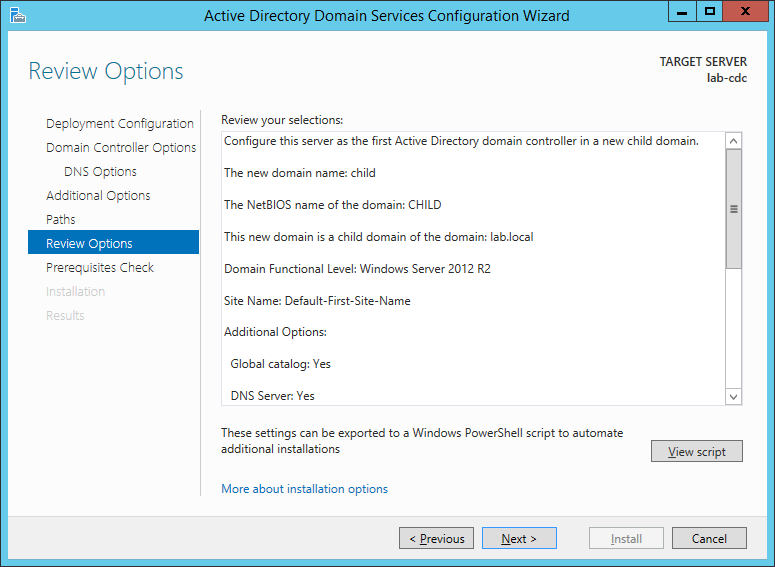
- คลิก Next
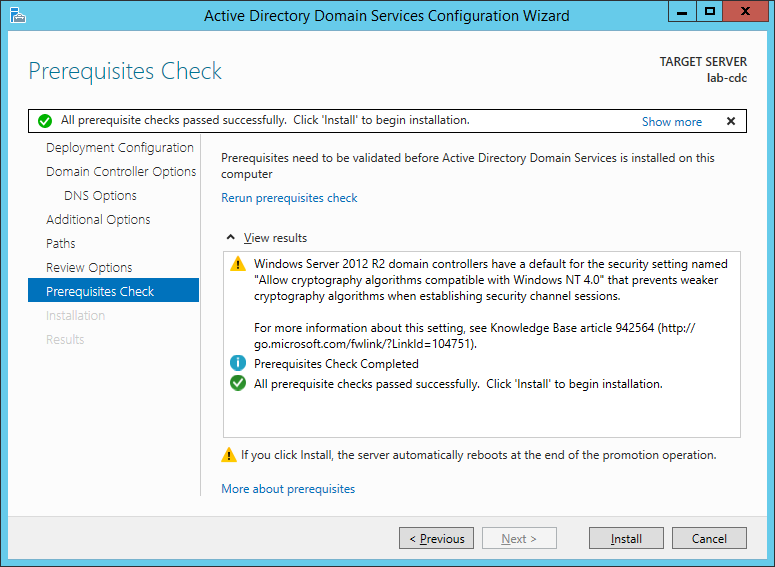
- คลิก Next
- คลิก Install รอจนติดตั้งเสร็จ ระบบจะทำการ Restart
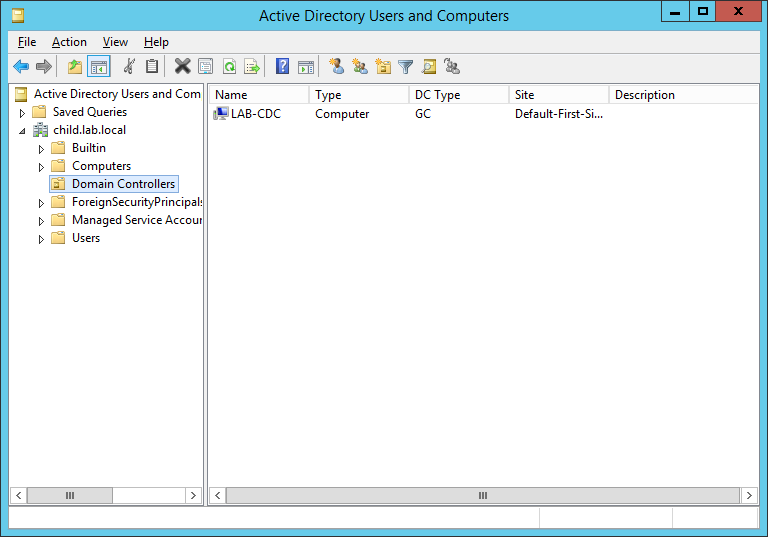
- คลิก Tools เลือก Active Directory Users and Computers แล้วคลิก Domain Controller
- คลิก Tools เลือก Active Directory Sites and Services แล้วคลิก Default-First-Site-Name -> Servers จะแสดง Domain Controller ทั้งหมดภายใน Site

Leave a Reply