ในบางครั้งเราอาจจะต้องติดตั้ง Database แยกจาก Application หรืออาจจะมีความจำเป็นบางประการ ที่ไม่สามารถติดตั้ง Database ร่วมกับ Service บางประการ เช่น ตืดตั้ง SQL Server บน Domain Controller ทำให้ต้องติดตั้งแยกกัน ซึ่งจะมีปัญหาเรื่องการ Connection ตามมา
Get Started
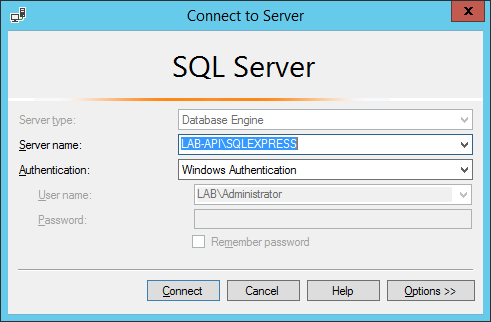
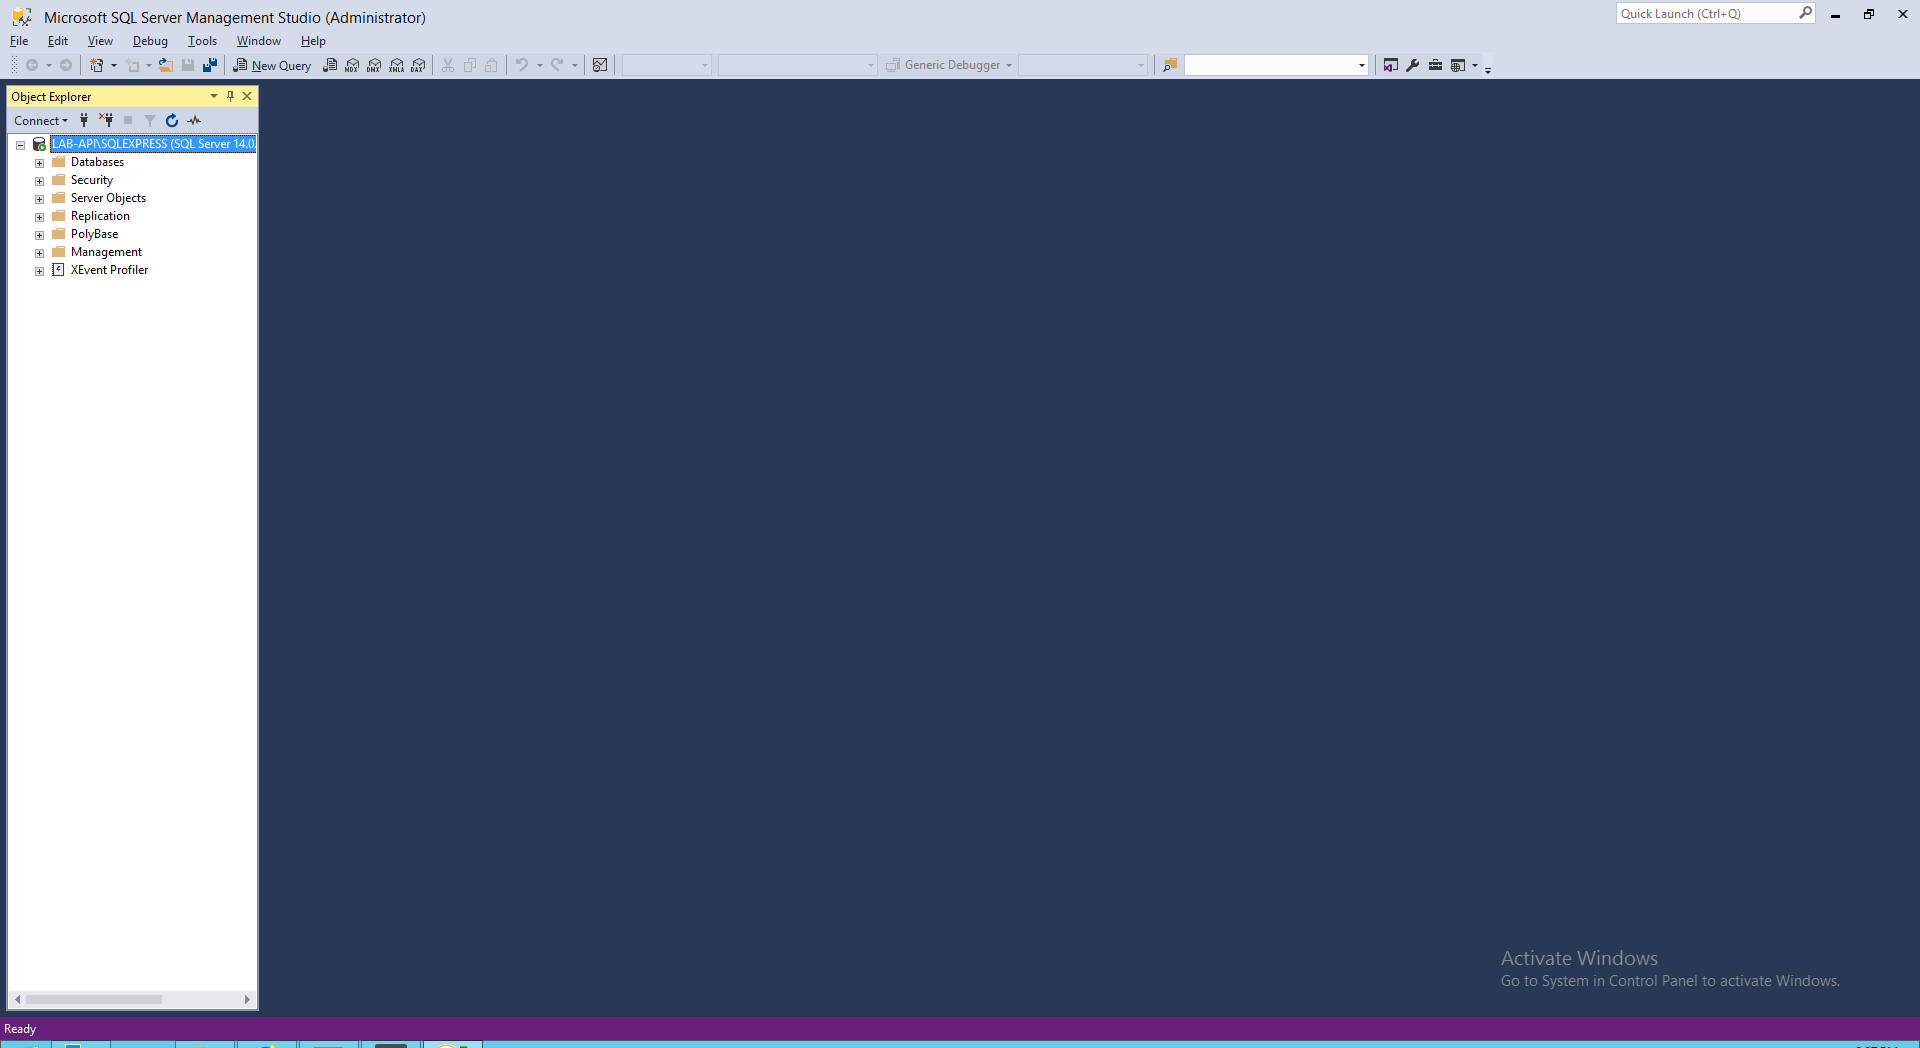
- ทำการ Connect Instance ผ่าน Microsoft SQL Server Management Studio
- คลิกขวาที่ Instance แล้วคลิก Properties
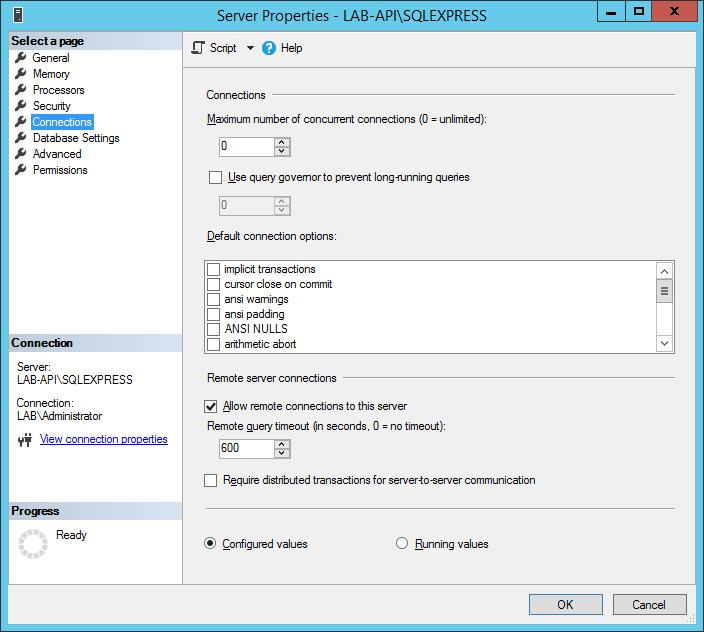
- คลิก Connection แล้วเลือก Allow remote connection to this server โดย Default จะทำการ Enable ไว้ แล้วคลิก OK
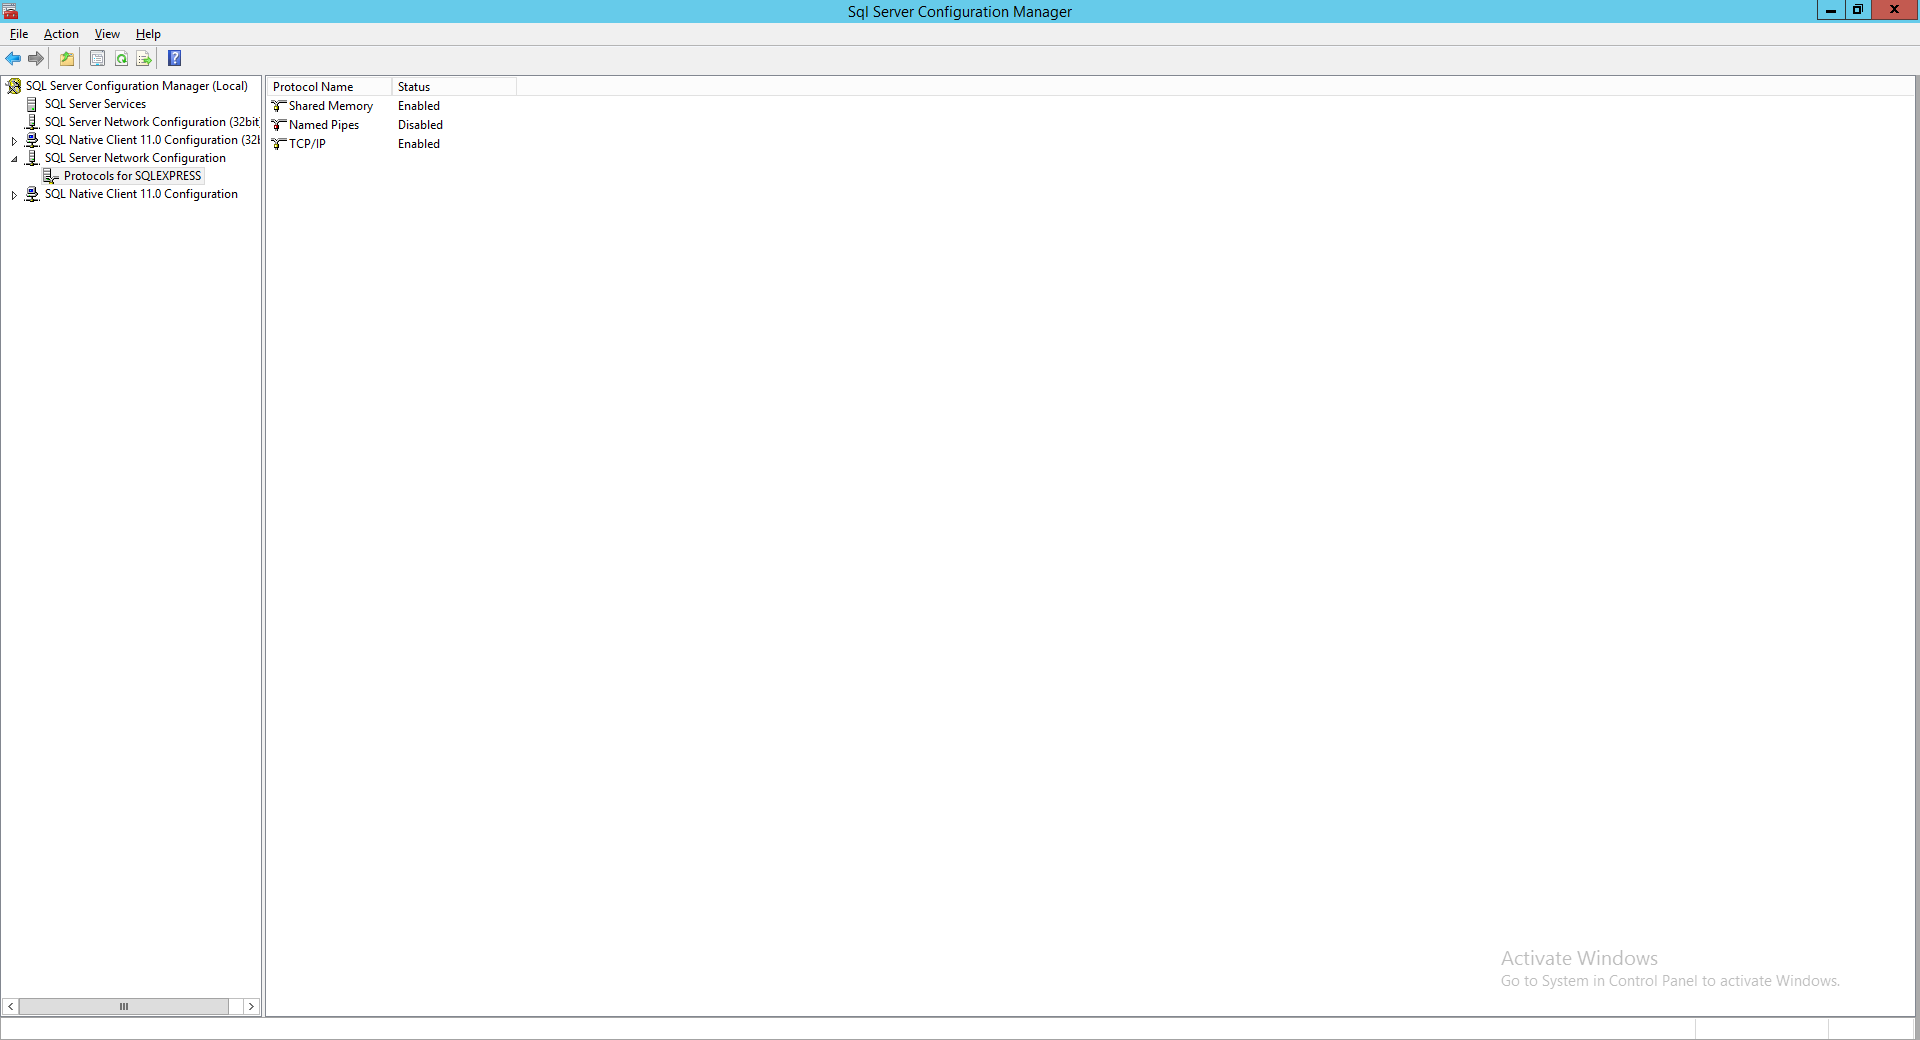
- ทำการเปิด SQL Server Configuration Manager แล้วเลือก SQL Server Network Configuration > Protocols for SQLEXPRESS
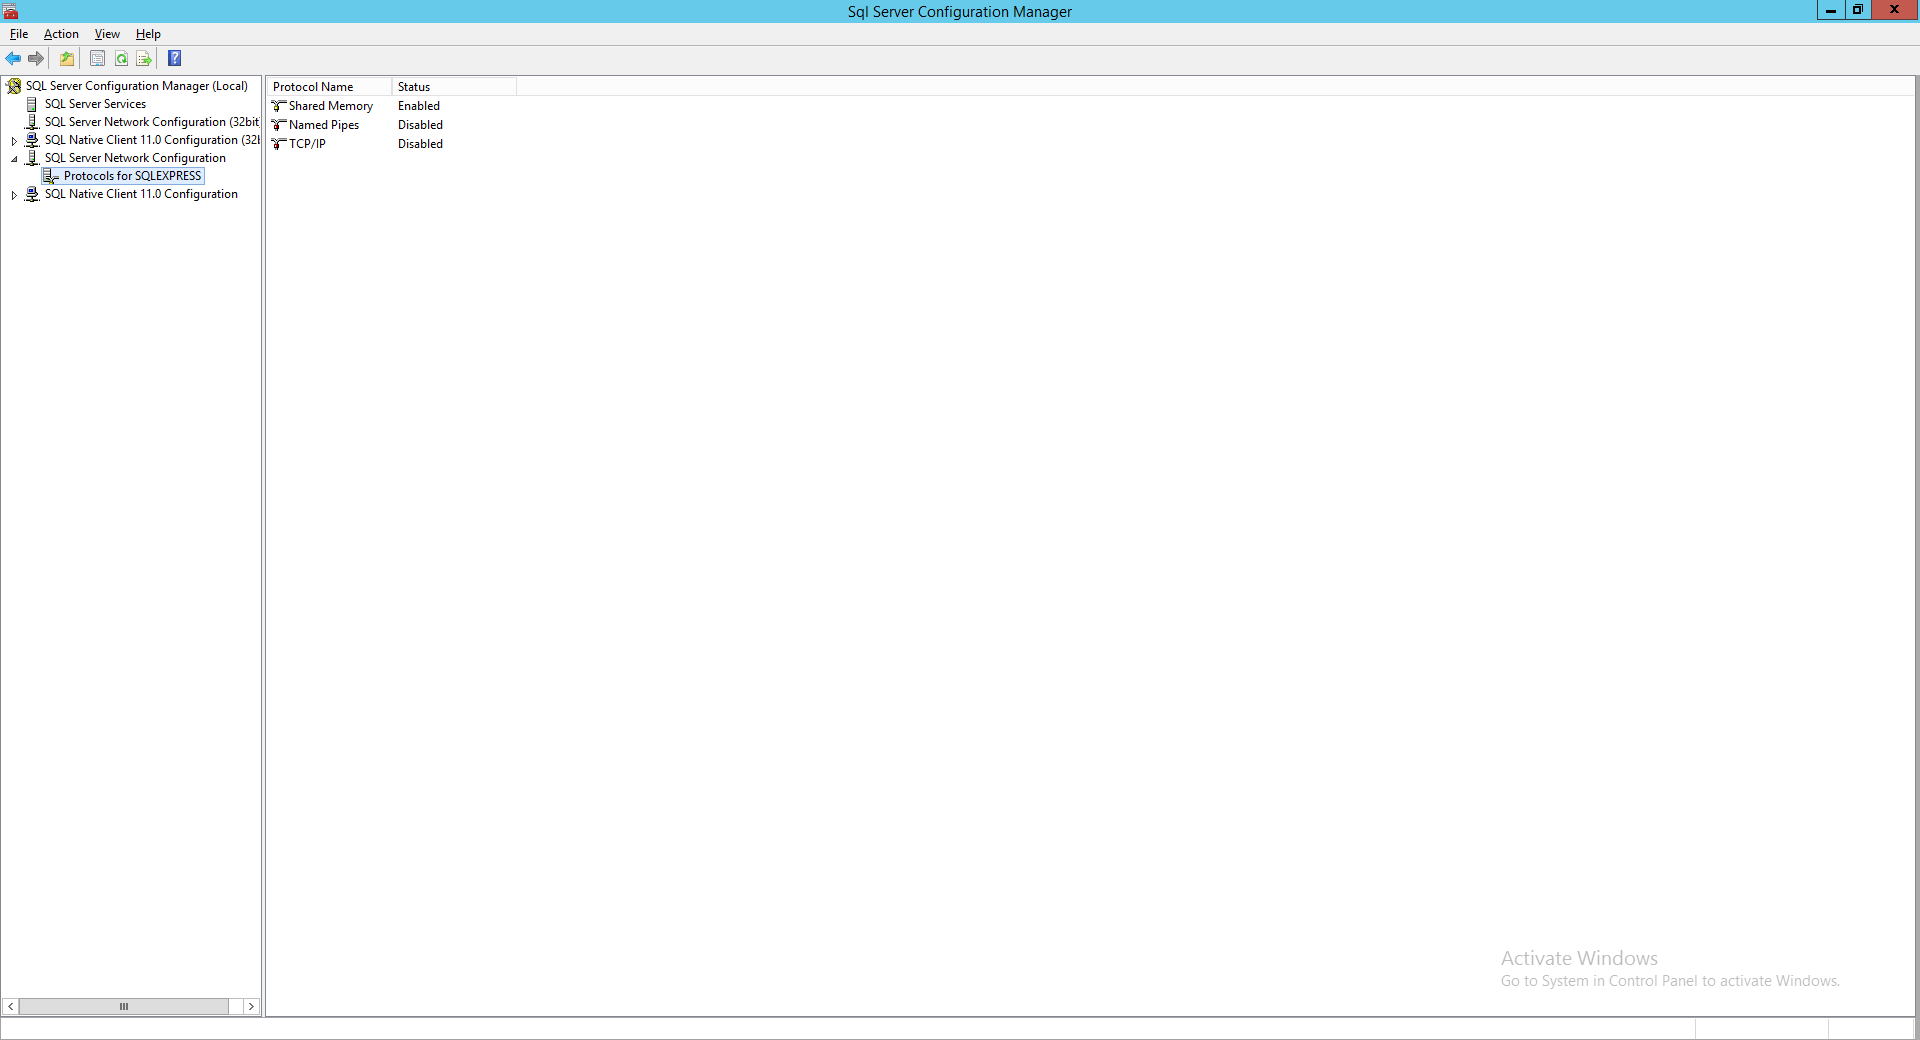
- คลิกขวาที่ TCP/IP แล้วคลิก Enable
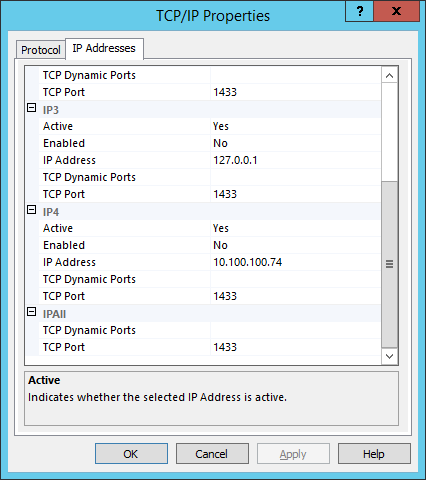
- คลิกขวาที่ TCP/IP แล้วคลิก Properties เลือก Tab IP Addresses แล้วทำการกำหนด TCP Port เป็น 1433 ทั้งหมด แล้วคลิก OK
- ทำการเปิด Windows Firewall with Advanced Security แล้วเลือก Inbound Rules
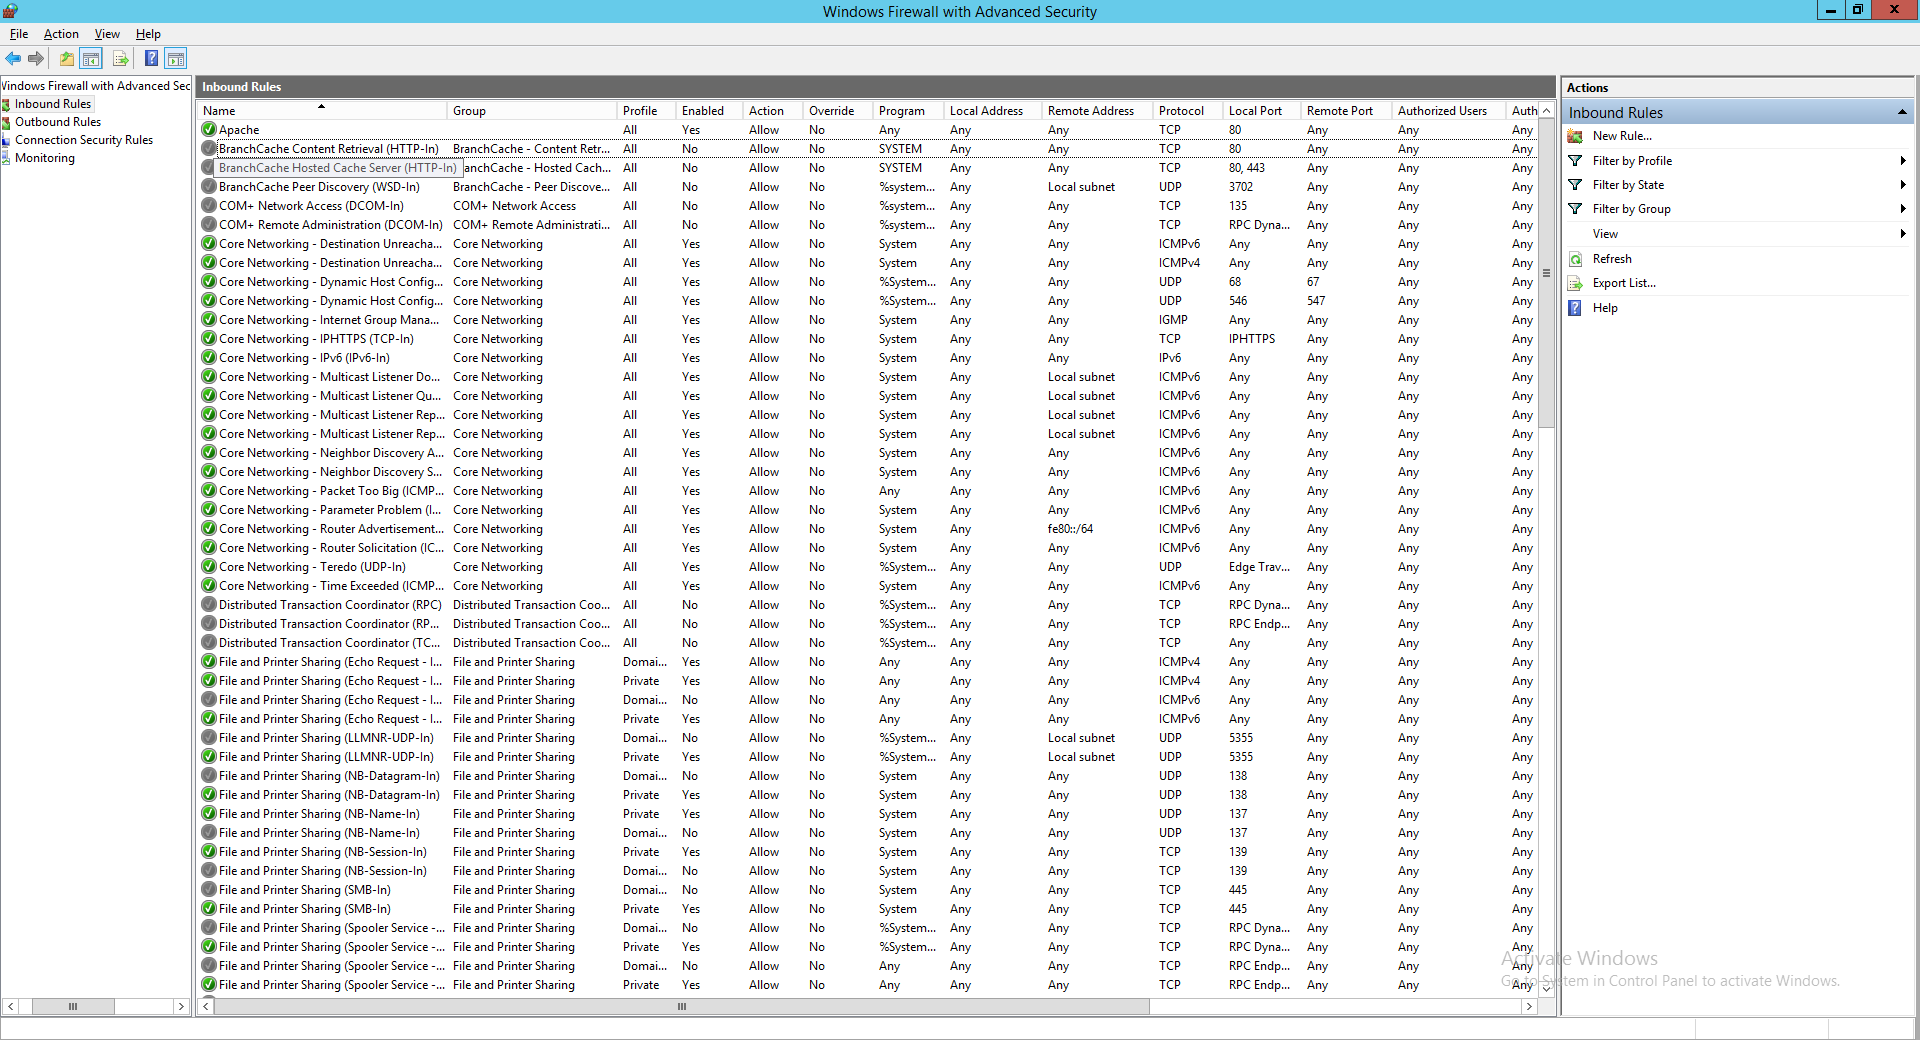
- คลิก New Rule เลือก Port แล้วคลิก Next
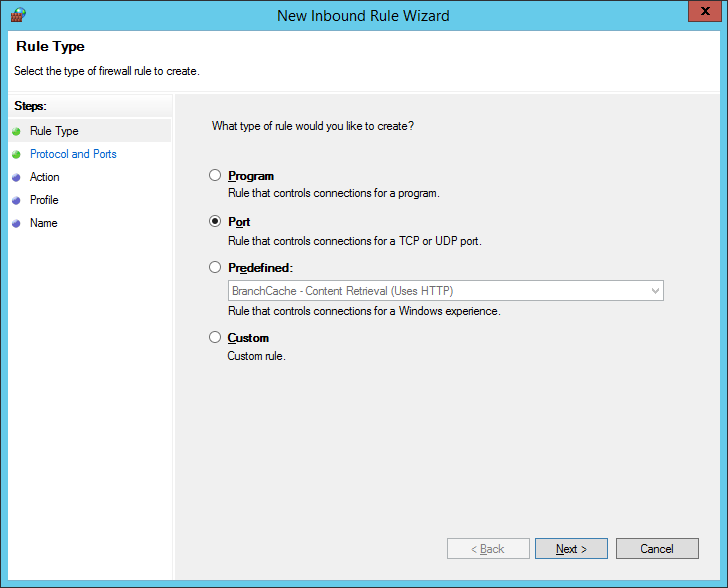
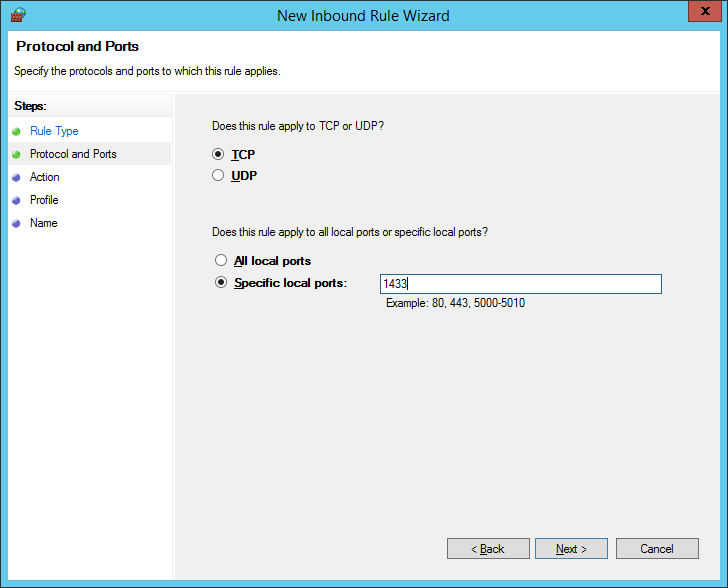
- เลือก TCP ระบุ Port เป็น 1433 แล้วคลิก Next
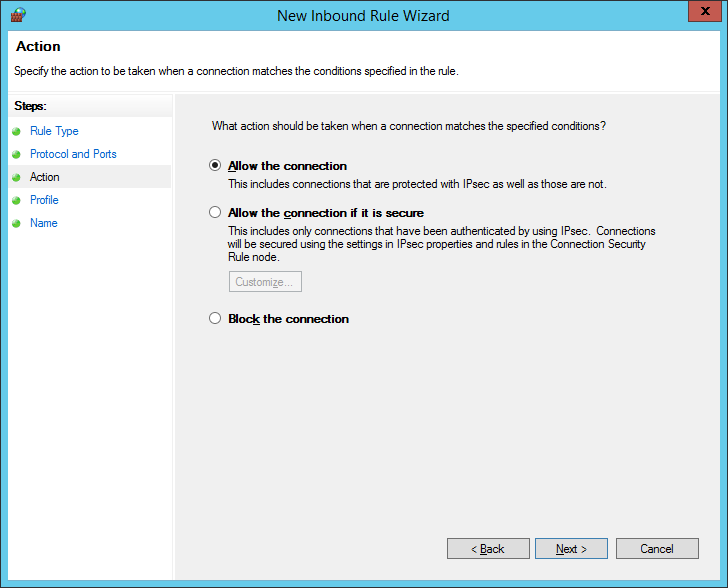
- เลือก Allow the connection แล้วคลิก Next
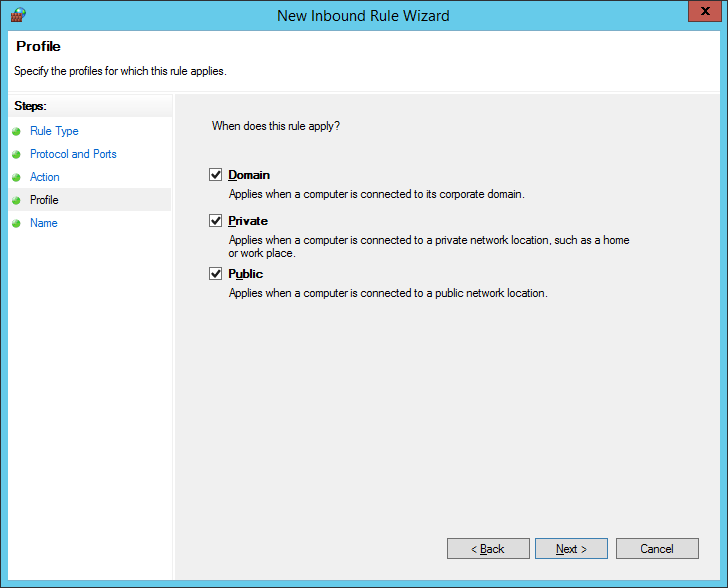
- เลือก Apply All แล้วคลิก Next
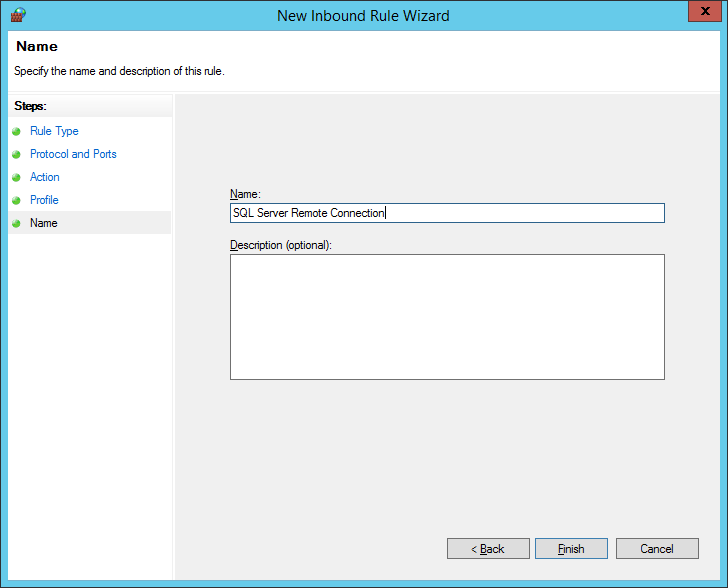
- ตั้งชื่อเป็น SQL Server Remote Connection แล้วคลิก Finish
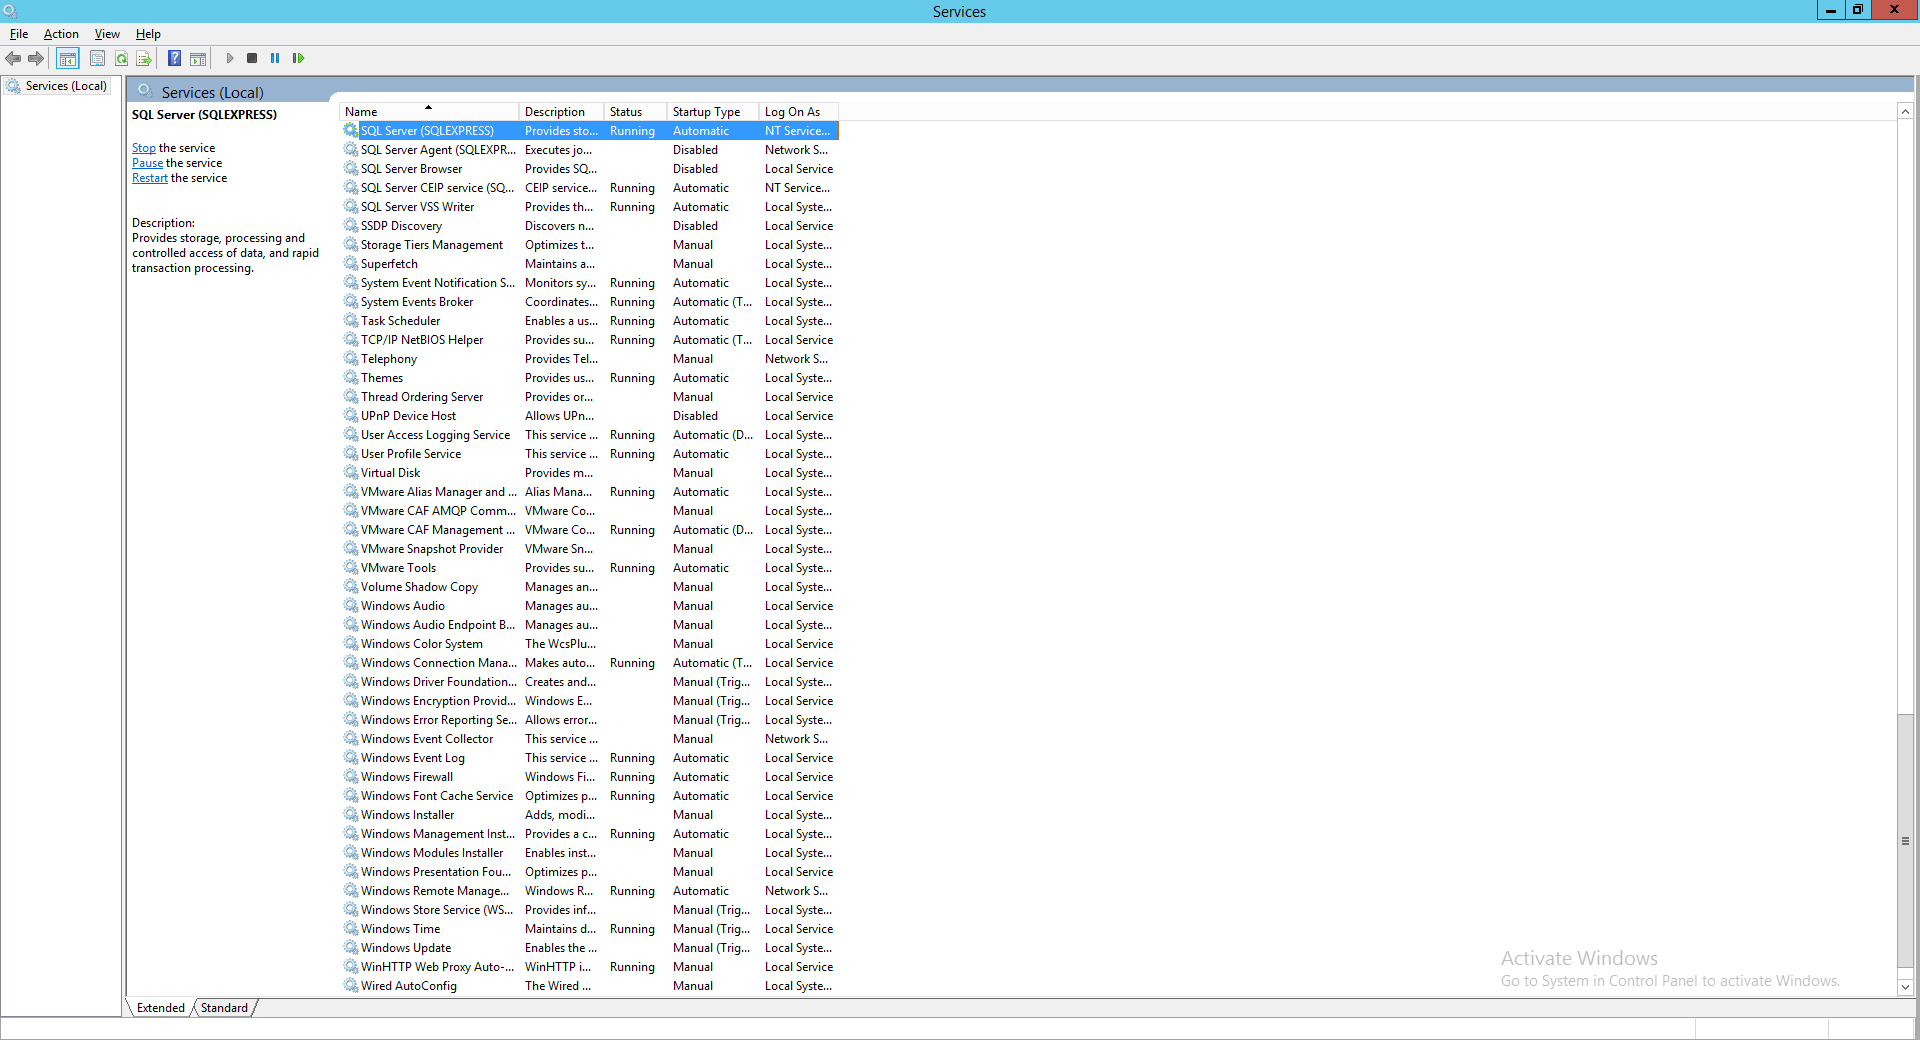
- ทำการเปิด Services แล้ว Restart Service ที่ชื่อ SQL Server (SQLEXPRESS)
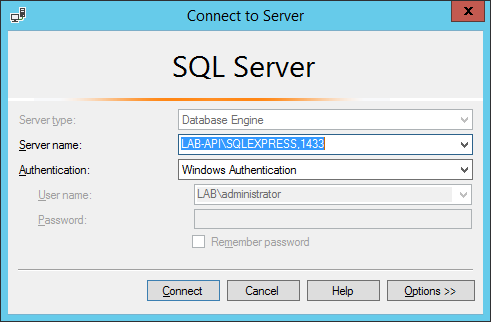
- ทำการ Connect Instance ผ่าน Remote Connection โดยกำหนด Port เป็น 1433
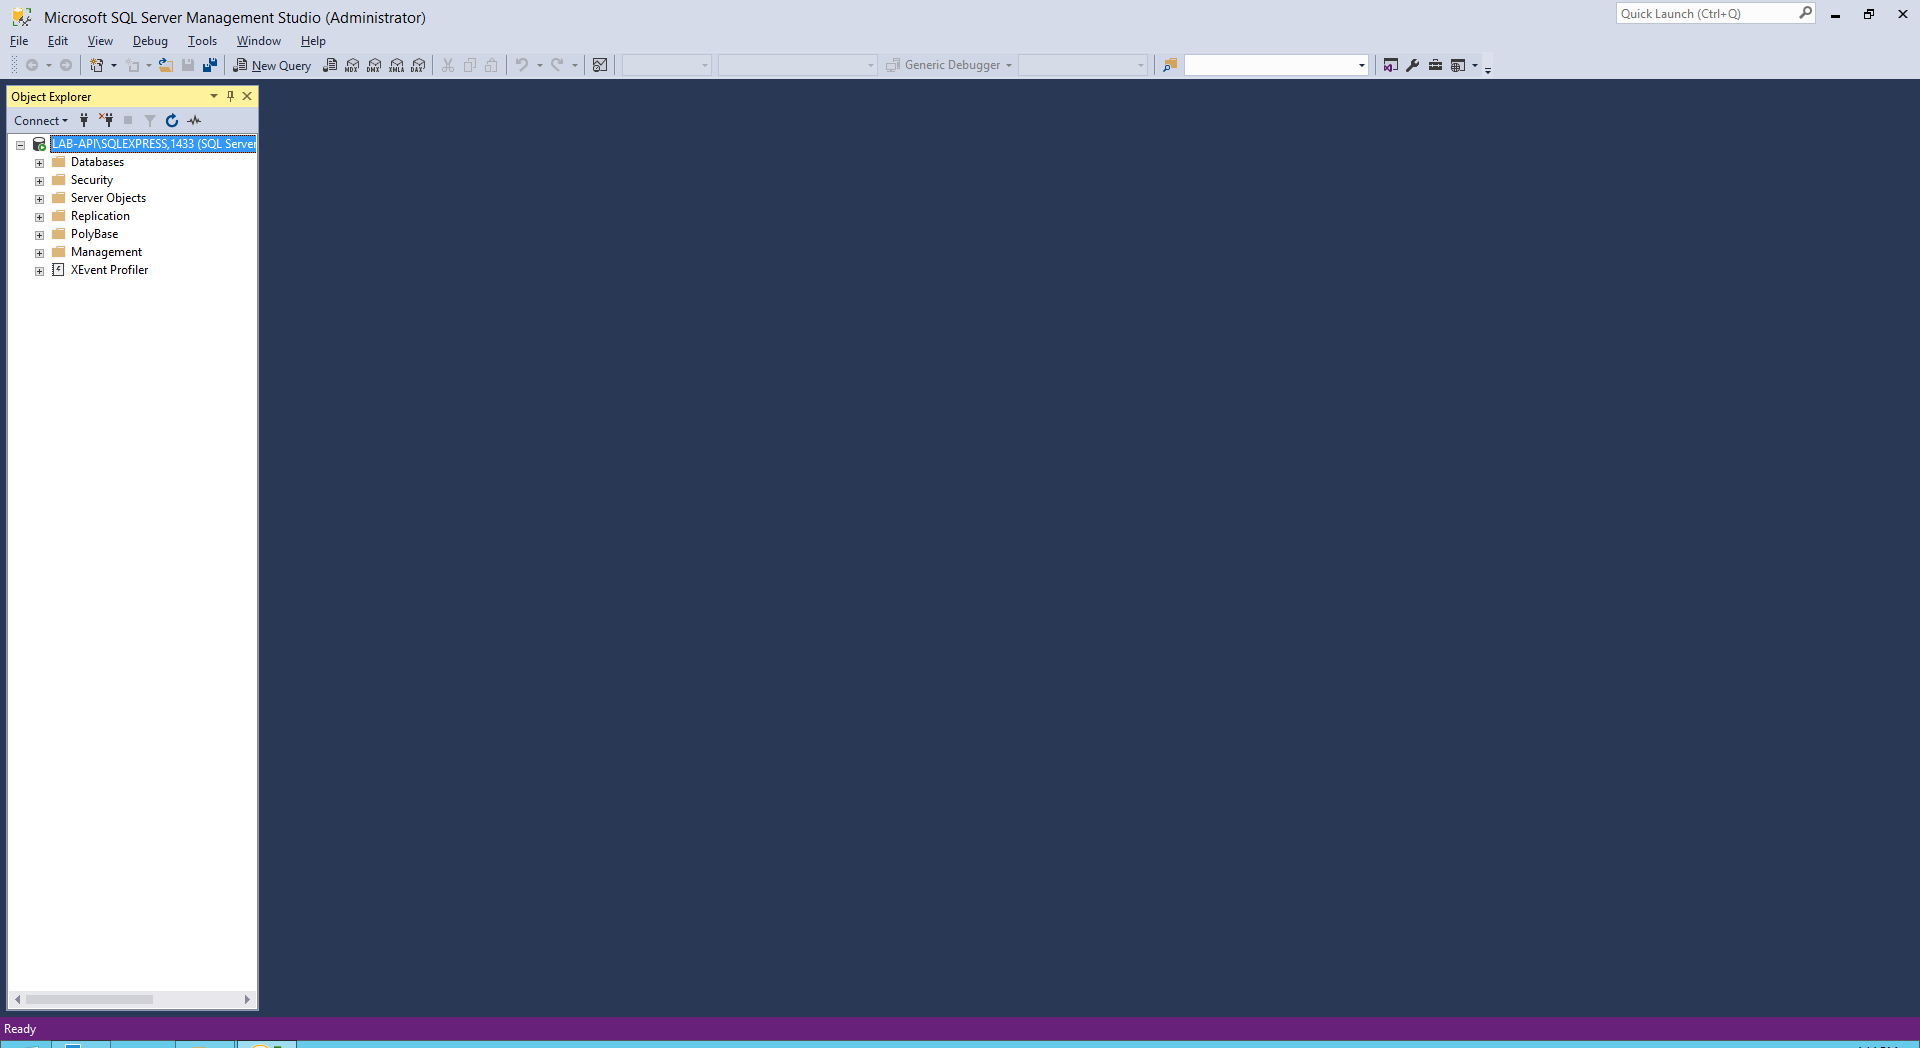
- จะแสดงฐานข้อมูลที่เชื่อมต่อผ่าน Remote Connection
อ่านเพิ่มเติม : https://bit.ly/2vb3N3J
Tagged: MSSQL
Leave a Reply