หลังจากที่เราได้ลองติดตั้ง .NET Core Web API กันไปแล้ว ในมุมมองของการใช้งาน เราจะต้องมานั่งทำ Document เพื่ออธิบายการใช้งาน พร้อมทั้งระบุ Parameter ที่ต้องส่งไป อีกทั้งยังมีปัญหาตามมาในเรื่องของ Version, หากทำงานเป็นทีมก็อาจจะมีปัญหาเรื่อง Standard, ปัญหาในเรื่องของการ Testing ซึ่งเราจะมาใช้ Swagger ในการทำ Web API กัน
Requirement
Get Started
- ทำการติดตั้ง Nuget Package ผ่าน .NET CLI
# PS C:\web_api> dotnet add package Swashbuckle.AspNetCore.Swagger --version 5.0.0
# PS C:\web_api> dotnet add package Swashbuckle.AspNetCore.Annotations --version 5.0.0- ทำการสร้างโฟลเดอร์ Extensions แล้วสร้างไฟล์ SwaggerExtension.cs
using System;
using System.IO;
using System.Reflection;
using Microsoft.Extensions.DependencyInjection;
using Microsoft.OpenApi.Models;

namespace web_api.Extensions
{
    public static class SwaggerExtension
    {
        public static void ConfigureSwagger(this IServiceCollection services)
        {
            services.AddSwaggerGen(c =>
            {
                c.SwaggerDoc("v1", new OpenApiInfo
                {
                    Version = "v1",
                    Title = "WEB API",
                    Description = "A simple example ASP.NET Core Web API",
                    TermsOfService = new Uri("https://example.com/terms"),
                    Contact = new OpenApiContact
                    {
                        Name = "Natthasath Saksupanara",
                        Email = "natthasath.sak@nida.ac.th",
                        Url = new Uri("https://example.com/contact"),
                    },
                    License = new OpenApiLicense
                    {
                        Name = "Use under ITC NIDA",
                        Url = new Uri("https://example.com/license"),
                    }
                });

                var xmlFile = $"{Assembly.GetExecutingAssembly().GetName().Name}.xml";
                var xmlPath = Path.Combine(AppContext.BaseDirectory, xmlFile);
                c.IncludeXmlComments(xmlPath);
                c.EnableAnnotations();
                c.DescribeAllParametersInCamelCase();
            });
        }
    }
}- ทำการเรียกใช้คลาส ConfigureSwagger ที่อยู่ในไฟล์ SwaggerExtension.cs เข้ามาในคลาส ConfigureServices ที่อยู่ในไฟล์ Startup.cs
using web_api.Extensions;

namespace web_api
{
    public class Startup
    {
    ...
        public void ConfigureServices(IServiceCollection services)
        {
            services.AddControllers();
            services.ConfigureSwagger();
        }
...- ทำการ Enable Middleware ในคลาส Configure ที่อยู่ในไฟล์ Startup.cs โดยเรียงลำดับการ Serve ให้ถูกต้อง
using Swashbuckle.AspNetCore.SwaggerUI;

namespace web_api
{
    public class Startup
    {
    ...
        public void Configure(IApplicationBuilder app, IWebHostEnvironment env)
        {
            if (env.IsDevelopment())
            {
                app.UseDeveloperExceptionPage();
            }

            app.UseHttpsRedirection();

            app.UseSwagger();

            app.UseSwaggerUI(c =>
            {
                c.SwaggerEndpoint("/swagger/v1/swagger.json", "API V1");
                c.DisplayOperationId();
                c.DocExpansion(DocExpansion.None);
                c.EnableFilter();
                // To serve the Swagger UI at the app's root
                c.RoutePrefix = string.Empty;
            });

            app.UseRouting();

            app.UseAuthorization();

            app.UseEndpoints(endpoints =>
            {
                endpoints.MapControllers();
            });
        }
    }
}- ทำการ Enable XML Comment ในไฟล์ web_api.csproj
<PropertyGroup>
  <GenerateDocumentationFile>true</GenerateDocumentationFile>
  <NoWarn>$(NoWarn);1591</NoWarn>
</PropertyGroup>- คลิก Debug แล้วเลือก Start Debugging
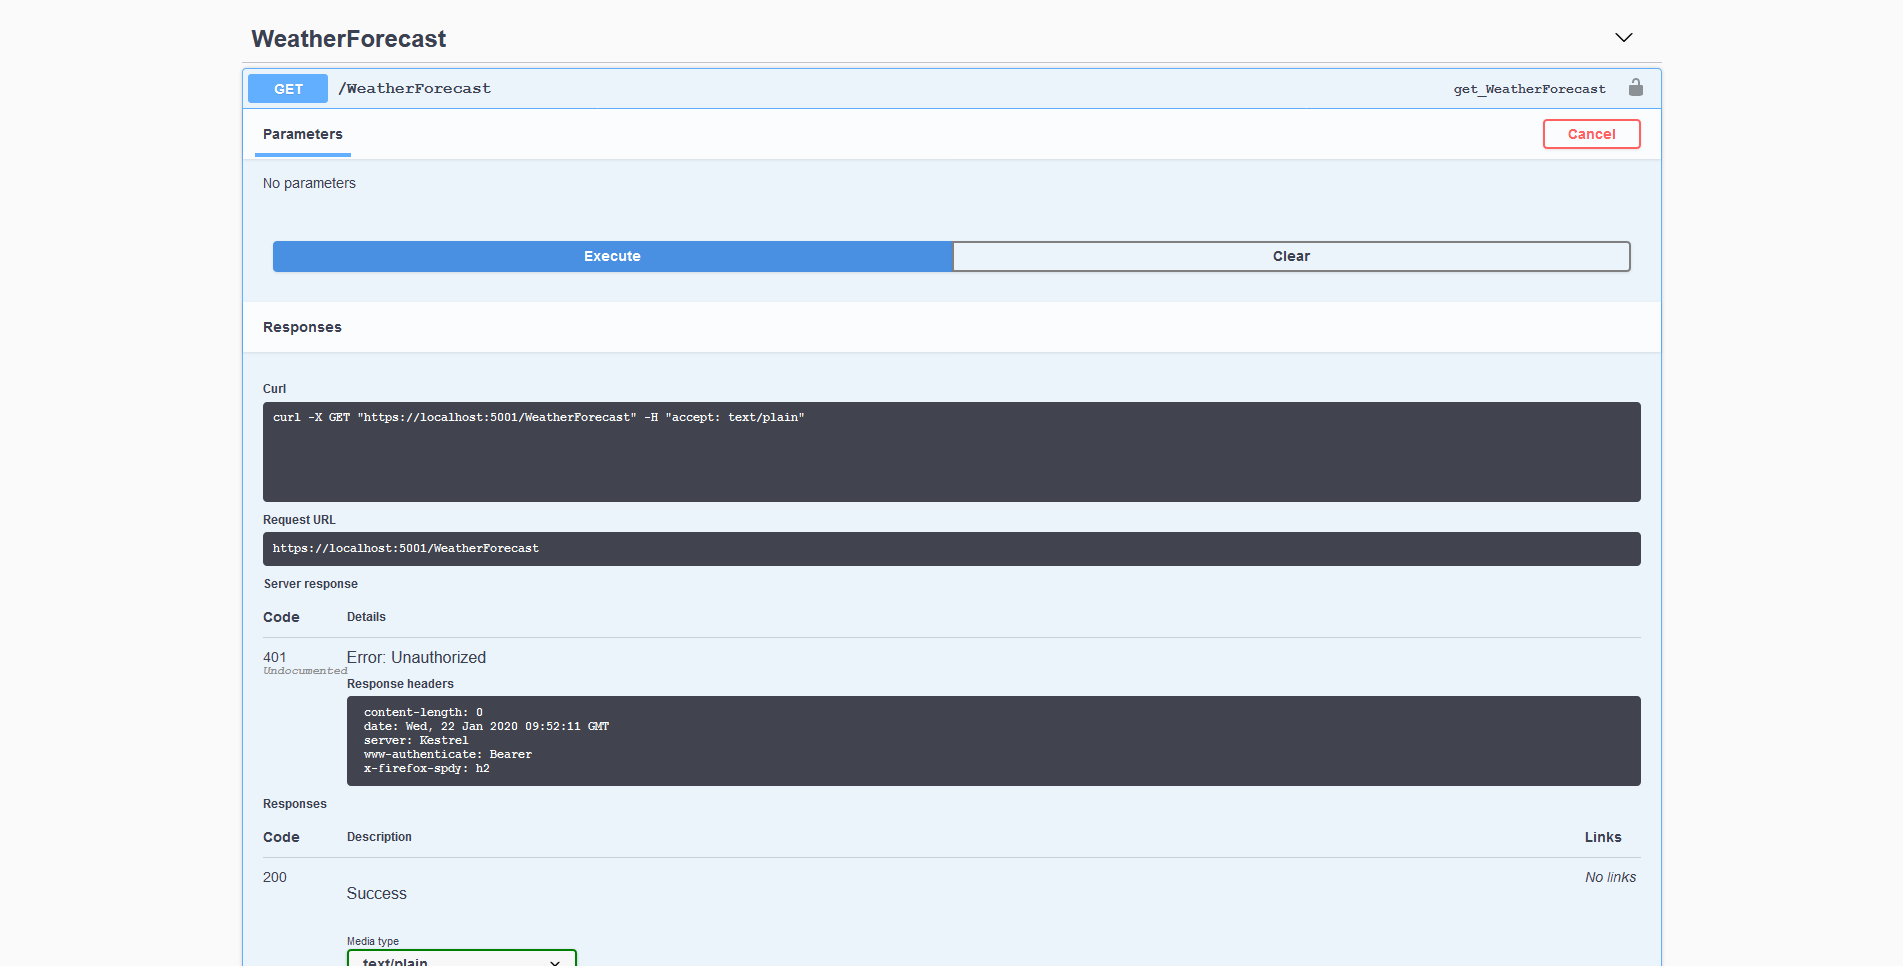
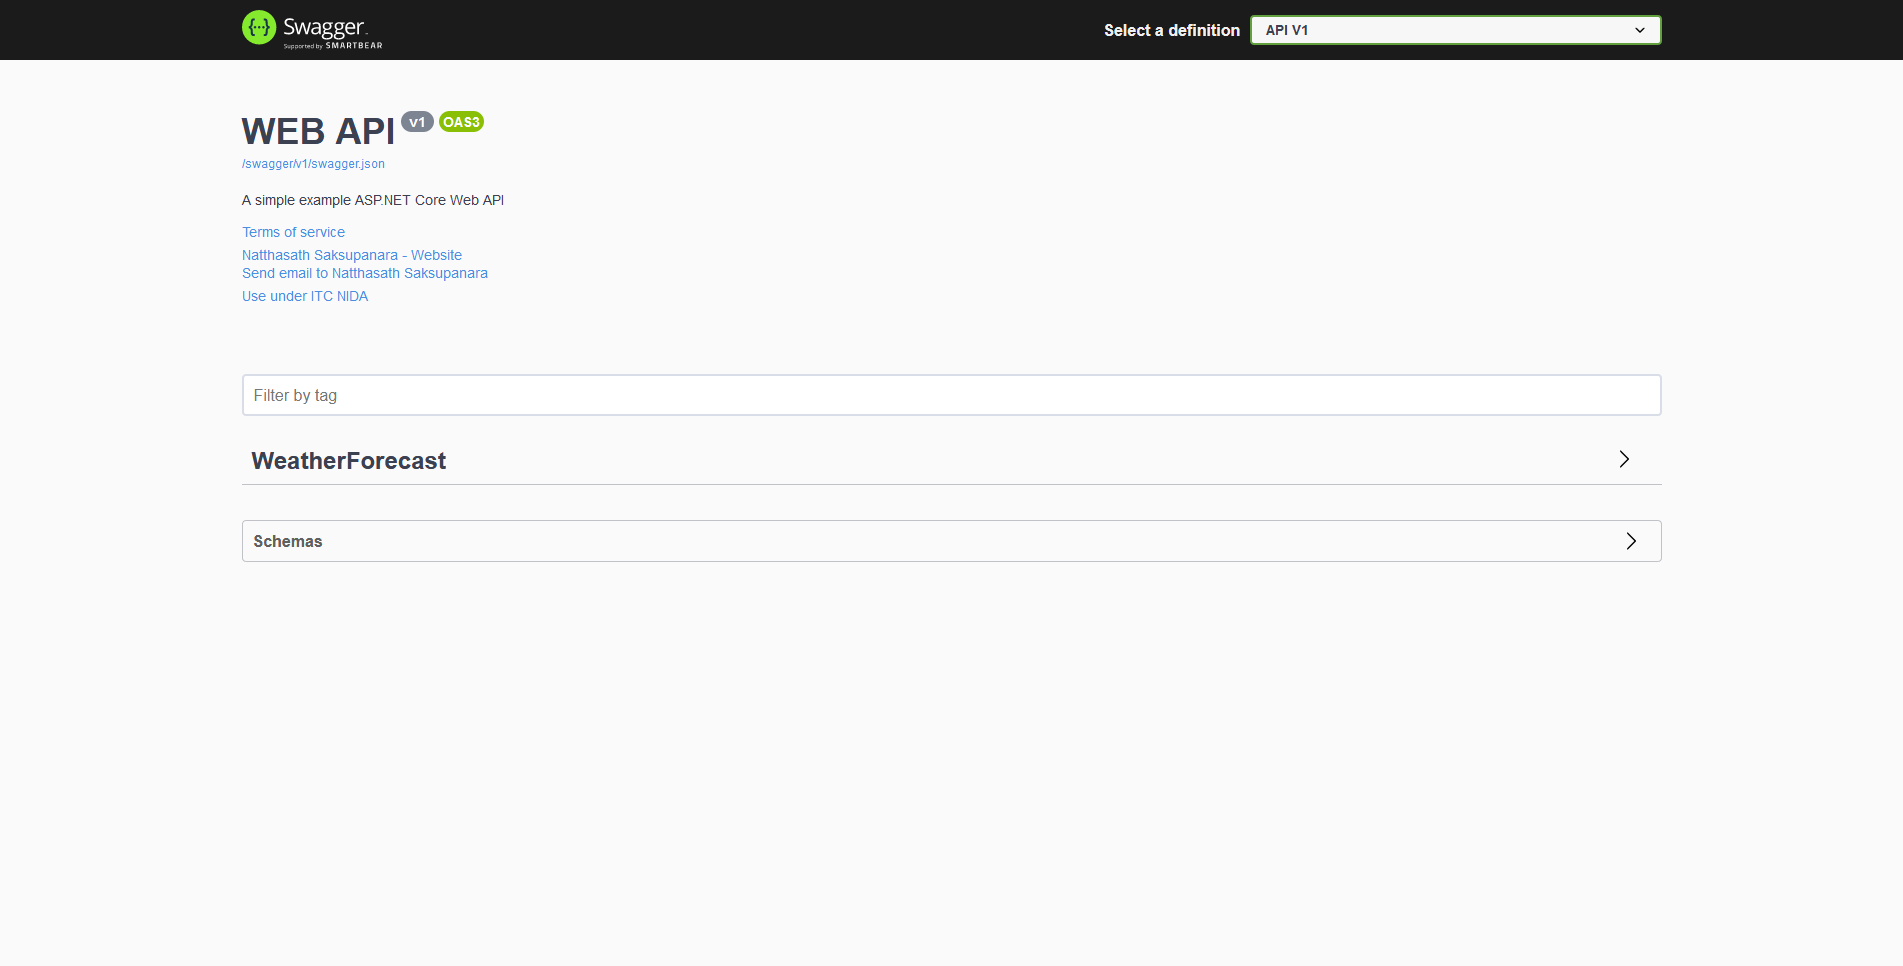
- ลองเข้าไปที่ https://localhost:5001/index.html จะแสดงผลลัพธ์ในรูปแบบ API Document
อ่าเนพิ่มเติม : https://bit.ly/37fc3Rr
Leave a Reply