หลังจากที่ได้ลองติดตั้ง Web Server บน Windows Subsystem for Linux ( WSL ) กันไปแล้ว เราจะมาลองติดตั้ง Docker บน WSL เพื่อทำการสร้าง Container กันบ้าง
Requirement
- Enable Window Subsystem for Linux ( WSL )
- Install Ubuntu 18.04 LTS from Microsoft Store
- Install Docker Desktop for Windows
Install
- ทำการ Update และ Upgrade
# apt-get update && apt-get upgrade -y- ทำการติดตั้ง Package
# apt-get install apt-transport-https ca-certificates curl software-properties-common -y- ทำการเพิ่ม Docker Public Key
# curl -fsSL https://download.docker.com/linux/ubuntu/gpg | sudo apt-key add -- ทำการตรวจสอบ Fingerprint จาก 8 ตัวสุดท้าย
# apt-key fingerprint 0EBFCD88pub rsa4096 2017-02-22 [SCEA]
9DC8 5822 9FC7 DD38 854A E2D8 8D81 803C 0EBF CD88
uid [ unknown] Docker Release (CE deb) <docker@docker.com>
sub rsa4096 2017-02-22 [S]- ทำการเพิ่ม Stable Repository
# add-apt-repository "deb [arch=amd64] https://download.docker.com/linux/ubuntu $(lsb_release -cs) stable"- ทำการติดตั้ง Docker CE
# apt-get install docker-ce -y- ทำการระบุ Docker Host เพื่อทำการ Connect ผ่าน Daemon Socket
# docker -H localhost:2375 images- ทำการกำหนด Environment Variable
# export DOCKER_HOST=localhost:2375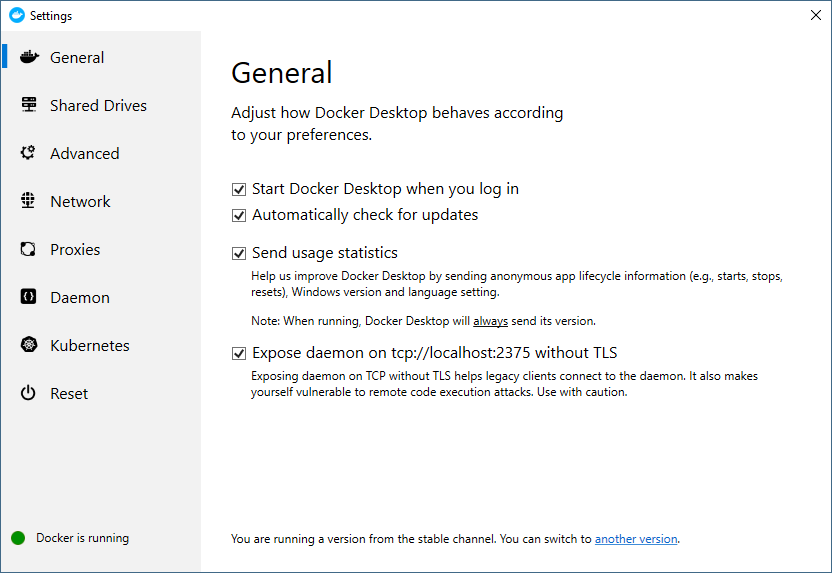
# echo "export DOCKER_HOST=localhost:2375" >> ~/.bash_profile- เปิดโปรแกรม Docker Desktop เลือก General แล้วคลิก Expose daemon
อ่านเพิ่มเติม : https://dockr.ly/2rgbOBK, https://bit.ly/2oT6kPV
Leave a Reply